Hello crafty friends,
Welcome back to another fun project that I created for the AECP Level 2.
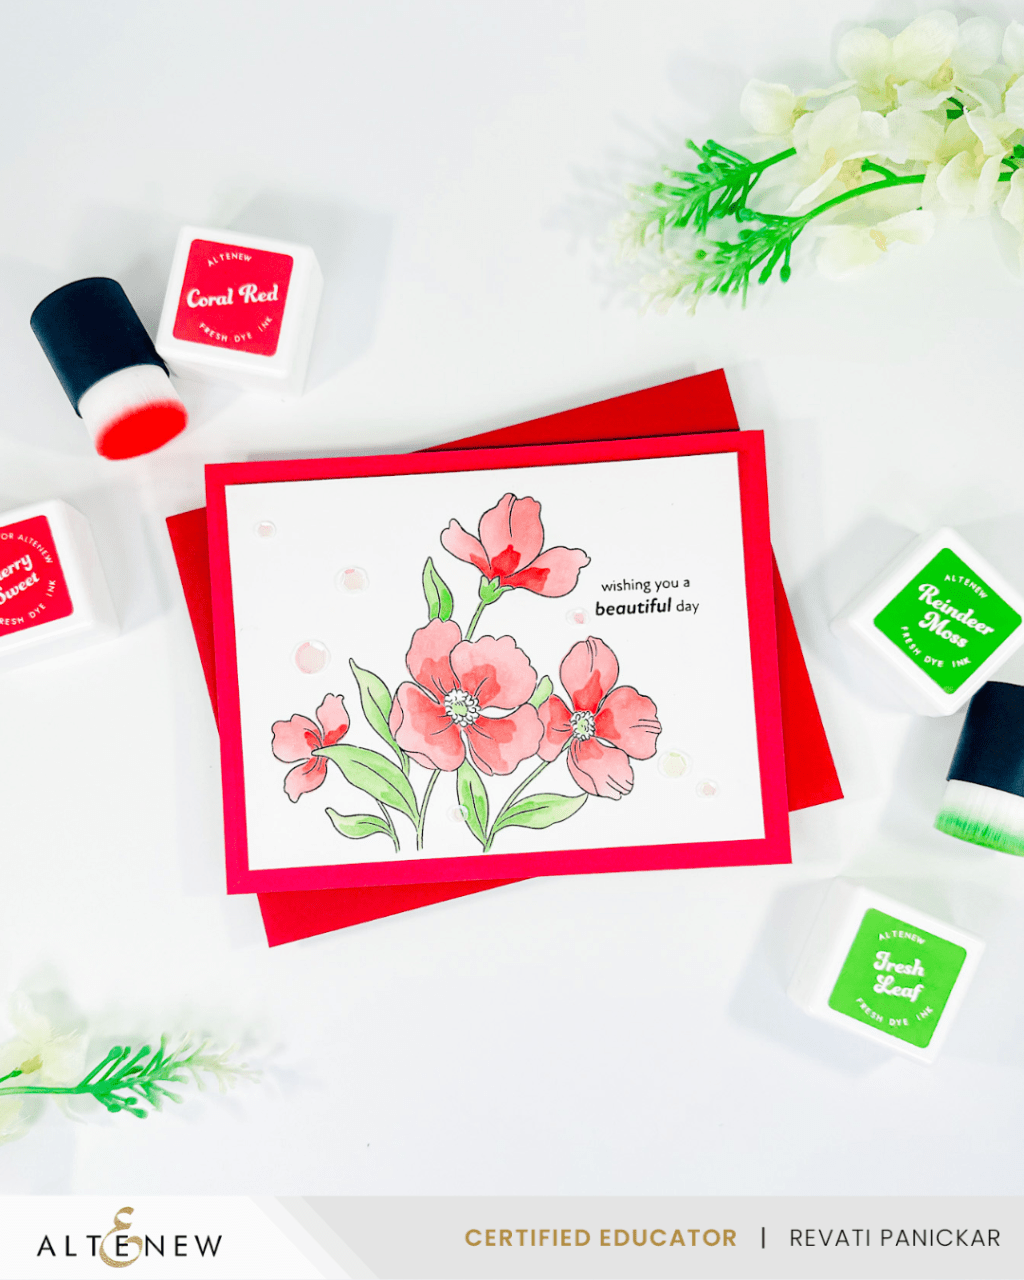
I must confess, this was definitely out of my comfort zone. I used a little floral image to create an entire card background. A special thanks to Therese Calvrid who inspired me to push my boundaries to create this beautiful card.
PRODUCT LINKS CONTAIN COMPENSATED AFFILIATE LINKS AT NO COST
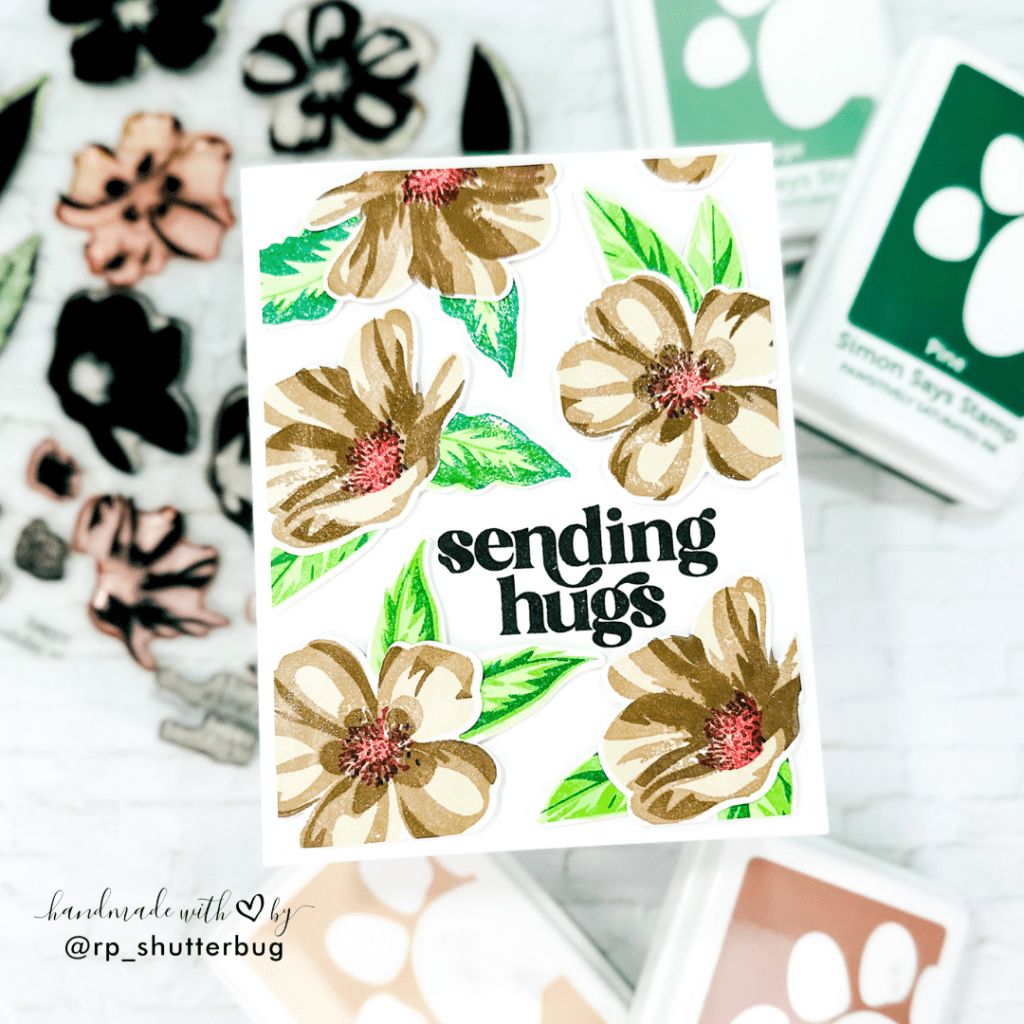
Usually my style of cards including using simple stamped and die cut image to create a focal point or maybe even bring together a cluster of images to create a larger focal images, like an entire floral arrangement. But for our card today, I did something different. Instead of creating a focal point, I used the same stamped and die cut images to create a beautiful background, more like creating my own dimensional patterned paper.
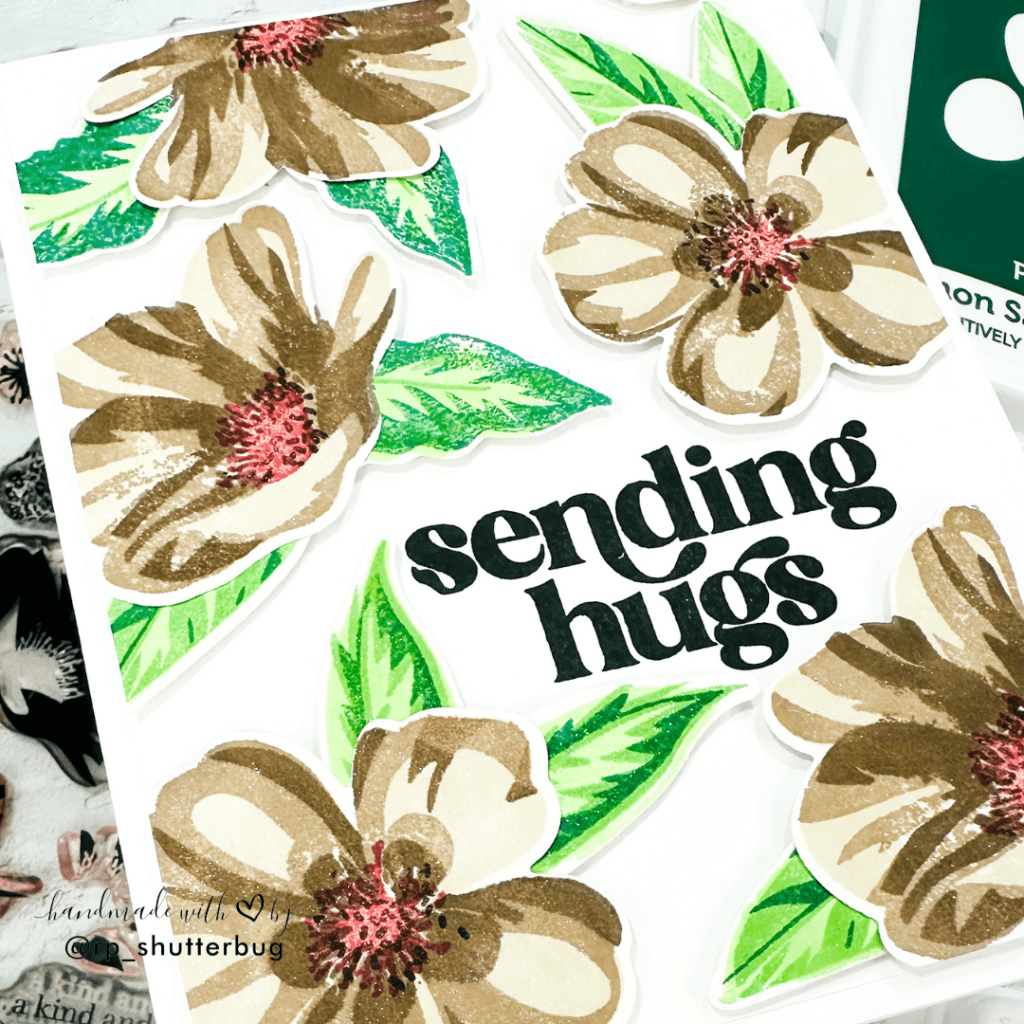
I started with the Flowering Cistus Stamp and Die Set Combo which is a layering set that creates some very beautiful flowers and leaves. I decided to use some non-traditional colors for my flowers. I picked browns for all of the floral images. I used 3 of my favorite shades of browns from the SSS Pawsitively Saturated Inks – Mocha, Cappuccino and Latte. For the center of the flowers I used the Lumberjack Plaid Distress Ink cube.
For the leaves, I used Pine, Sage and Aspen. I also mixed some of the leaves from the Build a Flower : Torch Ginger Stamp Set for a little variety.
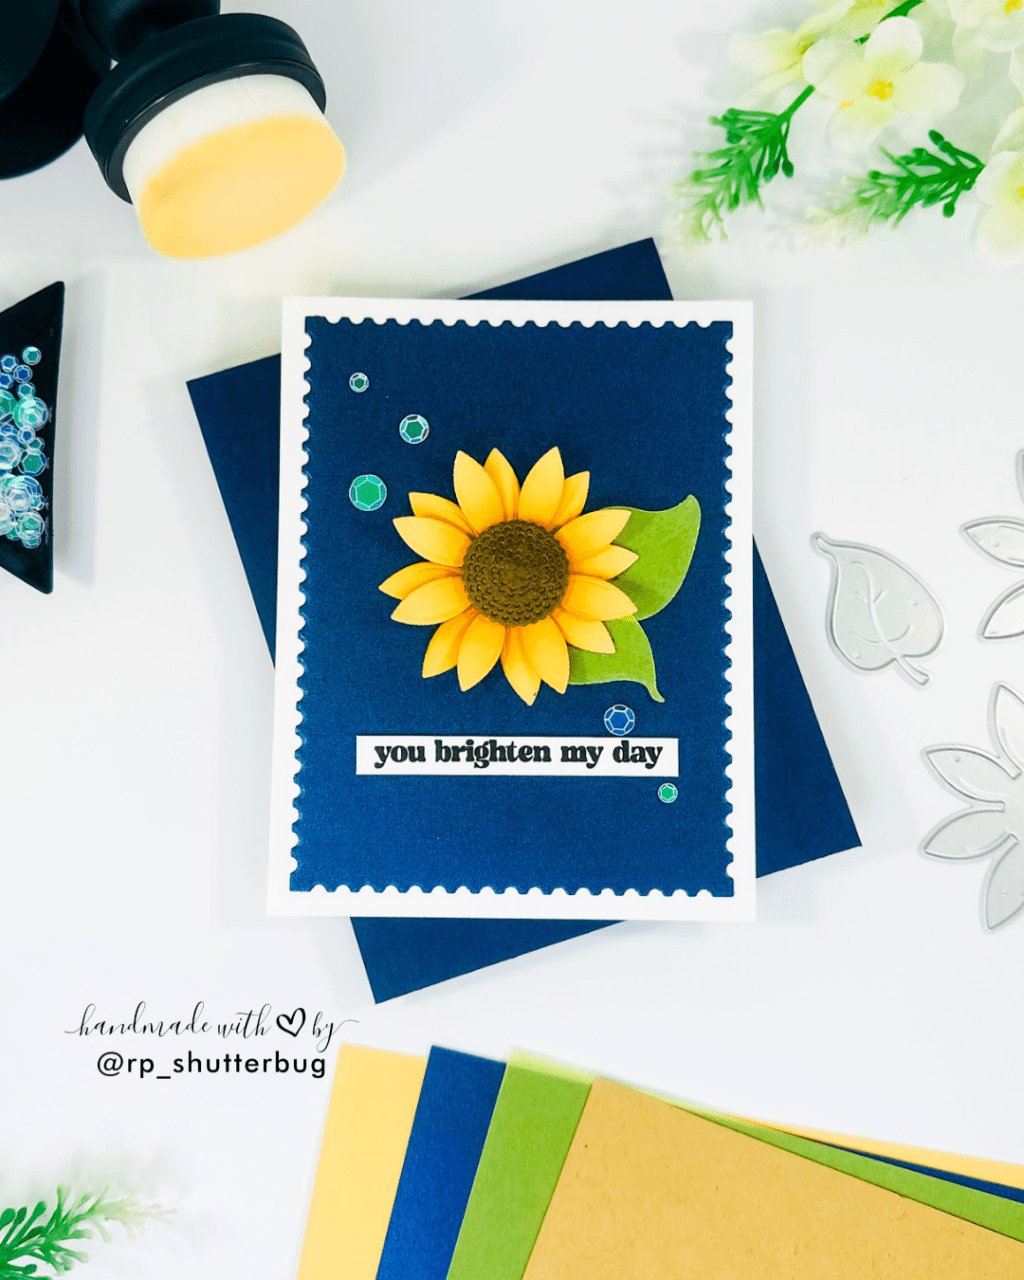
Before adhering these die cuts onto the panel, I decided to stamp my sentiment, which would also be the center focal point of the card, around which I planned to lay out the flowers.
I stamped the “Sending Hugs” sentiment from the Alluring Orchids Outline Stamp Set using my Versafine Onyx Black Ink towards the lower left quadrant of a white A2 size panel.

Now we can start laying down all of those die cut pieces around the sentiment.
Instead of gluing these die cuts directly onto the panel, I decided to add some dimension. Using some foam tape, I popped up all of these die cut pieces. It’s ok if the flowers hang over the edge of the card panel. We can trim them after all of the flowers are stuck in place.

I am glad I decided to pop up those little flowers. That definitely gives a texture and character to our card.
I trimmed off all of the excess hanging off the edges and then mounted the panel onto an A2 size side folding card base.
This time, instead of sequin mix or embellishments, I decided to add shine to all of these floral images. Usually I would only add shine on my focal image. But since here I used my focal image to create an entire ard background, so why not. I used the Spectrum Noir Glitter Brush Pen to add shine and sparkle to all the flowers and leaves on my card front.
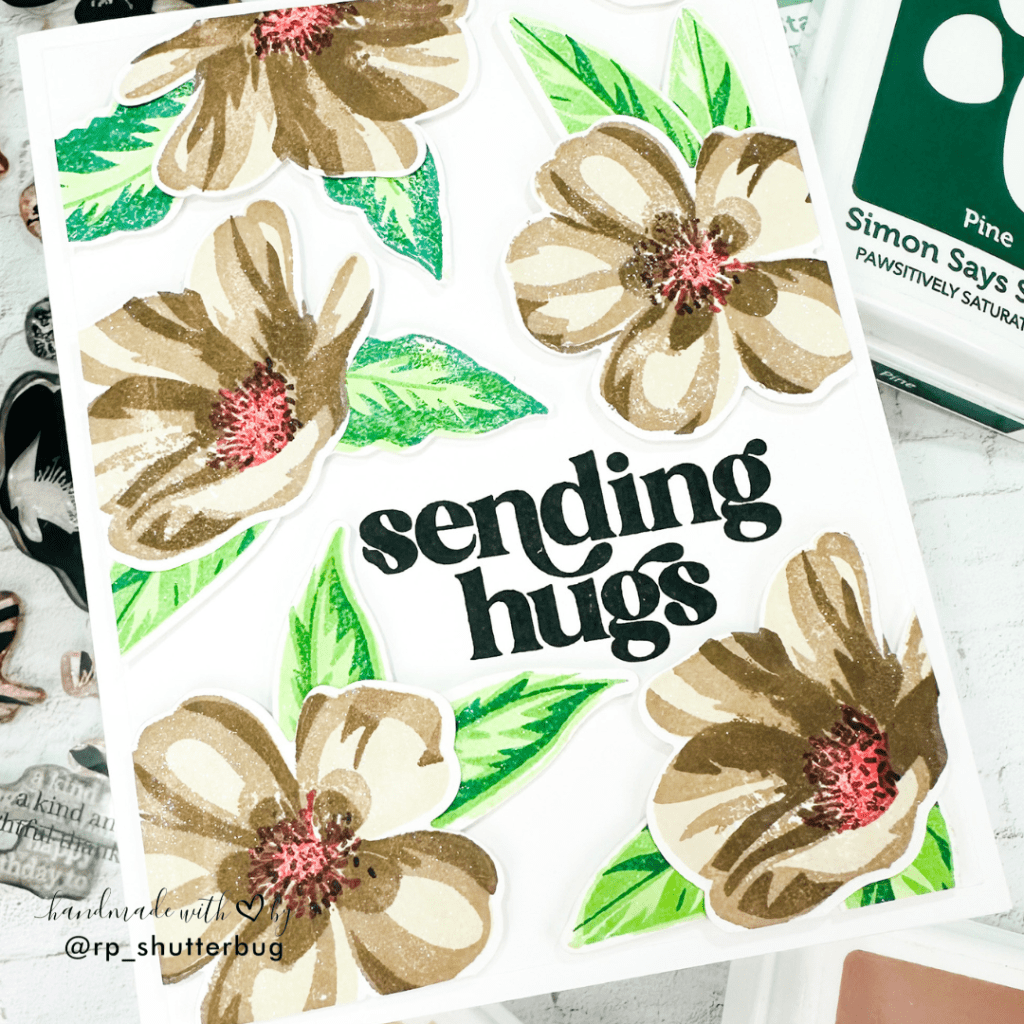
I love how this card turned out. This was definitely a bold move for me, out of my comfort zone but totally worth it. I am glad I gave this a try! I hope this inspires you too to step out of your comfort zone and create something gorgeous.
Also, a big thank you to the creators at Altenew for all the wonderful classes and tips and tricks to create beautiful projects.
The Altenew Educator Certification Program is definitely a best opportunity to showcase my work and get in touch with all of the amazing crafters.

Thank you for being here with me today. Do check out fun pictures and videos of the project on my Instagram page (@rp_shutterbug). Also, tag me on Instagram with pictures of your projects.
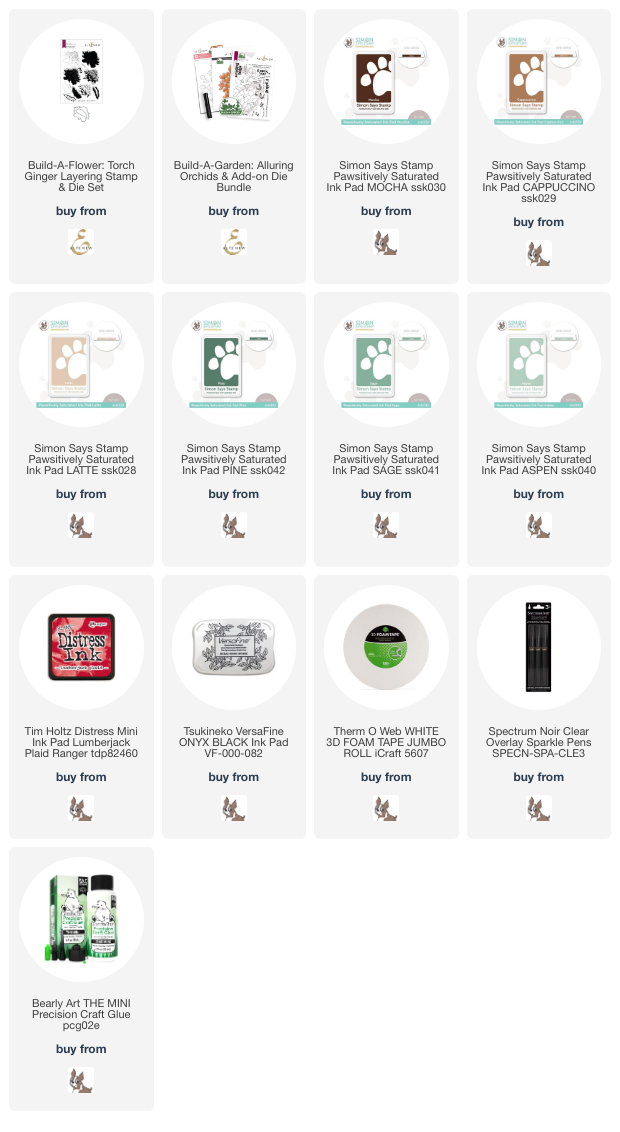
SUPPLIES:
*NOTE: Affiliate links may be used (at no additional cost to you) – thank you for your support!
 https://linkdeli.com/widget.js?id=f5e8378456858c916708
Thank you for joining me! Until next time, stay safe.


Leave a comment