Hello crafty friends,
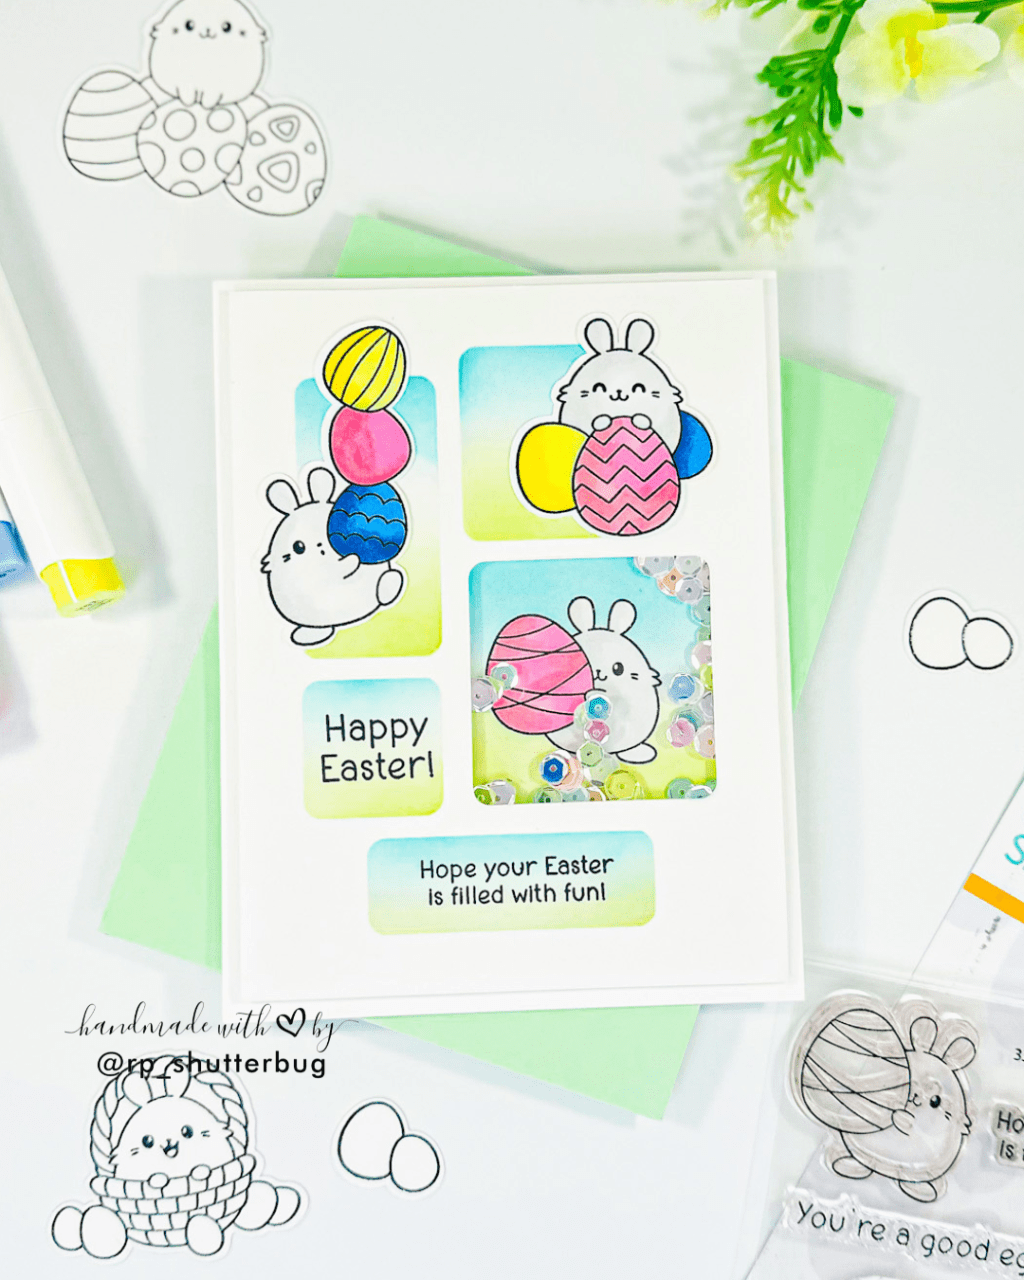
Today I have a very bright and colorful birthday card using the Celestial Wishes Stamp Set by Simon Says Stamp which was part of the May 2024 Celestial Wishes Card Kit.
This birthday card is inspired by a project created by a dear friend, Caly Person.
Here’s a closer look at the card that I created today –

I started by adding some of that gold starry sparkle on my background. I stamped the little starry sparkle using the SSS Clear Embossing Ink and added some SSS Fine Gold Embossing Powder.
I also stamped and gold heat embossed the sun, on a white piece of cardstock. Before die cutting the sun, I stamped the solid center of the sun, using the SSS Pawsitively Saturated Inks in the shade Zest and Terracotta. Using the coordinating Celestial Burst Wafer Die, I die cut our sun.
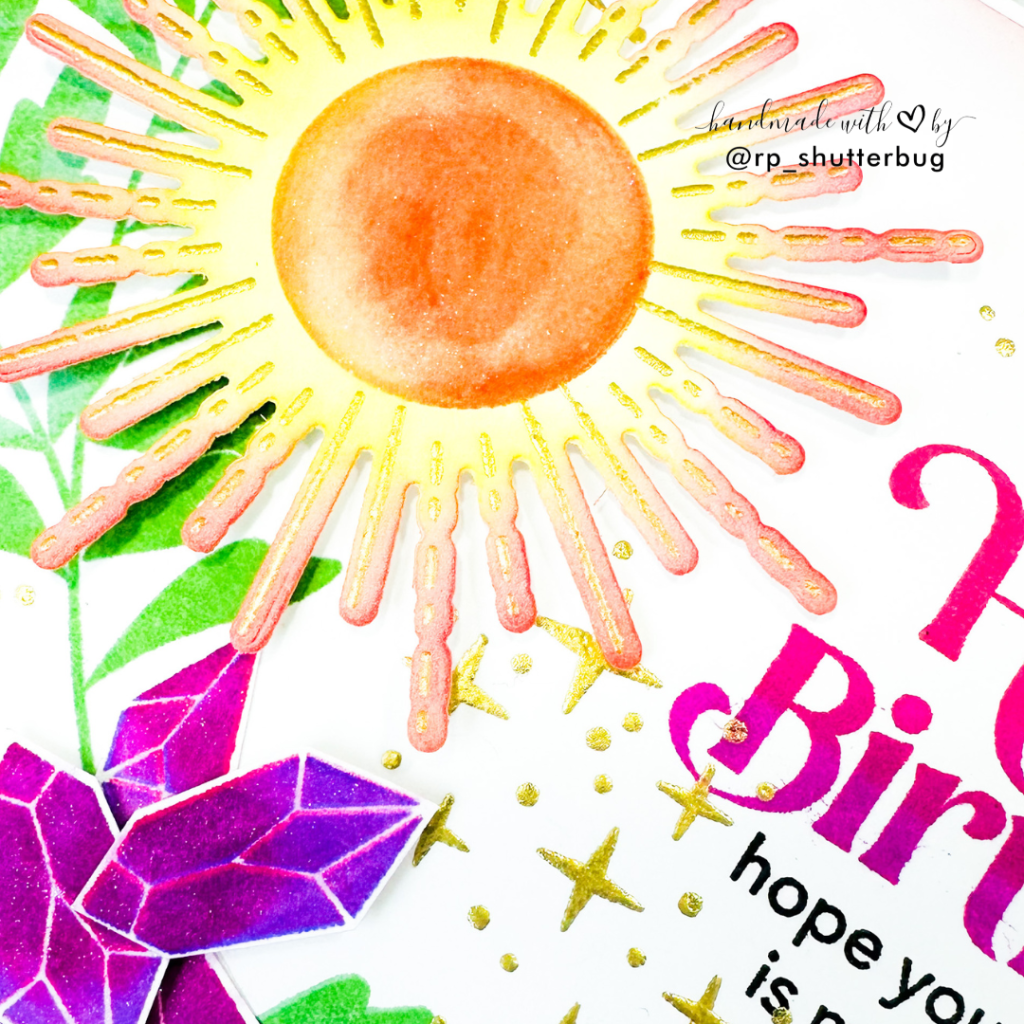
Next I took my starry sparkle background panel and stamped my sentiment first. I stamped the “Happy Birthday” Sentiment using Rose and Taffy Inks for an ombre effect. I added a little sub-sentiment “hope your day is magical”, which I thought matched perfectly with our magical theme birthday card.

Next, I stamped the leaves onto the left side of the sentiment. This is where the focal point of the card is. I stamped the leaves using Aspen, Sage and Field, which is one of favorite shades of greens when it comes to coloring into any kind of leaves or foliage.
I left some gap between the leaves, where I will be adhering the little crystal gems. For the gems, I decided to have the same ombre effect. I used Amethyst and Taffy to stamp the gems and cut them using the scissors.
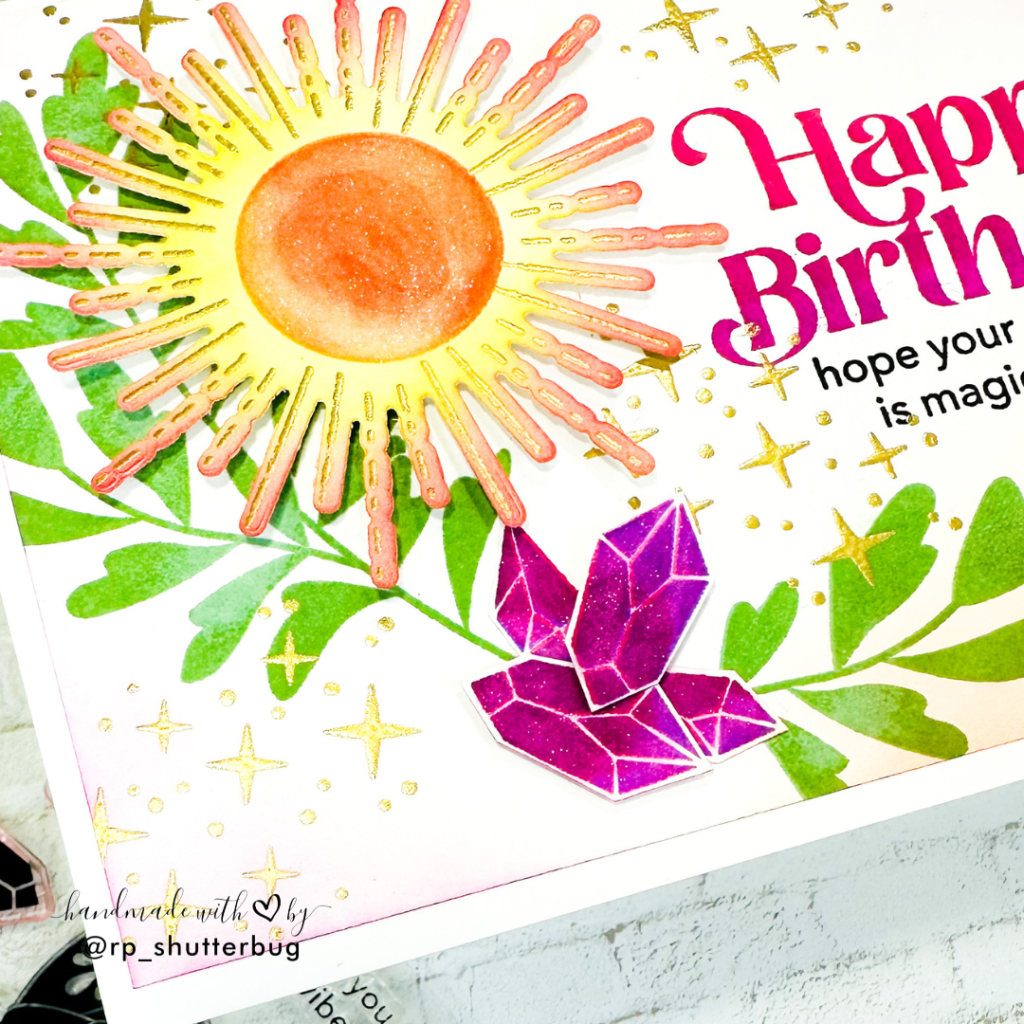
I added some color to our sun. Using some foam tape, I adhered the sun and the gems onto the card front.
Before assembling the card onto an A2 size note card, I added a light hint of color on the edges of this panel. I used the leftover inks on my yellow, orange, pink and purple blending brushes to add some color to this stark white card front. I also added some shine to the sun and the gems using my Spectrum Noir Glitter Brush Pen.
Using some foam tape, I adhered this onto a top folding A2 size note card.
I love how colorful this card looks. Absolutely magical! Check out the Youtube Video, where I show you how I created this card project.
Also, don’t forget to check out my Instagram profile (@rp_shutterbug) where I share a ton of inspirations and fun projects.
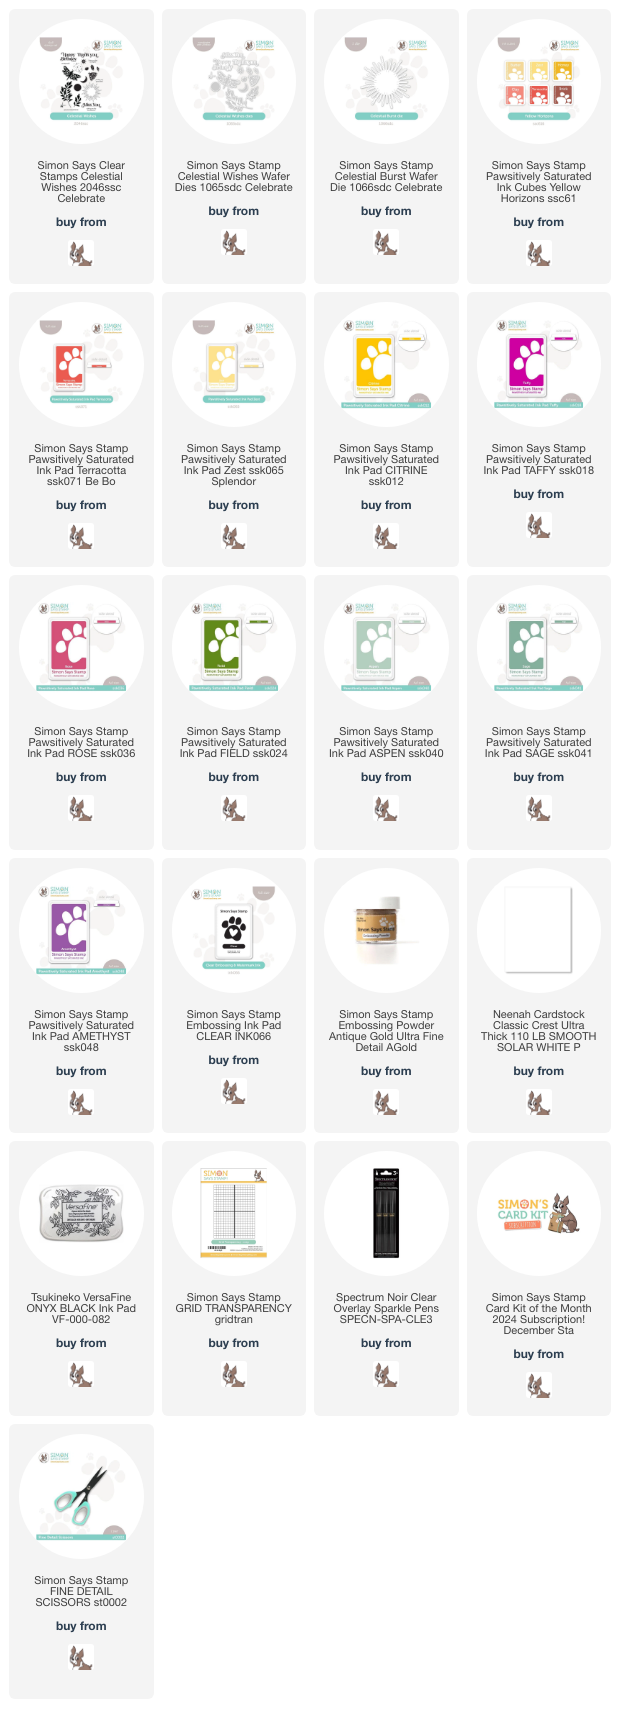
SUPPLIES:
*NOTE: Affiliate links may be used (at no additional cost to you) – thank you for your support!
 https://linkdeli.com/widget.js?id=f5e8378456858c916708
Thank you again for joining me today! Until next time, stay safe!


Leave a comment