Hello crafty friends,
Welcome to my latest handmade card tutorial! In this post, I’ll guide you through creating a clean and simple card using stunning floral die cuts. Whether you’re a seasoned card maker, a paper crafter, or just starting out, this tutorial is perfect for all skill levels. Floral die cuts add a touch of elegance to any card design, and I’ll show you how to use them to create beautiful card fronts that stand out.
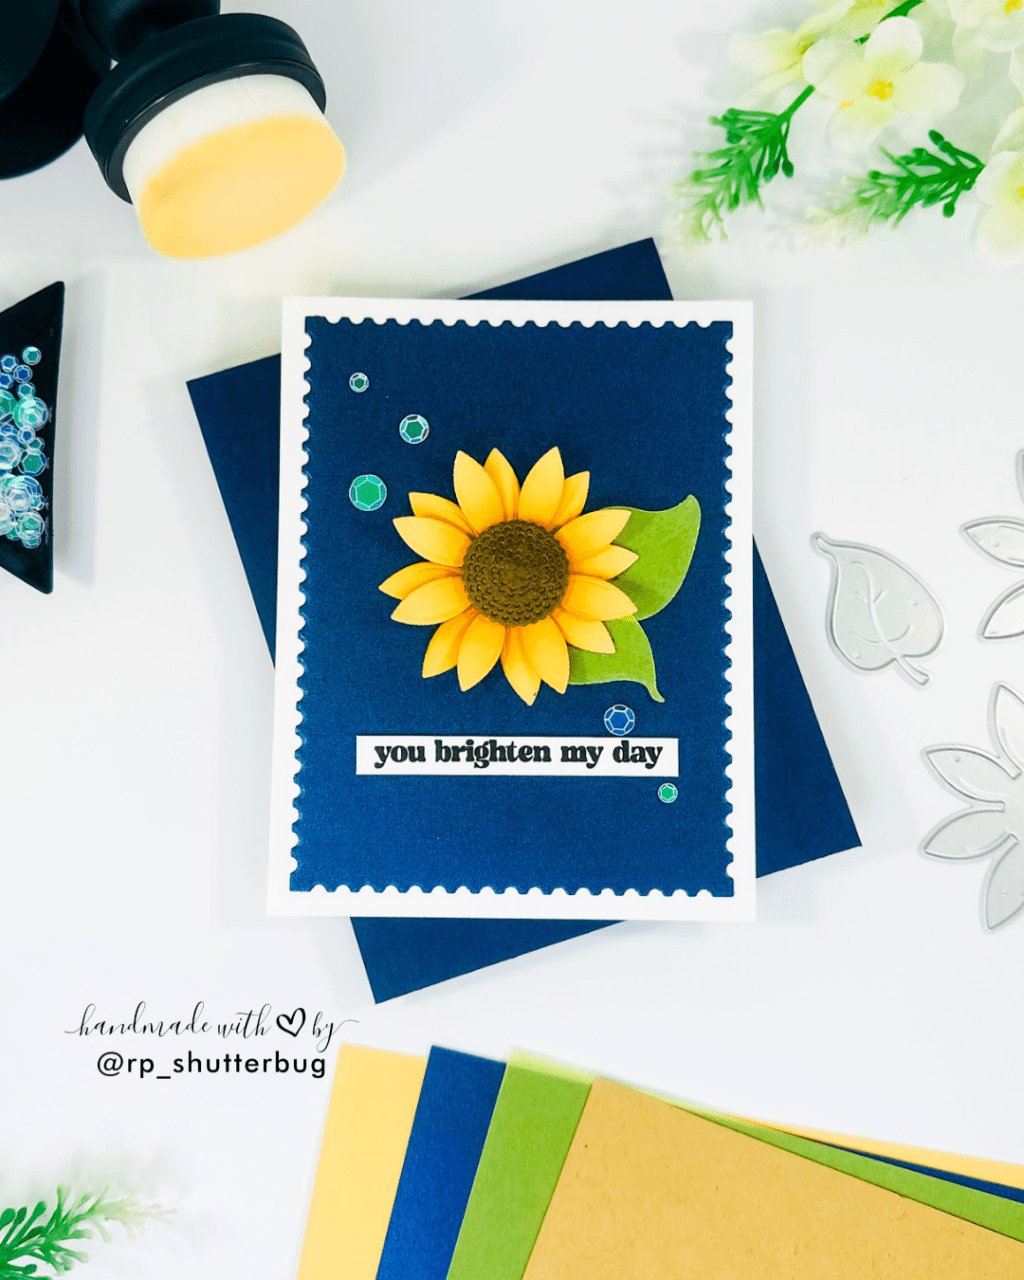
Let’s take a look at the card I created :
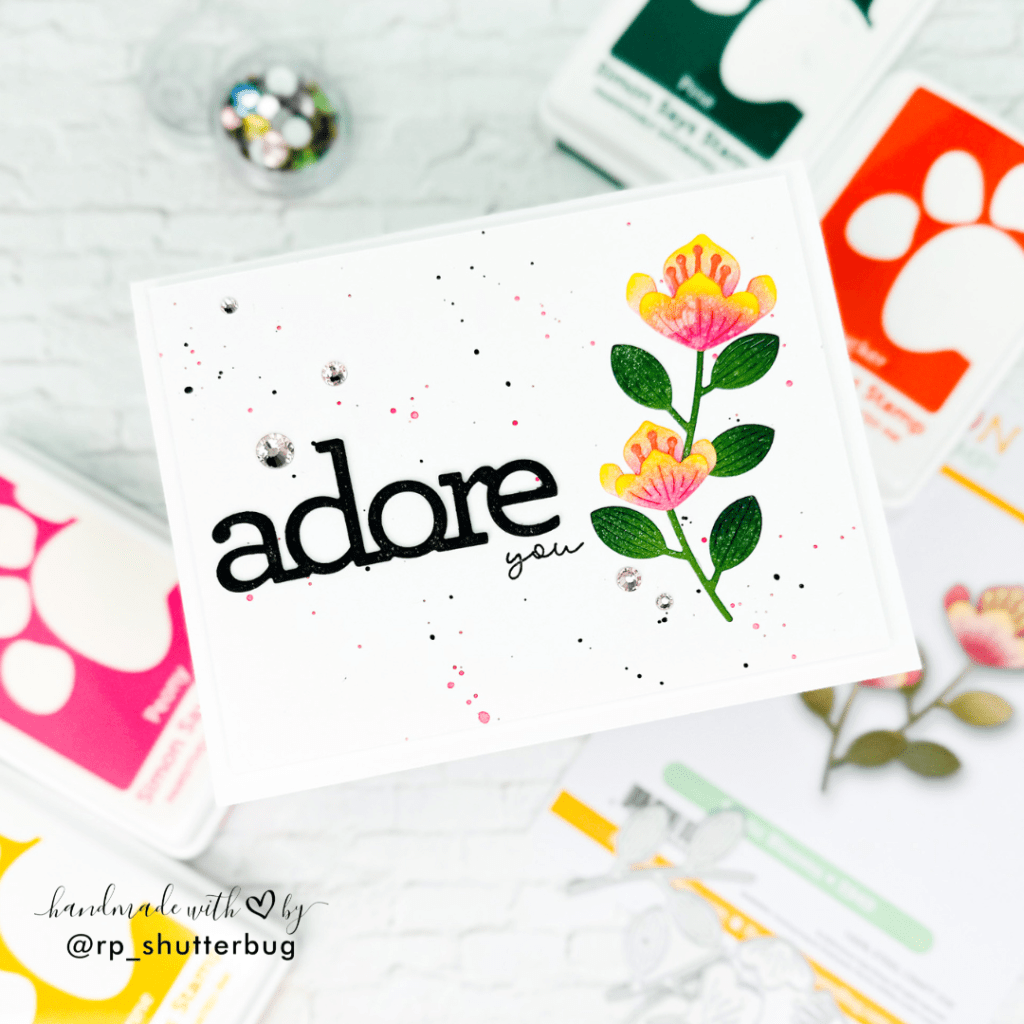
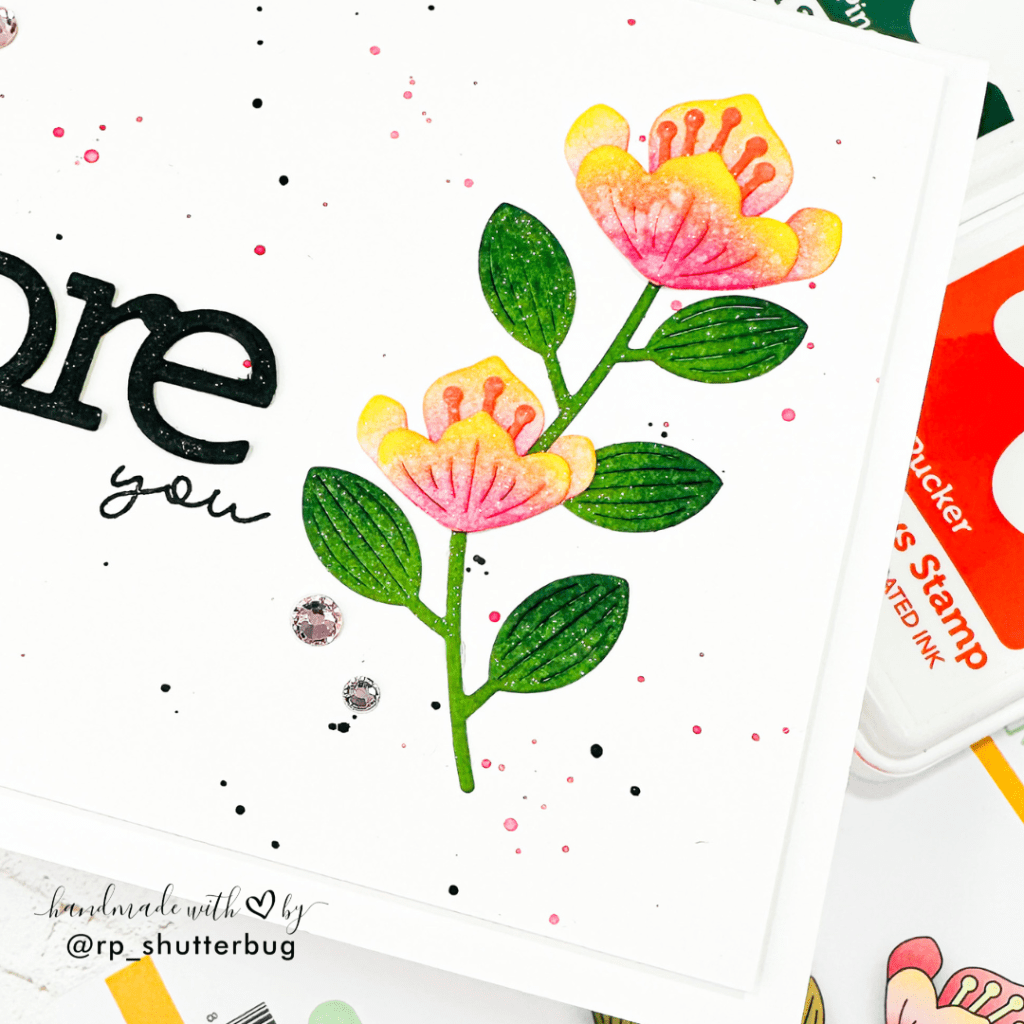
I started by die cutting the beautiful floral focal point using the Exotic Blooms Die Set from the latest To Love release by SSS. I added some pink and yellows on my flower using the SSS Pawsitively Saturated Inks in the shade Peony and Citrine and used orange Pucker for the stamen. For my leaves, I used the shade Pine.
I die cut the Adore Word Die (which was part of the DieCember Release by SSS) thrice, using some black cardstock.
For my sub sentiment, I stamped the word “you” by masking the long “and adore you” sentiment from the the Circle Sentiment Stamp Set, which again is part of the To Love Release.
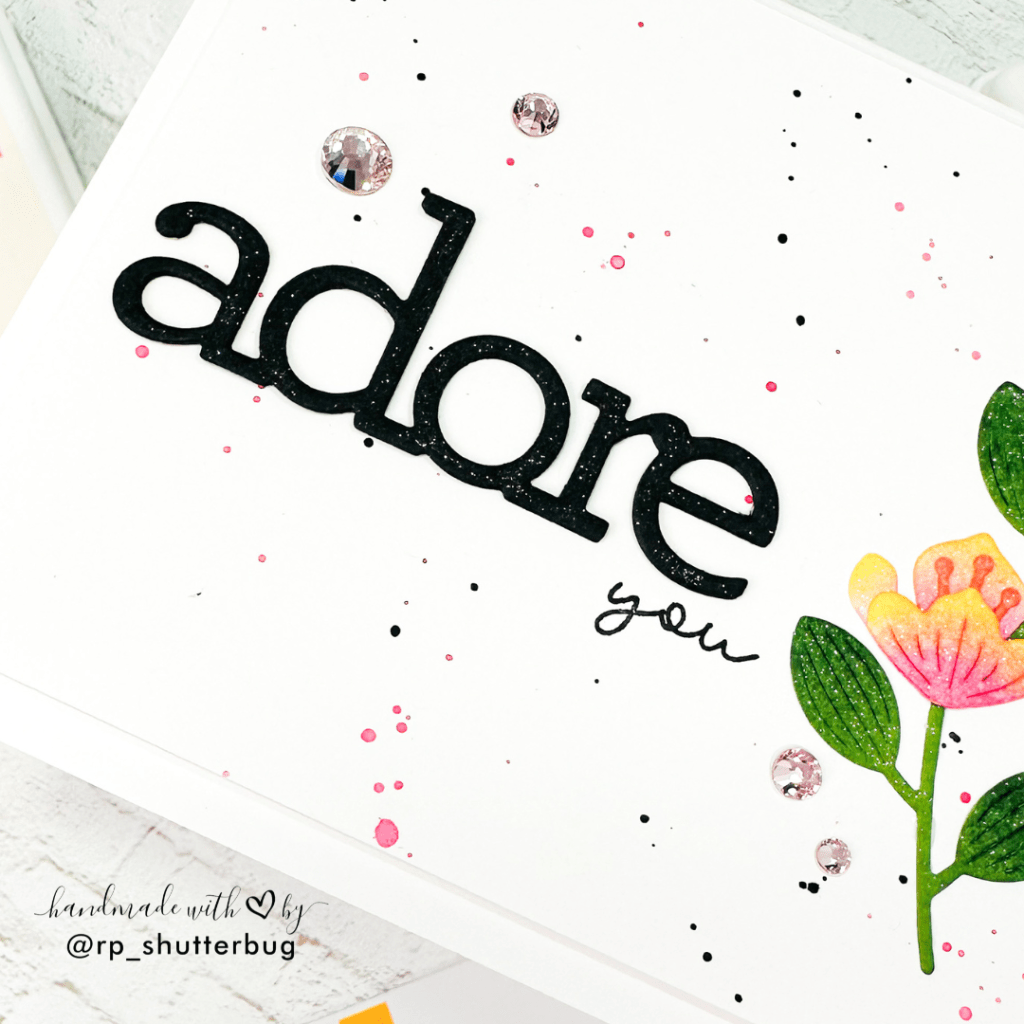
I added some pink and black watercolor splatters to my background and for shine on my focal point and die cut sentiment, I sprayed them with the Shimmer Mist.
To finish off the card, I added some pink gemstones from the Pastel Tones Pawsitively Dazzling Gems.

I love how this card turned out. The Exotic Blooms Die Set is such a versatile set which would be perfect to create beautiful card fronts and would compliment any kind of sentiment or occassion cards.
Check out the Youtube Video, where I show you how I created this card project.
Thank you for being here with me today. Do check out fun pictures and videos of the project on my Instagram page (@rp_shutterbug). Also, tag me on Instagram with pictures of your projects.
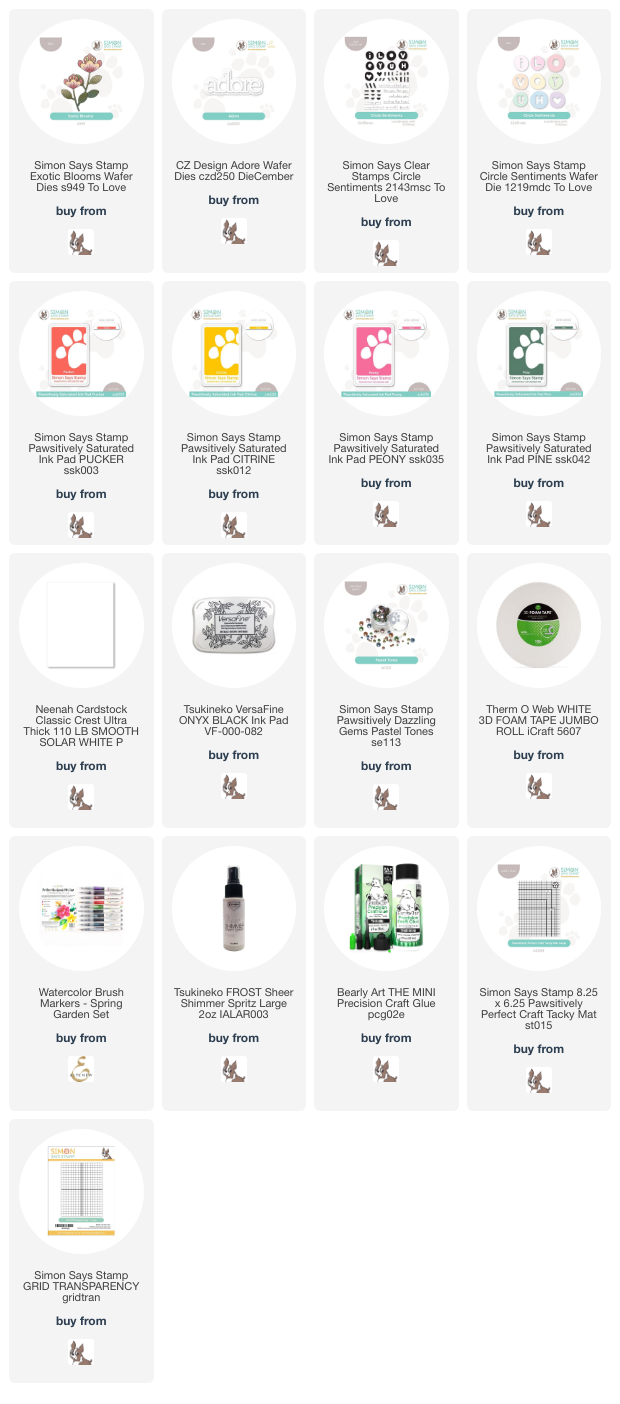
SUPPLIES:
*NOTE: Affiliate links may be used (at no additional cost to you) – thank you for your support!
 https://linkdeli.com/widget.js?id=f5e8378456858c916708
Thank you again for joining me today. Until next time, stay safe!


Leave a comment