Hello crafty friends,
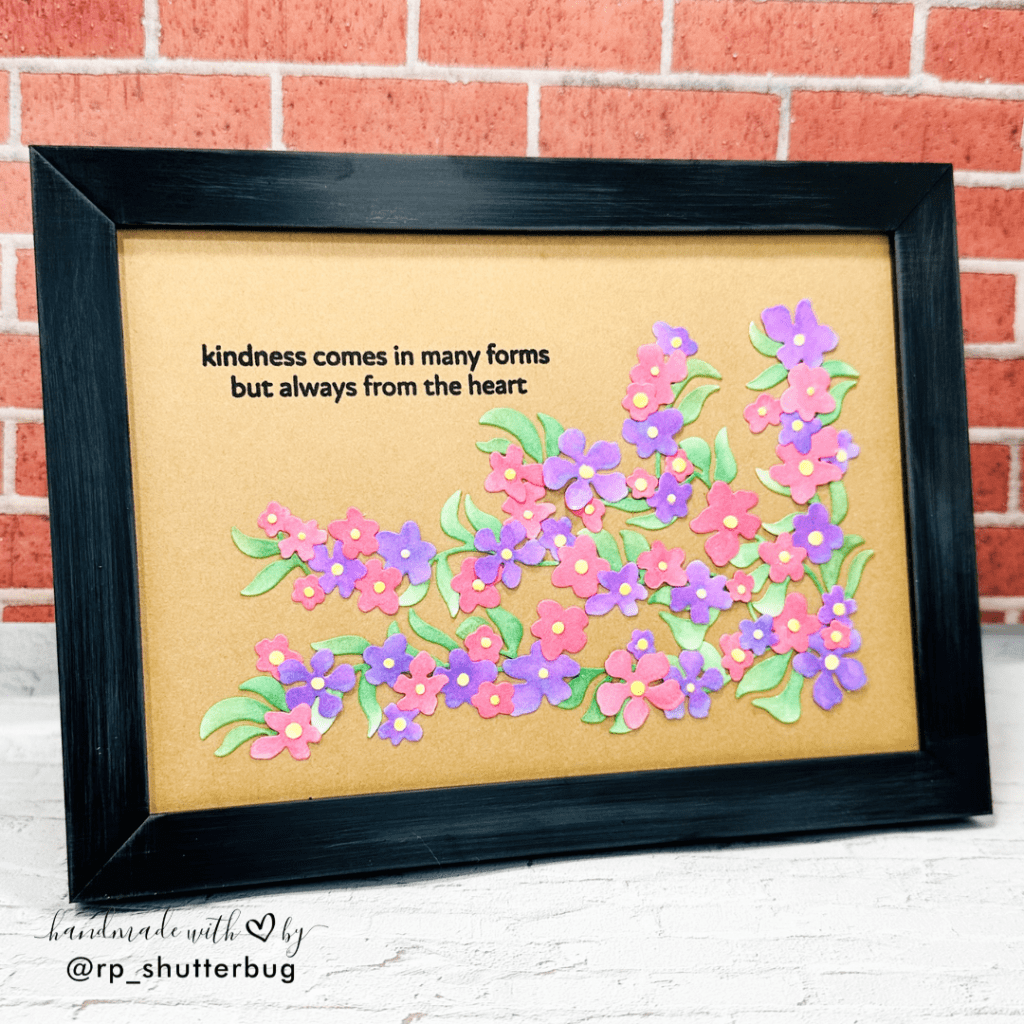
Welcome to part 2 of the AECP Level 2 – Final Challenge where I used an old and broken photo frame to create a beautiful floral decor piece.

Let me begin with the scratched frame that I used for this project and share the story behind it.

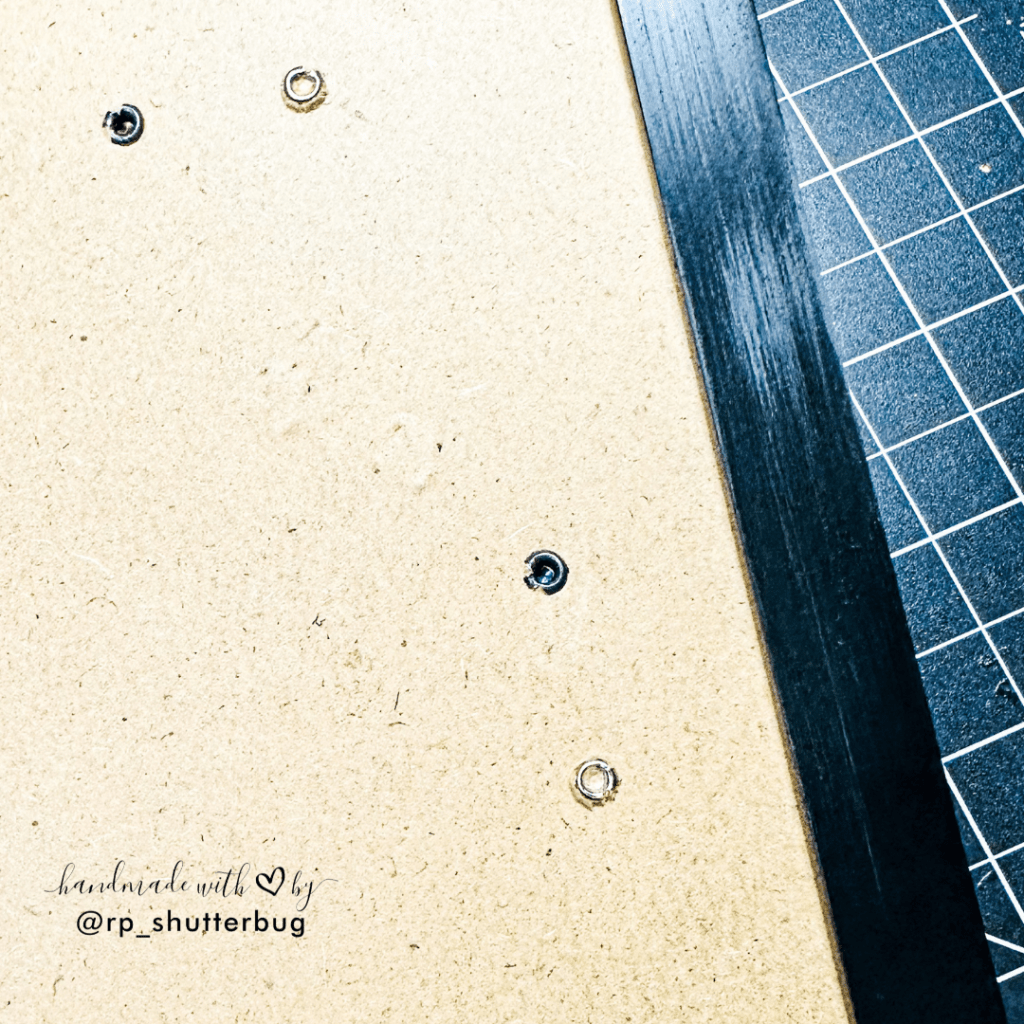
This was a 5 by 7 inch frame which I got from amazon a few years back. During our move to the new house, the frame was damaged. It was very badly scratched on one side and the glass on the frame cracked.
I was not happy with the scratch on the beautiful matte black, but today I am so glad I didn’t throw this away. This was the perfect item I had in my stash to create something beautiful (best out of waste) for this challenge.
I had to either cover the scratch mark in black paint or do something more fun. I took a sanding block from my husband’s tool kit and decided to create more scratches. Well, I must say, this definitely was a bold move. I was not sure if further scratching the frame would completely ruin it. But I had to try.
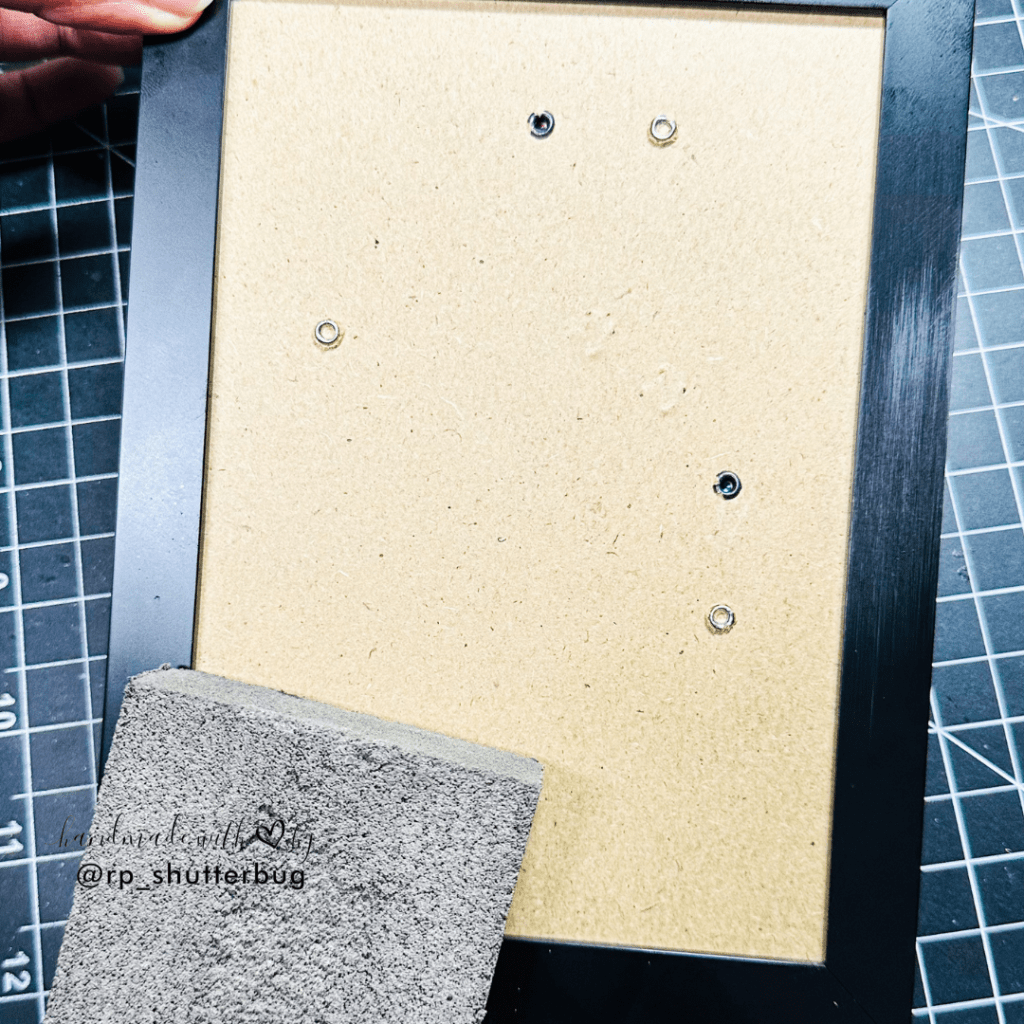
I ran the sanding block on the edges of the frame and to my surprise, these scratches looked very similar to the scratched edge on the frame. I continued rubbing the frame with the sanding block until I was able to create a rough texture on the frame.

As much as I loved the plain matte black, I surely love this textured look too. It does give it an appeal!
So now that my frame was ready, I had to decide if I wanted to put up a picture in it or put in an art piece. But without the glass, I thought the picture would not go very well. So I decided to create an art piece instead. We will be creating a beautiful floral decor piece which I ended up putting in my office space.
I started by die cutting cutting little flowers and leaves using the Zero Waste Fun Little Flower Die.

The best part about this die is that it lets you use both the positives (the little die cut flowers and leaves) and also the negatives to create a gorgeous project.
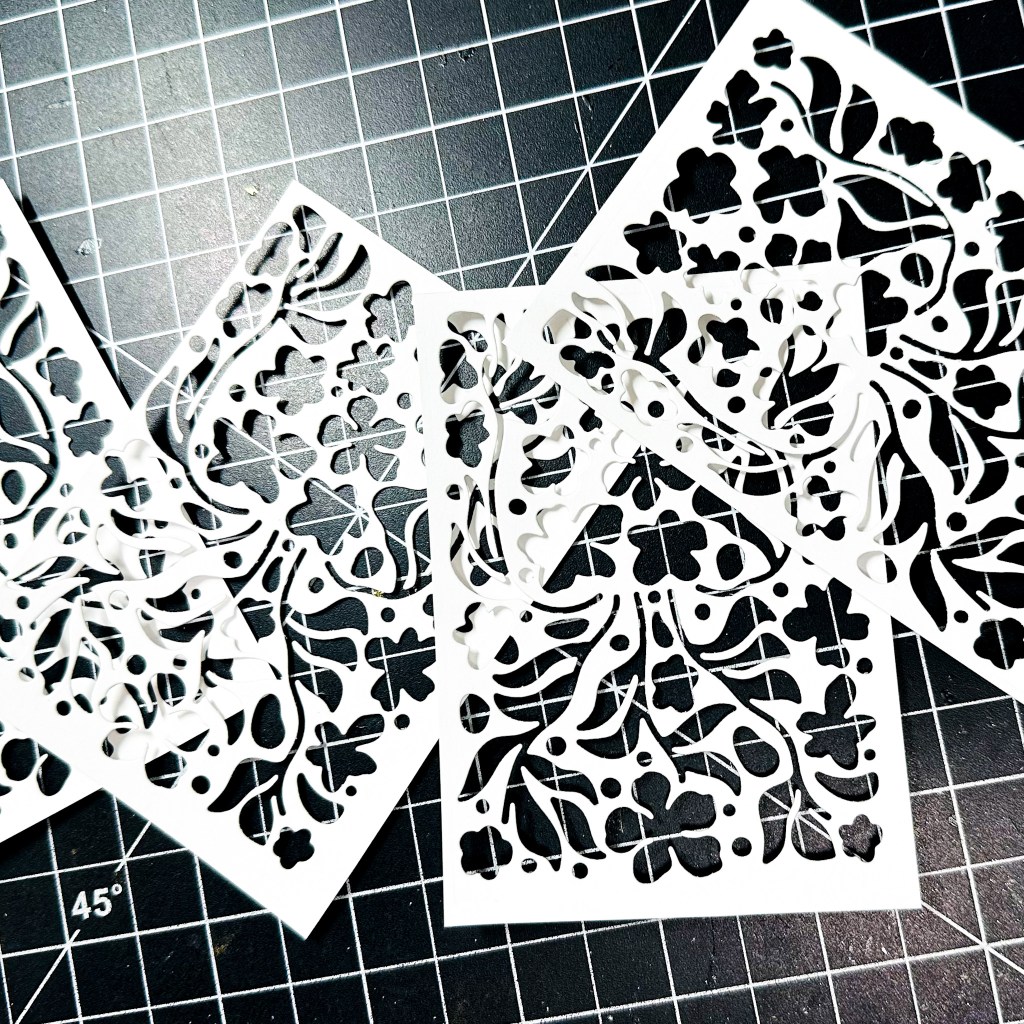
I cut these florals 4 times using an 110 pound white cardstock, since I wanted something heavy and sturdy on my frame. I never ended up using these negatives, but I do have it stored along with some other incomplete projects and hope to use it on a card front soon.
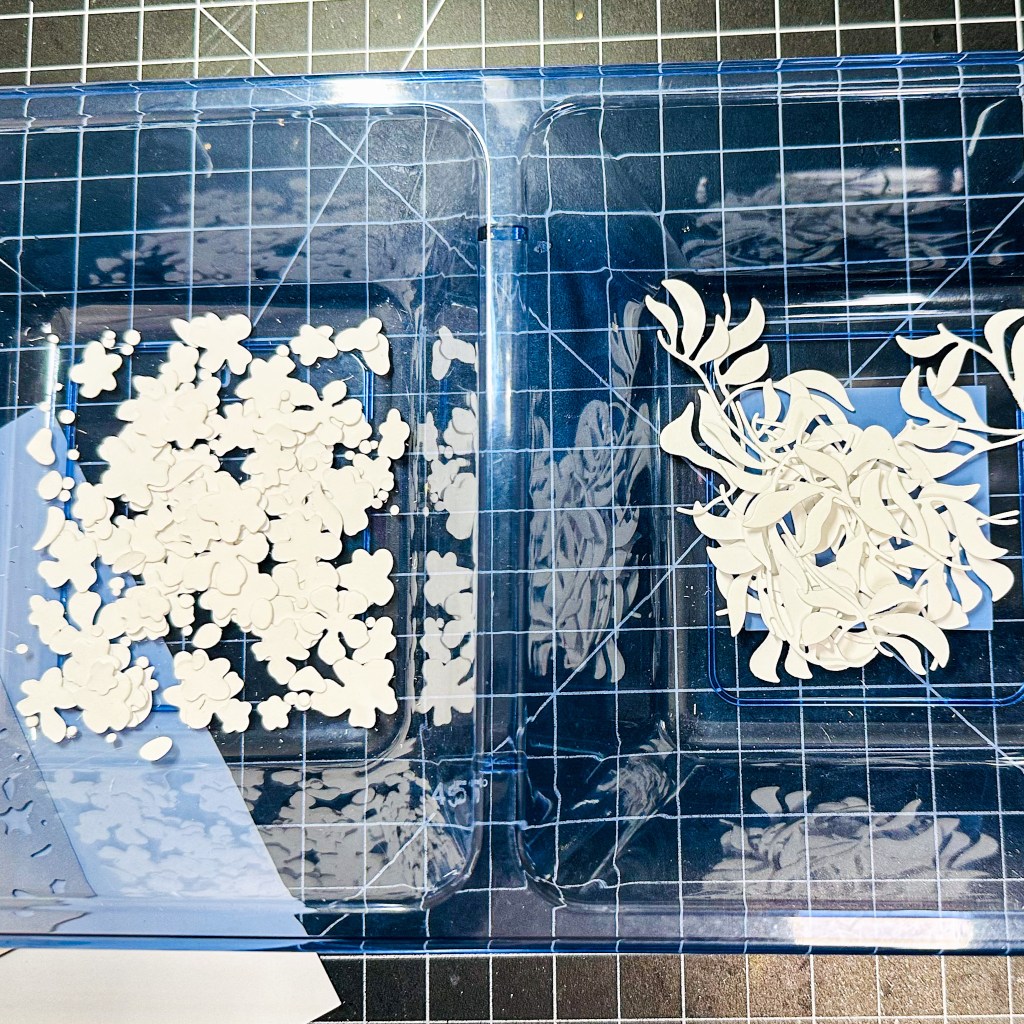
I stored all of the tiny little die cut pieces in this container that I got from the Dollar Tree. I did separate all of the flowers from the leaves, to make my work a lot easier when I went to color them, since these are fairly smaller than your average die cut flowers.
You could also use colored cardstocks to cut out these images, but I prefer cutting them using white cardstock and adding colors of my choice.

I started with the leaves. I placed them onto my Altenew Sticky Mat to make sure they are held in place while I ink blend with some beautiful greens on them.

I used 2 shades of greens. Also, the thing I love the most about adding your own choice of ink on white die pieces is that every little leaf looks different. The intensity of color, the shades, are all different.
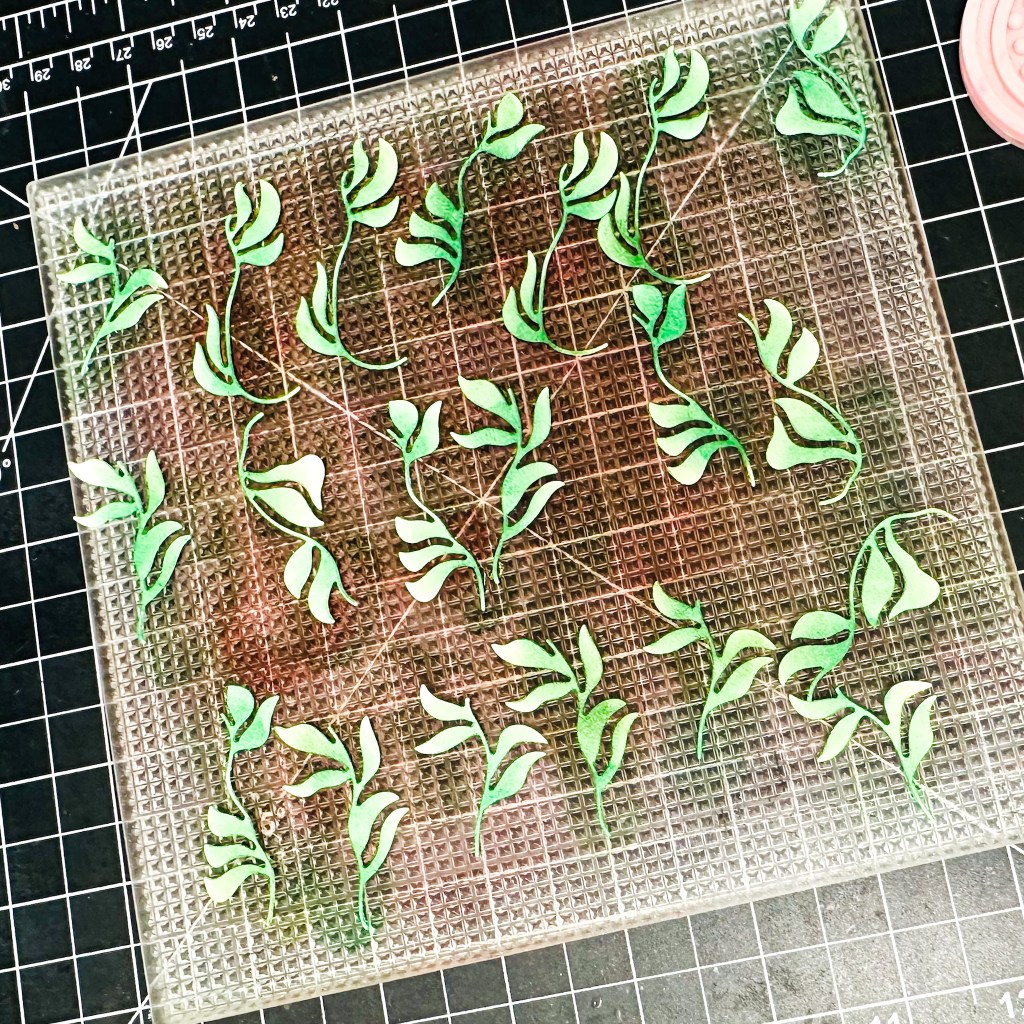
I love how these turned out.
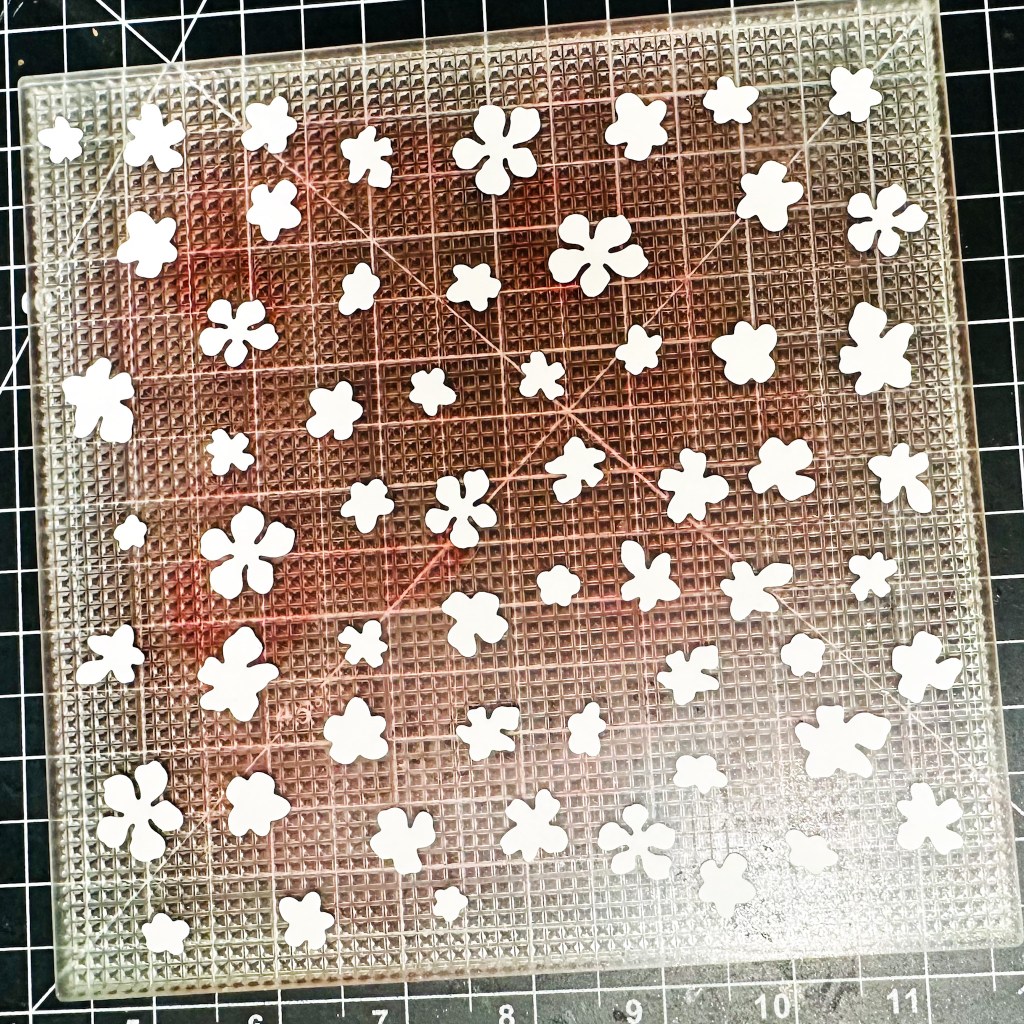
Next I arranged the flowers on my sticky mat.
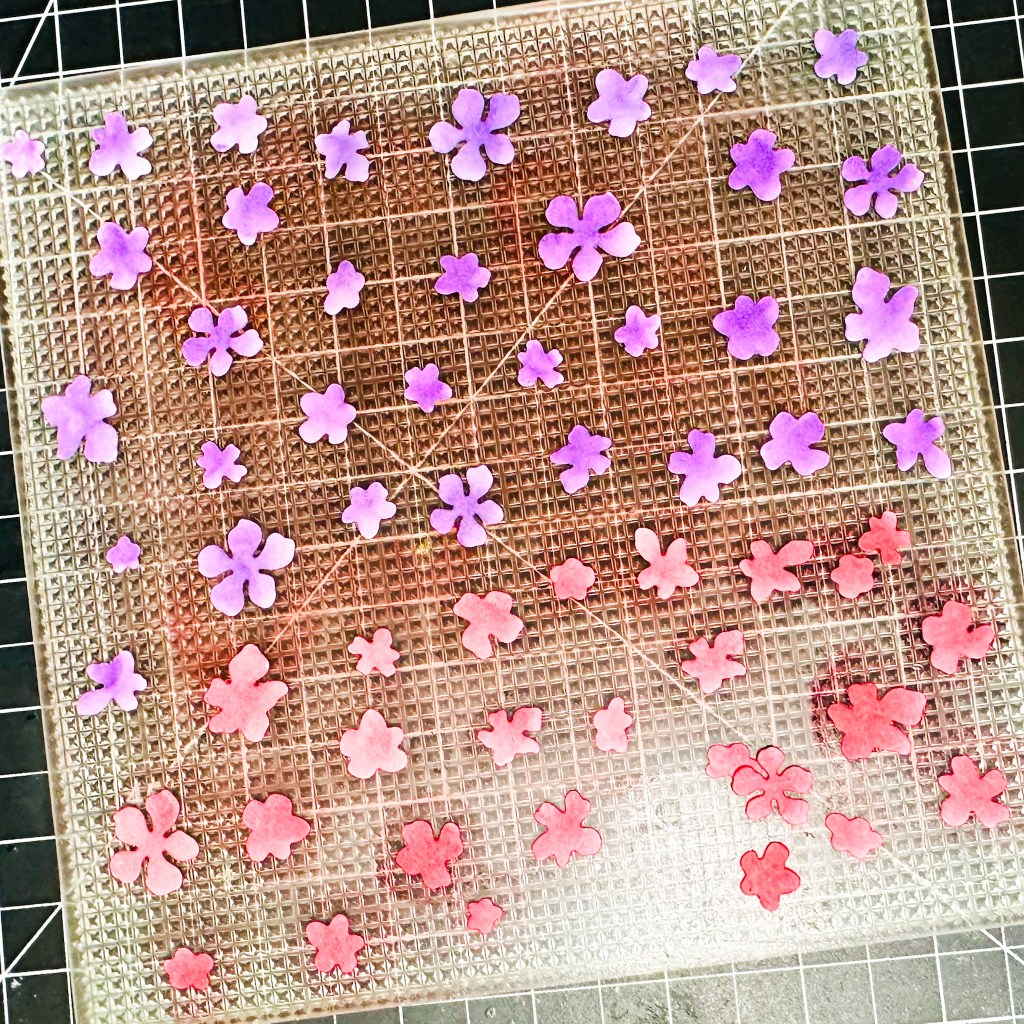
I used some purples on half of these flowers, while on the other half I used some beautiful pinks. I love the combination of pink and purple.

Once all my flowers were colored, I separated the pinks from the purples and stored them in 2 separate triangle trays.
I know, all this looks very unfinished now, but wait till you see the completed flowers with a center dot.
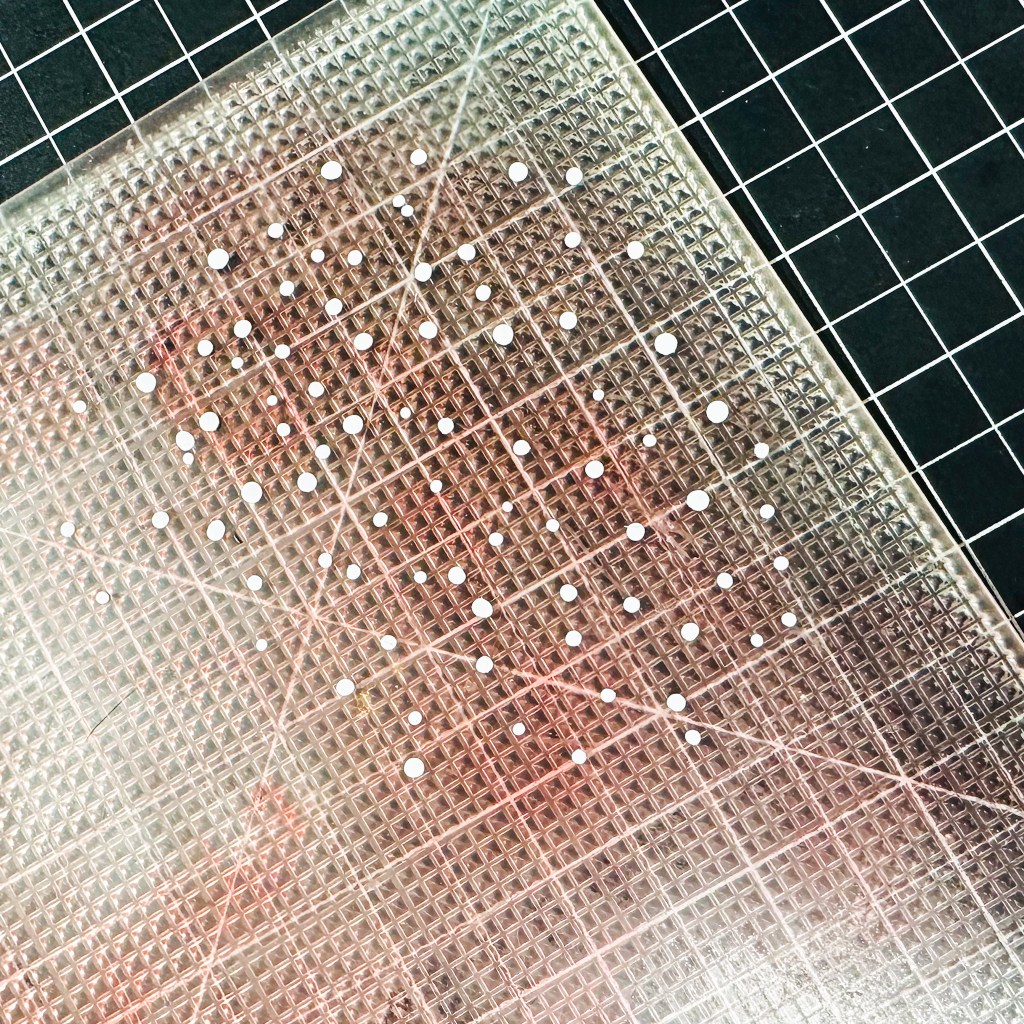
The Die also cuts out this little dots which are to be the centers of our flowers.
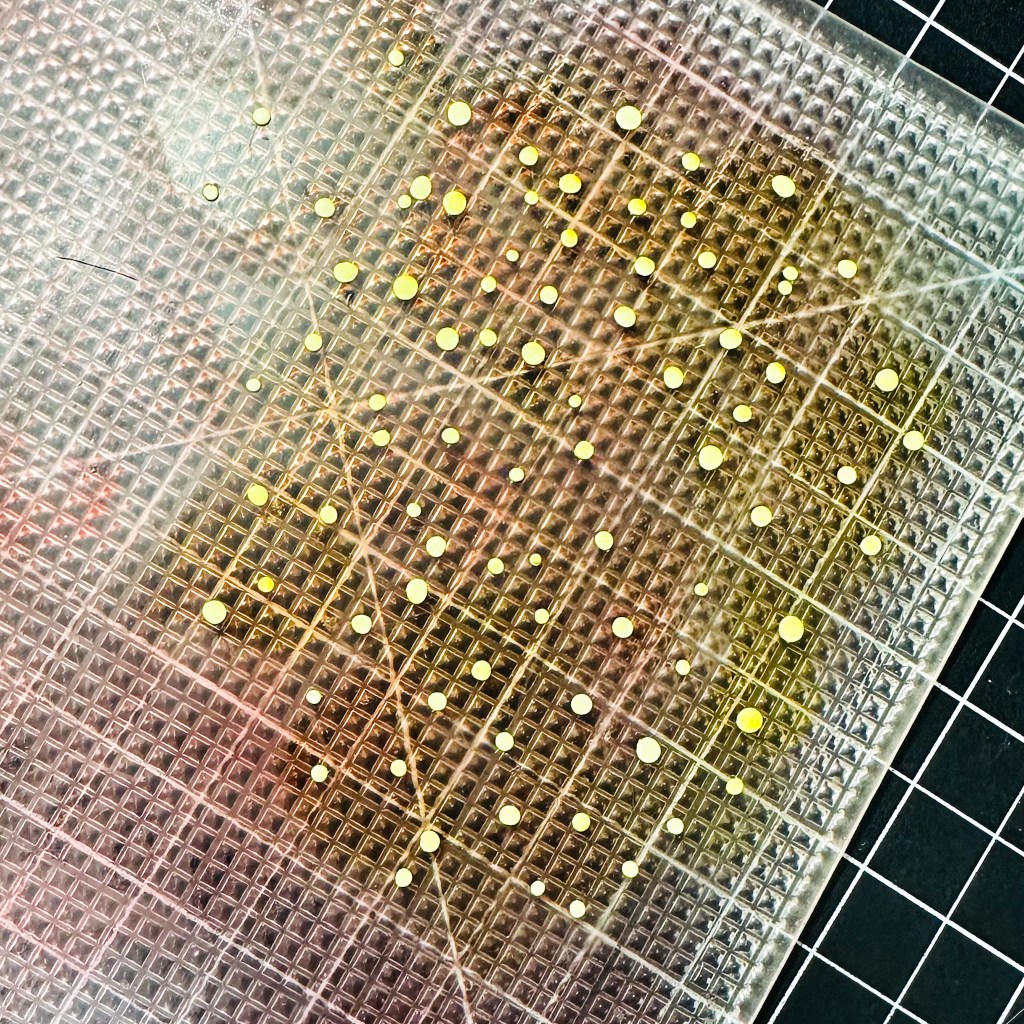
I colored these using a bright shade of yellow. The yellow looks gorgeous against the pink and purple.
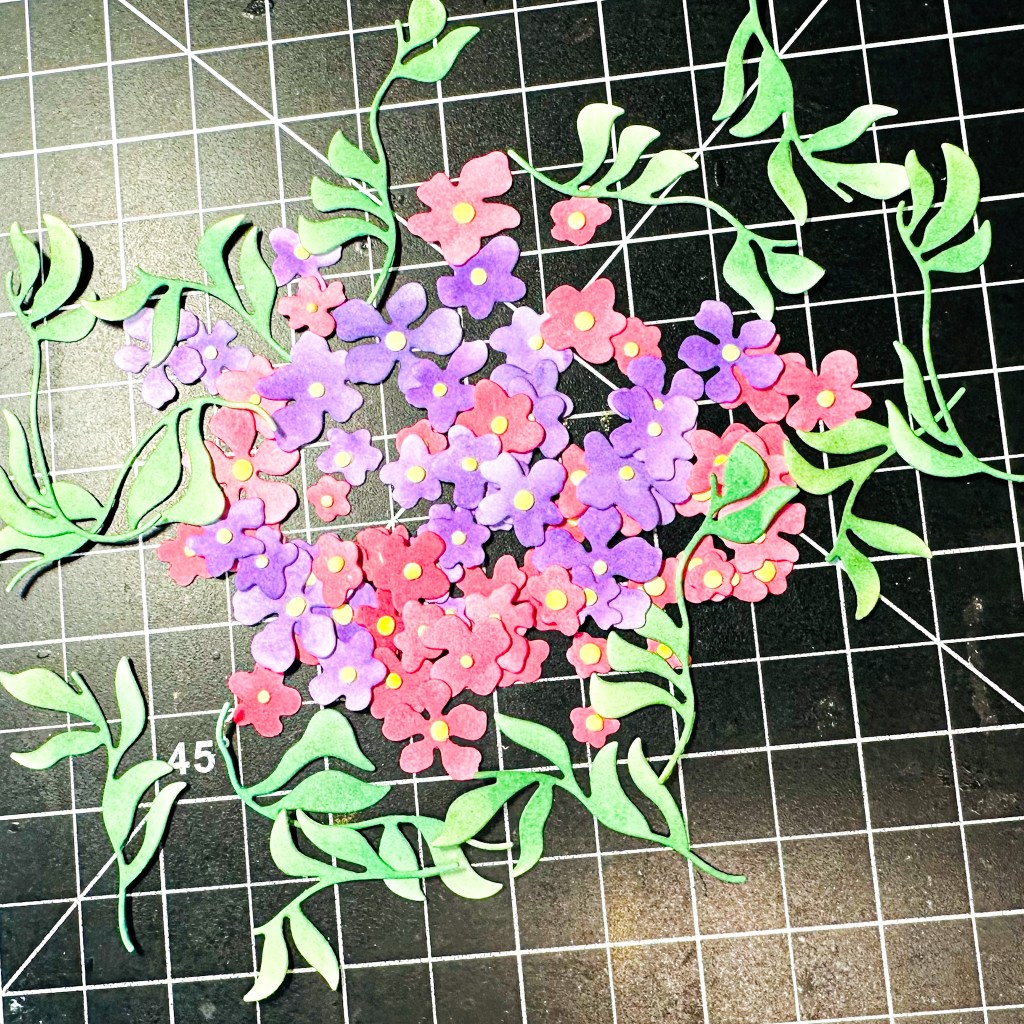
Next using my liquid glue, I adhered each of the center dot on all my flowers. I am already in love with this color palette.
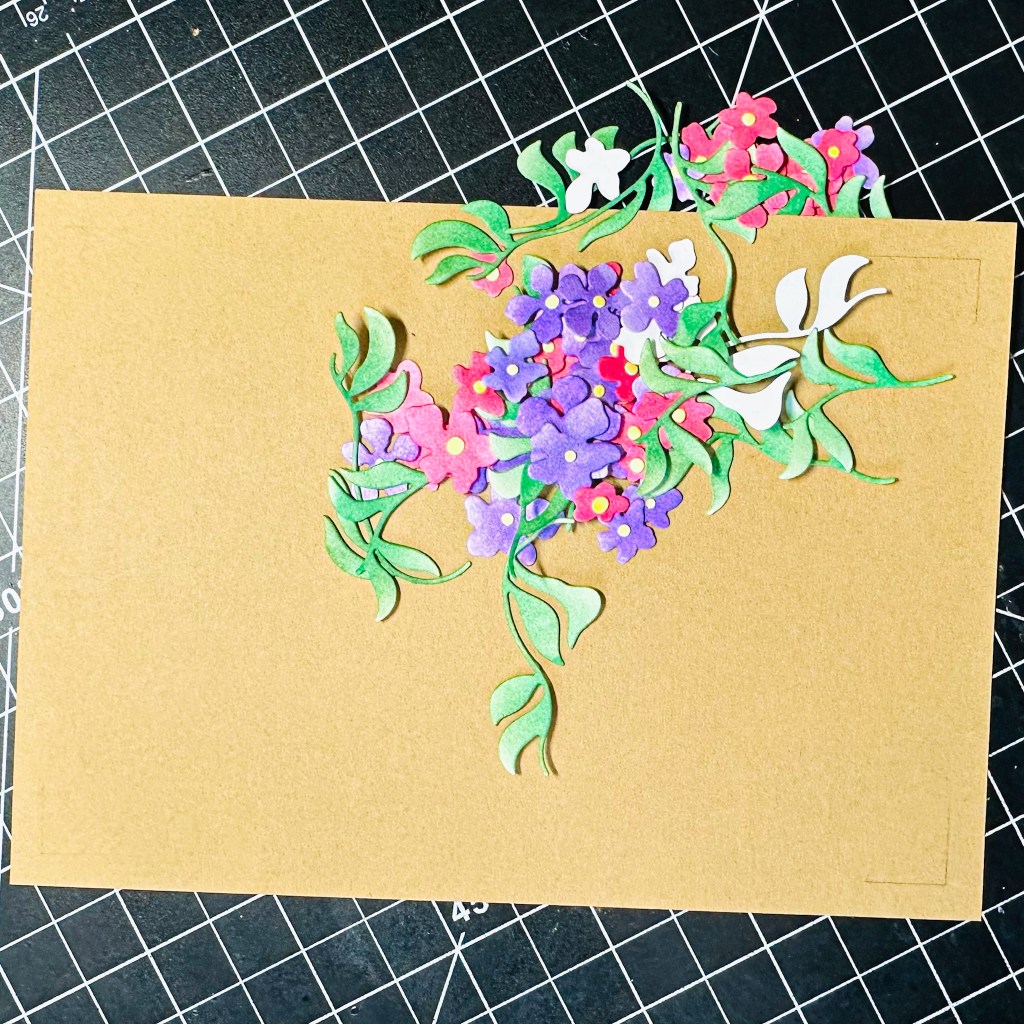
It was now time to create a base for our floral arrangement. I thought of adding a light brown cardstock panel. This color helped pop up our florals. Using my liquid glue I created a beautiful floral arrangement along one edge of the brown cardstock. Well initially I planned on covering the entire panel with these flowers, but since I wanted to display it on my work surface, I decided to keep it a little simple and add an inspiring note on it instead.

I stamped a sentiment which says “kindness comes in many forms but always from the heart”, which actually got a smile on my face and I thought this would be perfect to start each morning with!
I then placed this panel into our frame.

The flowers without a glass window and a distressed frame definitely took me out of my comfort zone. But I am so happy with the end result.
Here’s a look at the finished product.
Please do let me know what you think about this project. All the tiny little flowers took a lot of time to be separated, colored and glued together. But I think it was worth the time and effort. What do you think?
I am so glad AECP came up with this challenge, or else this frame would still be on a shelf in my garage!
The Altenew Educator Certification Program is definitely a best opportunity to showcase my work and get in touch with all of the amazing crafters.

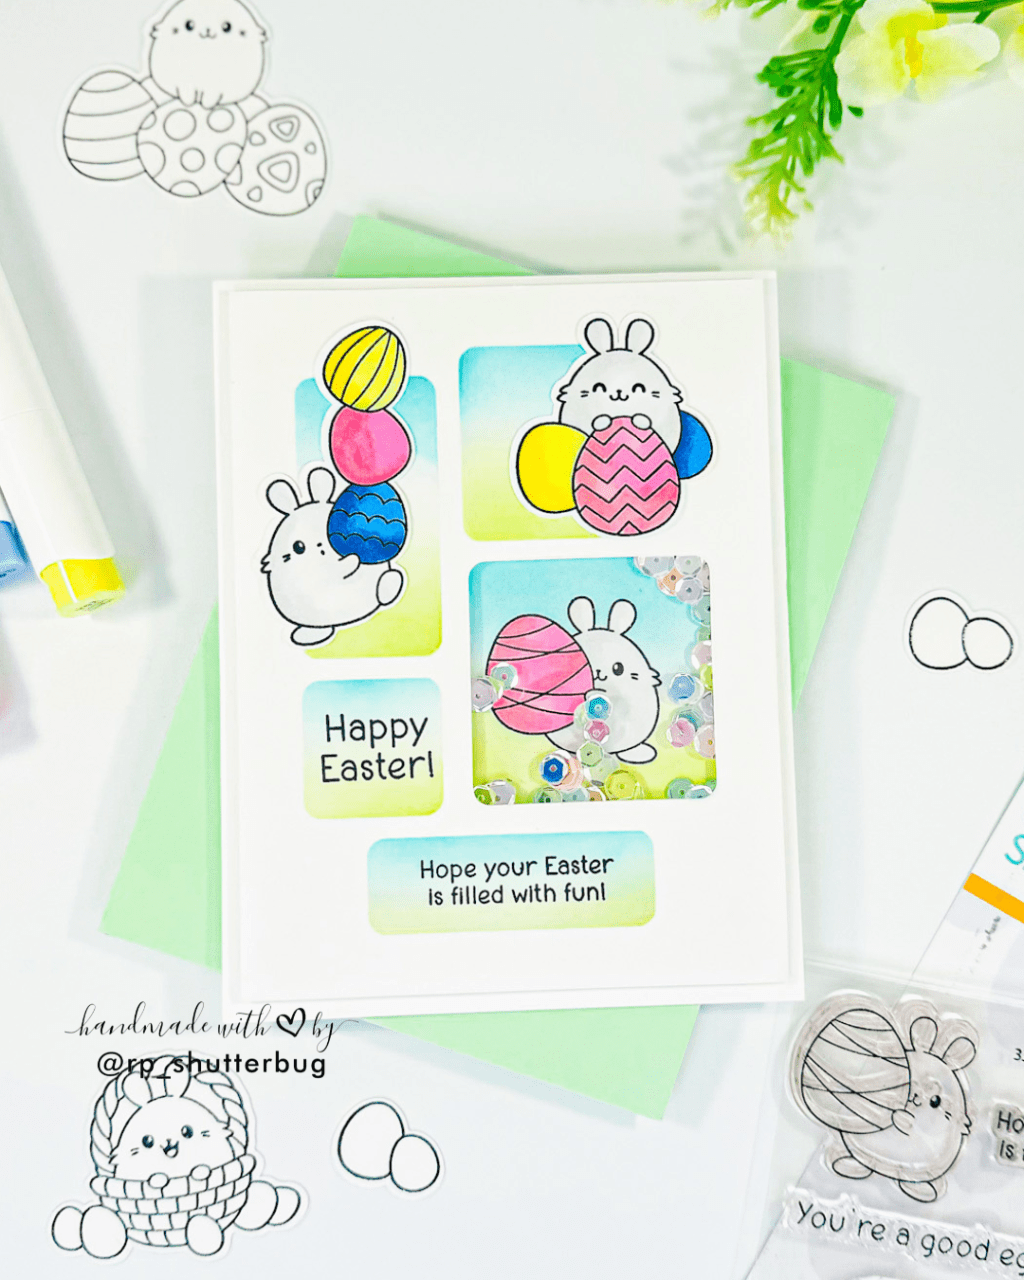
Thank you for being here with me today. Do check out fun pictures and videos of the project on my Instagram page (@rp_shutterbug). Also, tag me on Instagram with pictures of your projects.
SUPPLIES:
*NOTE: Affiliate links may be used (at no additional cost to you) – thank you for your support!
 https://linkdeli.com/widget.js?id=f5e8378456858c916708
Thank you again for joining me. Until next time, stay safe.


Leave a comment