It’s officially July, and that means it’s time to dive into one of my favorite mid-year traditions—Christmas in July! While summer is in full swing, it’s the perfect time to take a break from bright summer themes and start working on our holiday card stash. Not only is it fun to get a head start on festive projects, but it also helps us avoid the last-minute rush later in the year.
Today, I’m sharing a super quick, beginner-friendly Christmas card using the Nutcracker Die Cut Ephemera by KS. If you’re someone who loves clean and simple designs—or if you’re just getting started with cardmaking—this project is perfect for you!
For this card, I wanted to keep the design simple and focus entirely on the beautiful die cut pieces. The Nutcracker Die Cut Ephemera pack includes 28 pre-colored and pre-cut designs printed on premium cardstock—making them ideal for crafters who want a polished look without the extra steps of stamping, coloring, or die-cutting.
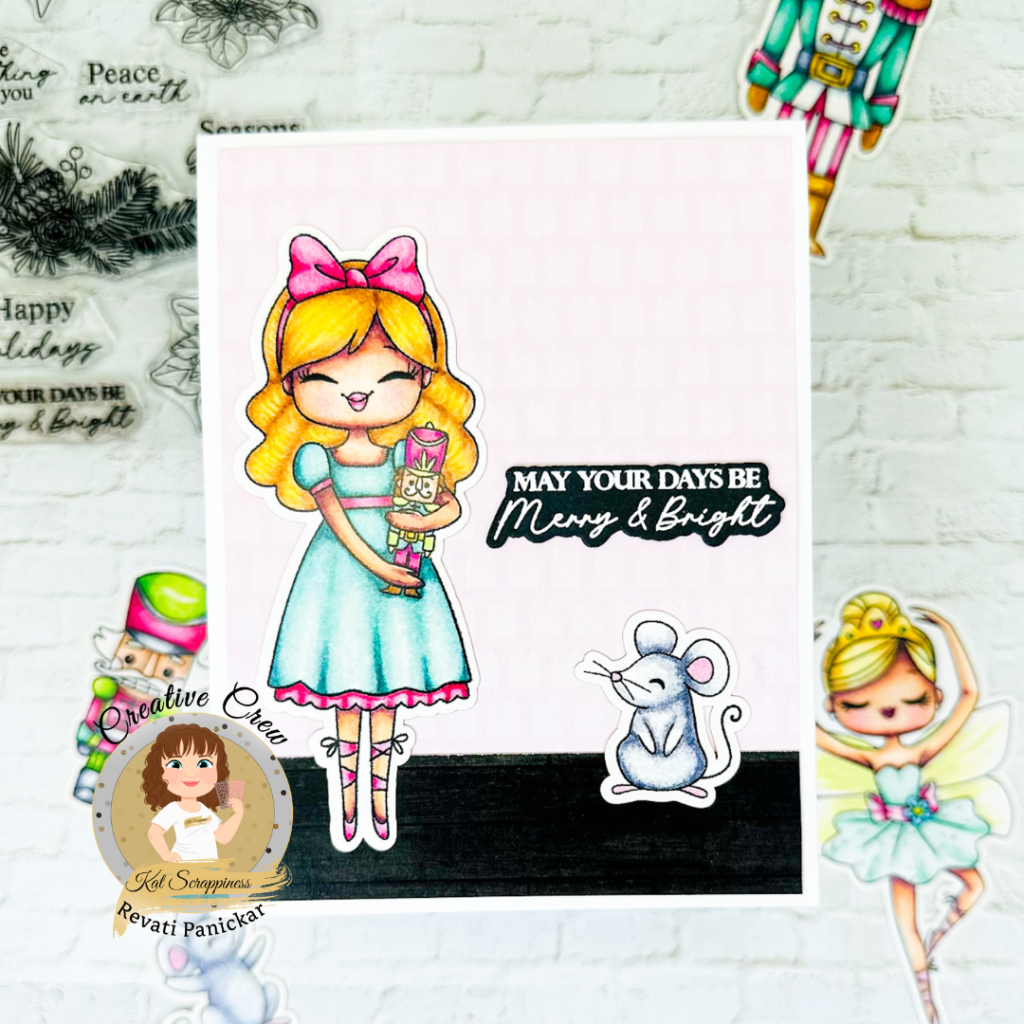
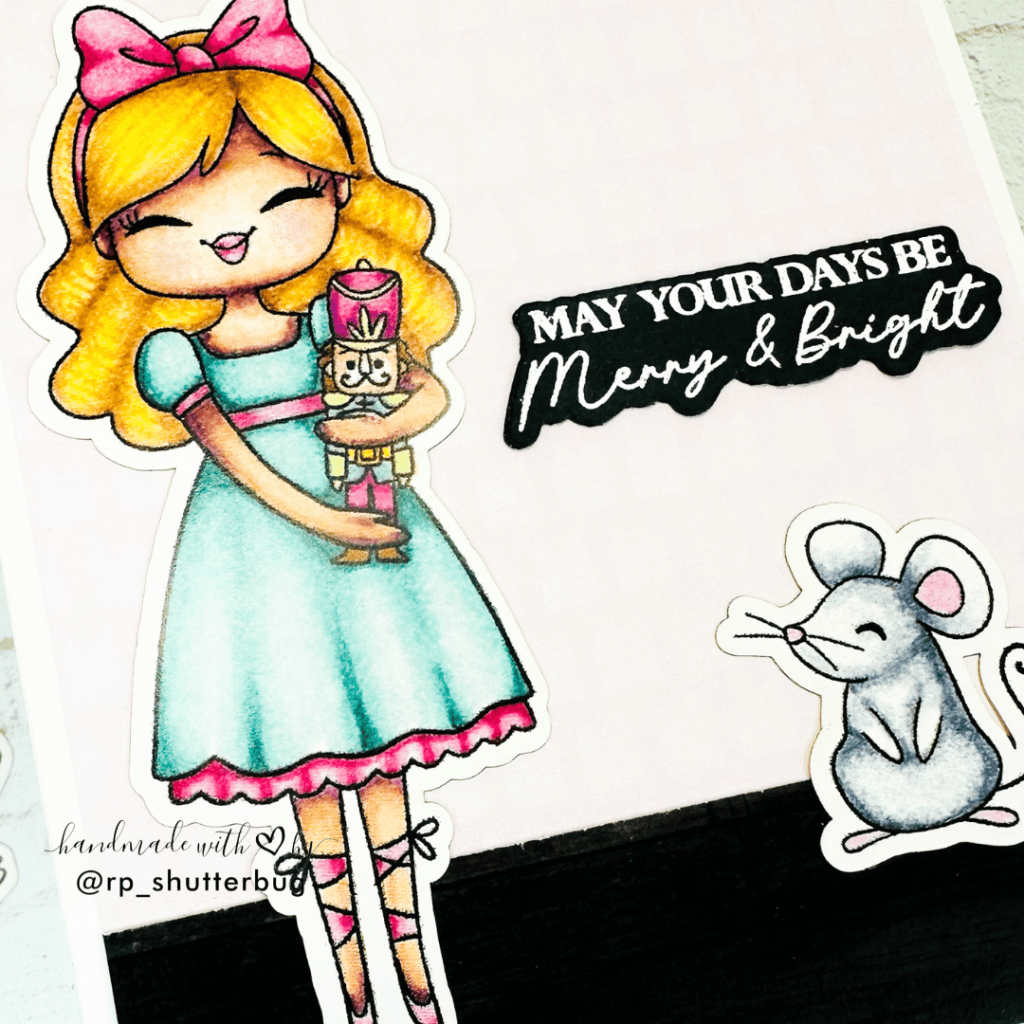
I selected a sweet little girl holding her nutcracker toy along with a tiny mouse as my focal images. To create a soft and subtle backdrop, I used a pink patterned paper from the Nutcracker Paper Pad. The pink adds just the right amount of warmth without overpowering the ephemera.
To ground the scene, I added a narrow strip (around 1.5 inches wide) of woodgrain paper from the Lumber Yard Paper Pad, giving the illusion of hardwood flooring. Paired with the pink background—which feels like wallpaper—it creates a charming home-style setting perfect for a holiday scene.
Before adhering the ephemera, I stamped the sentiment “May your days be merry and bright” from the Christmas Lantern Add-On Stamp Set by KS. I stamped it onto a black cardstock strip using white pigment ink, heat embossed it with white embossing powder, and then used the coordinating die to cut it out.
To give the sentiment dimension, I die-cut it three times and stacked the layers together using Barely Art Liquid Glue. I love this technique—it creates a beautiful, raised effect without the bulk of foam tape.
All elements were then adhered directly to the card front using liquid glue. I placed the little girl to the left of the sentiment and tucked the mouse underneath it. The only raised element is the stacked sentiment, which gives just enough dimension while keeping the overall design clean.
This card came together so quickly and easily—and the best part is that I still have more of these exact same die cut pieces left. That means I can replicate this design several more times, just by switching up the background patterns. It’s a great way to mass-produce holiday cards while still keeping each one slightly unique.
I absolutely love how this card turned out! The die cut ephemera made the process effortless, and the final result is festive, sweet, and full of charm. Whether you’re new to cardmaking or just looking for quick ideas to build your stash, this project is a must-try!
Check out the video tutorial where I share the process of how I created these cards –
Also, don’t forget to check out my Instagram profile (@rp_shutterbug) where I share a ton of inspirations and fun projects.
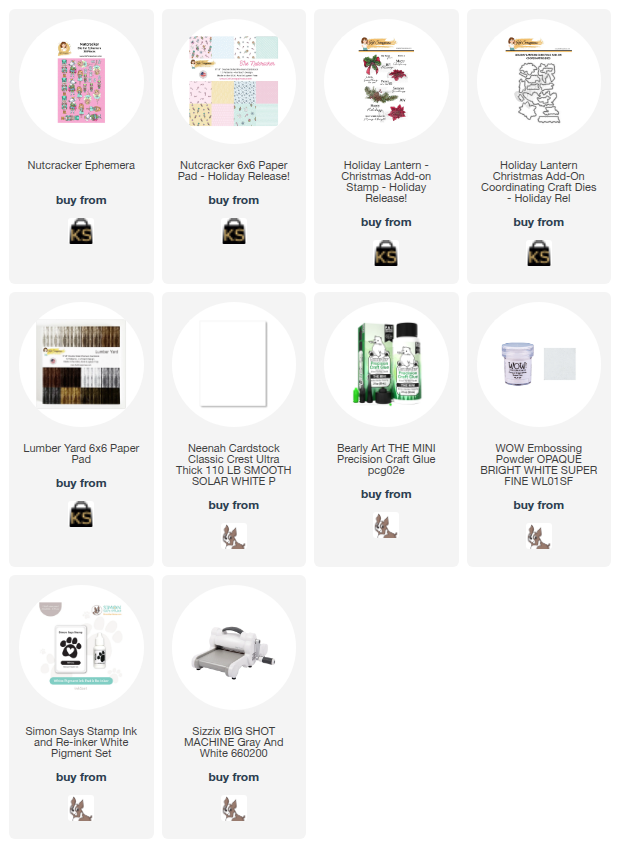
SUPPLIES:
*NOTE: Affiliate links may be used (at no additional cost to you) – thank you for your support!
 https://linkdeli.com/widget.js?id=f5e8378456858c916708
Thank you so much for joining me today! Until next time, stay safe.


Leave a comment