Hello, crafty friends!
Today I’m sharing a beautifully minimalistic card that focuses on soft tones, layered die cuts, and subtle textures. If you love clean and simple card designs that are easy to recreate but still leave an elegant impression, this one’s for you!
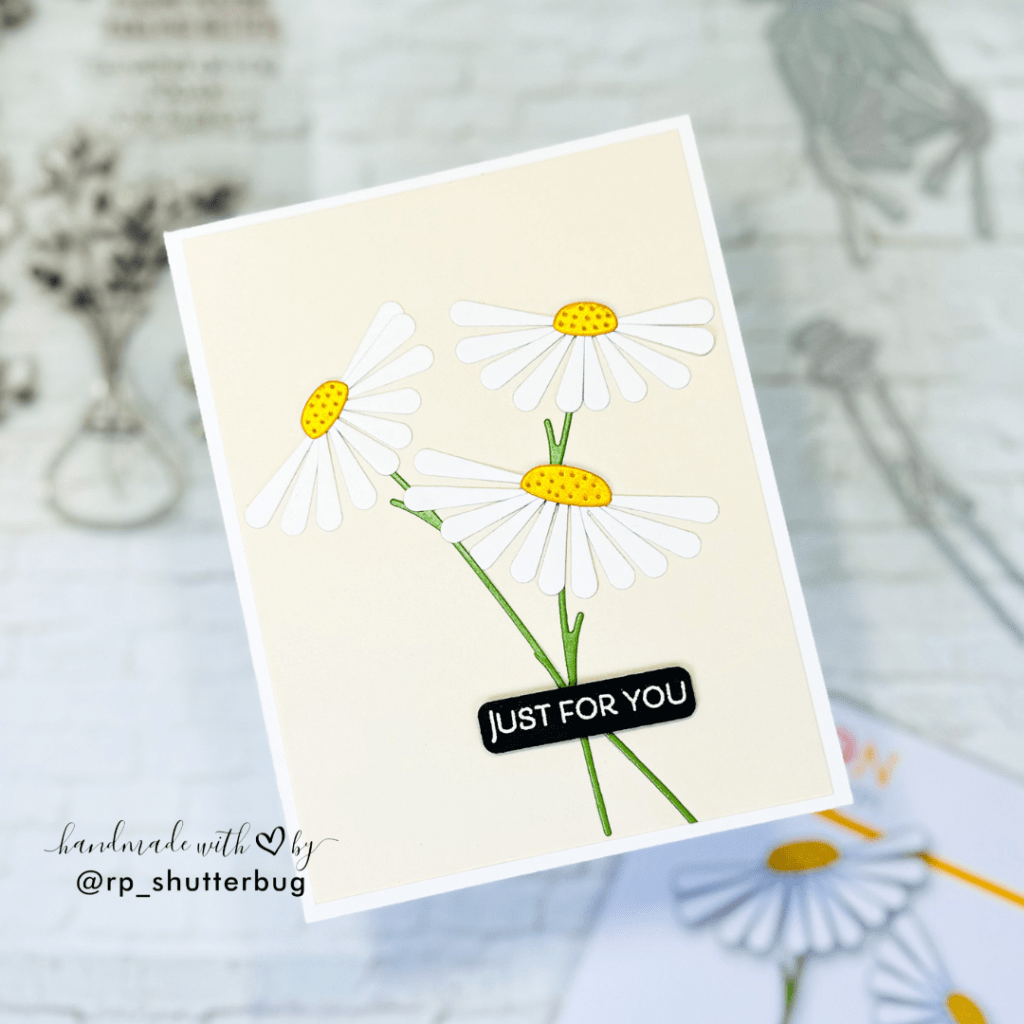
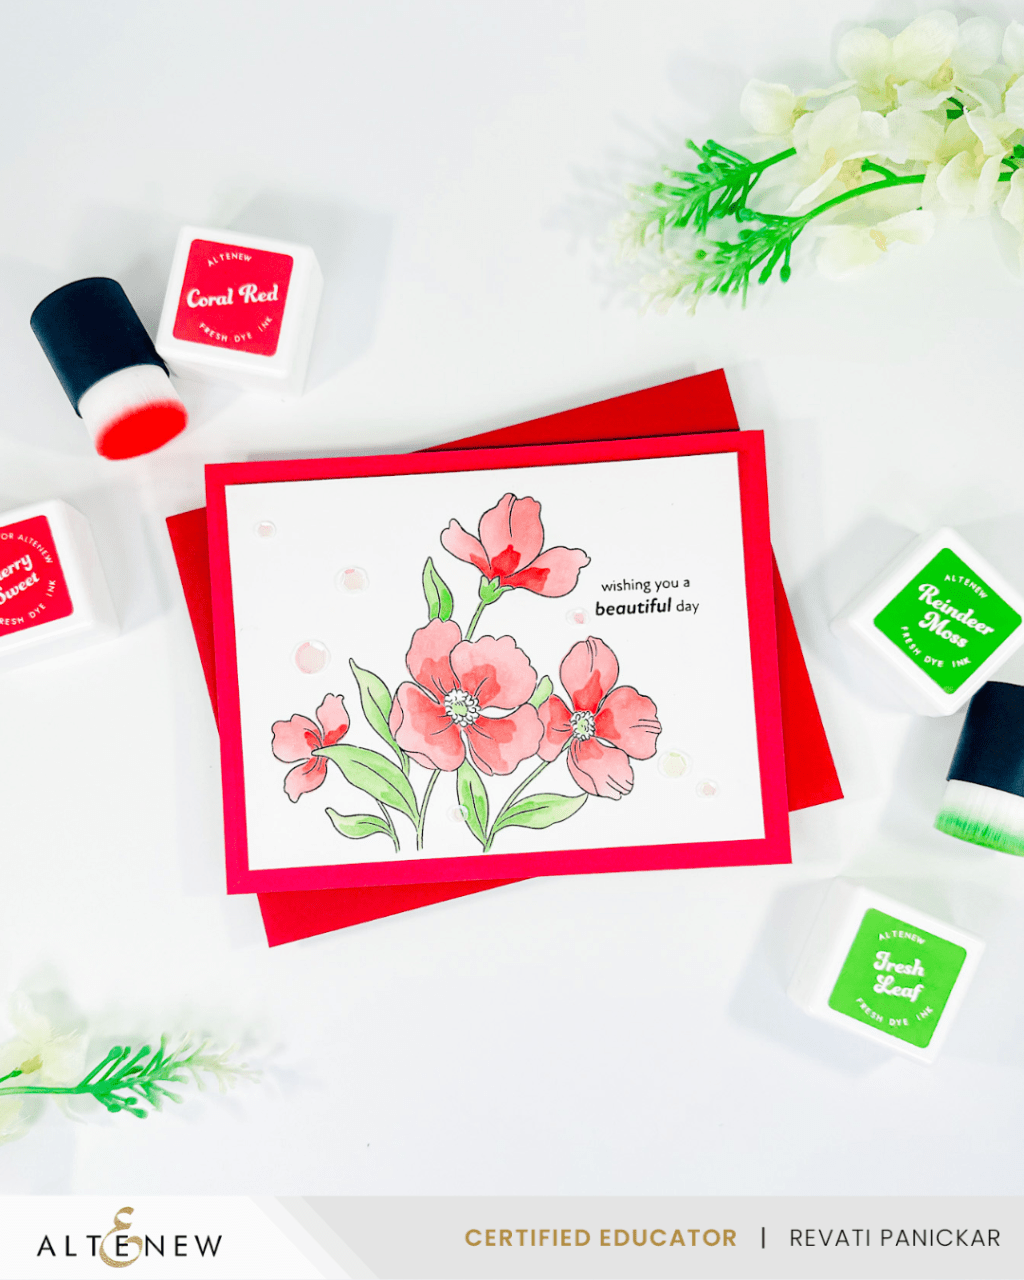
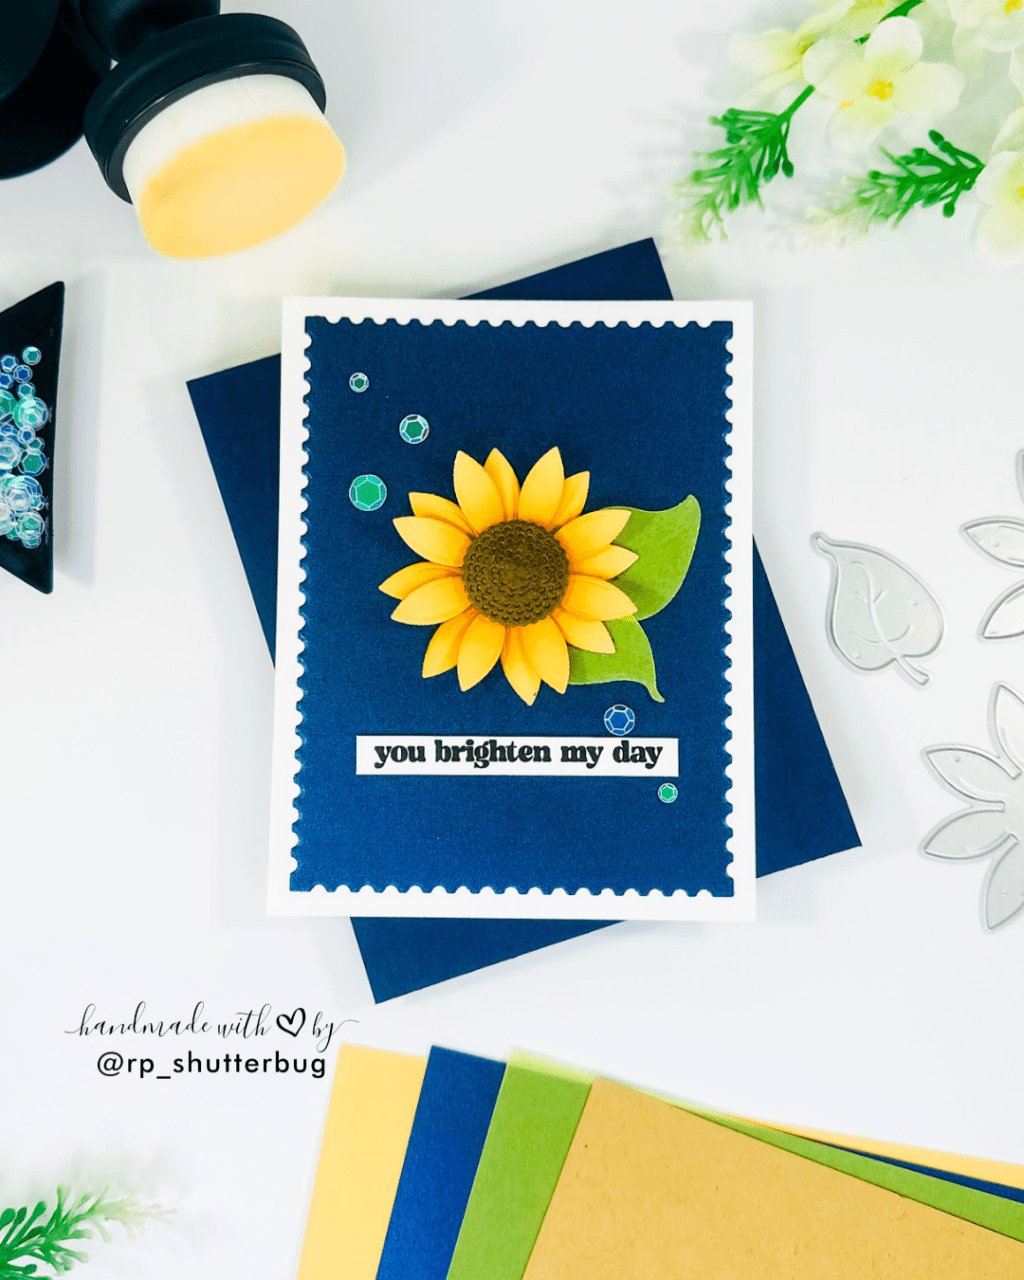
This project features a gorgeous layered daisy using the Tilted Daisies Wafer Die, paired with a crisp heat-embossed sentiment and a soft, neutral background. I’ve kept things bling-free for this one—but trust me, it still shines in the best way!
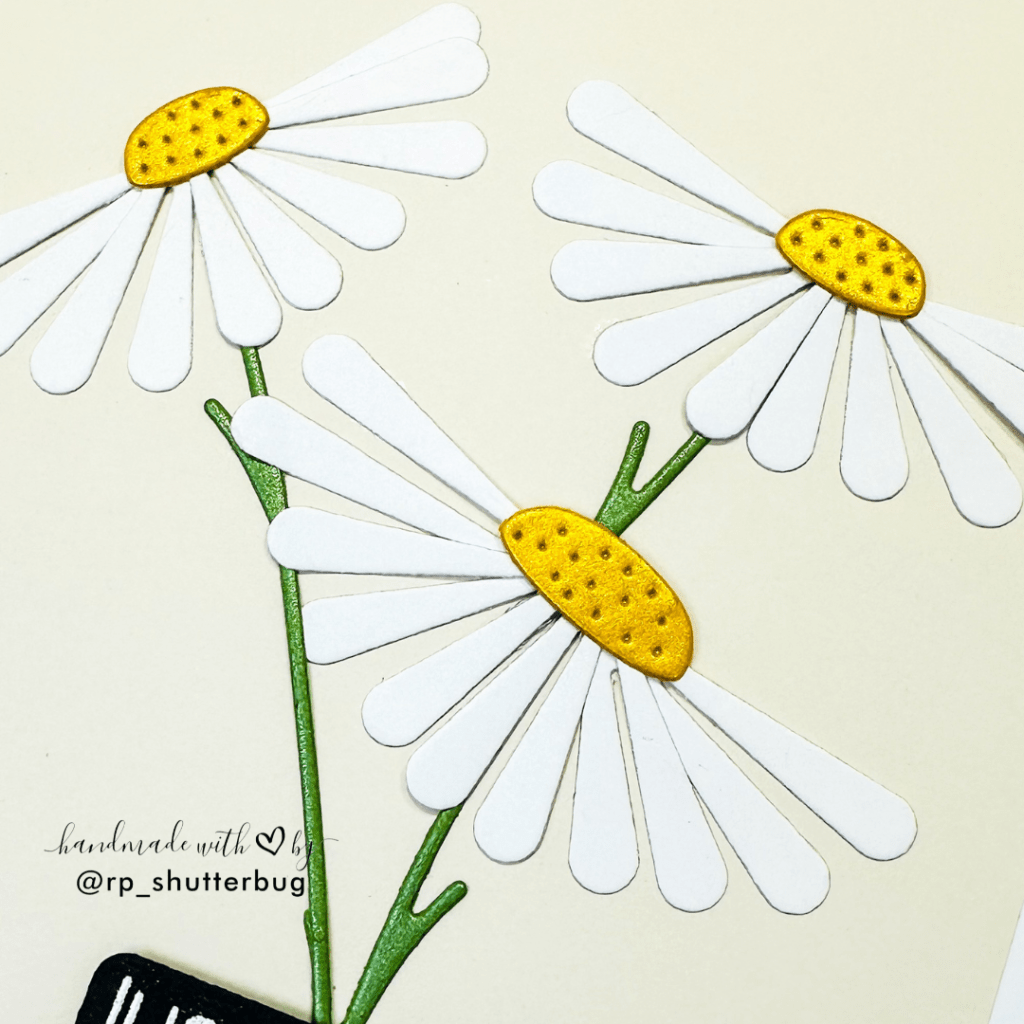
To begin, I used the Tilted Daisies Wafer Die set, which includes four layering flower pieces (two sizes), two centers, and two stems. These dies are so versatile—you can use them for spring, summer, birthday, or even sympathy cards.
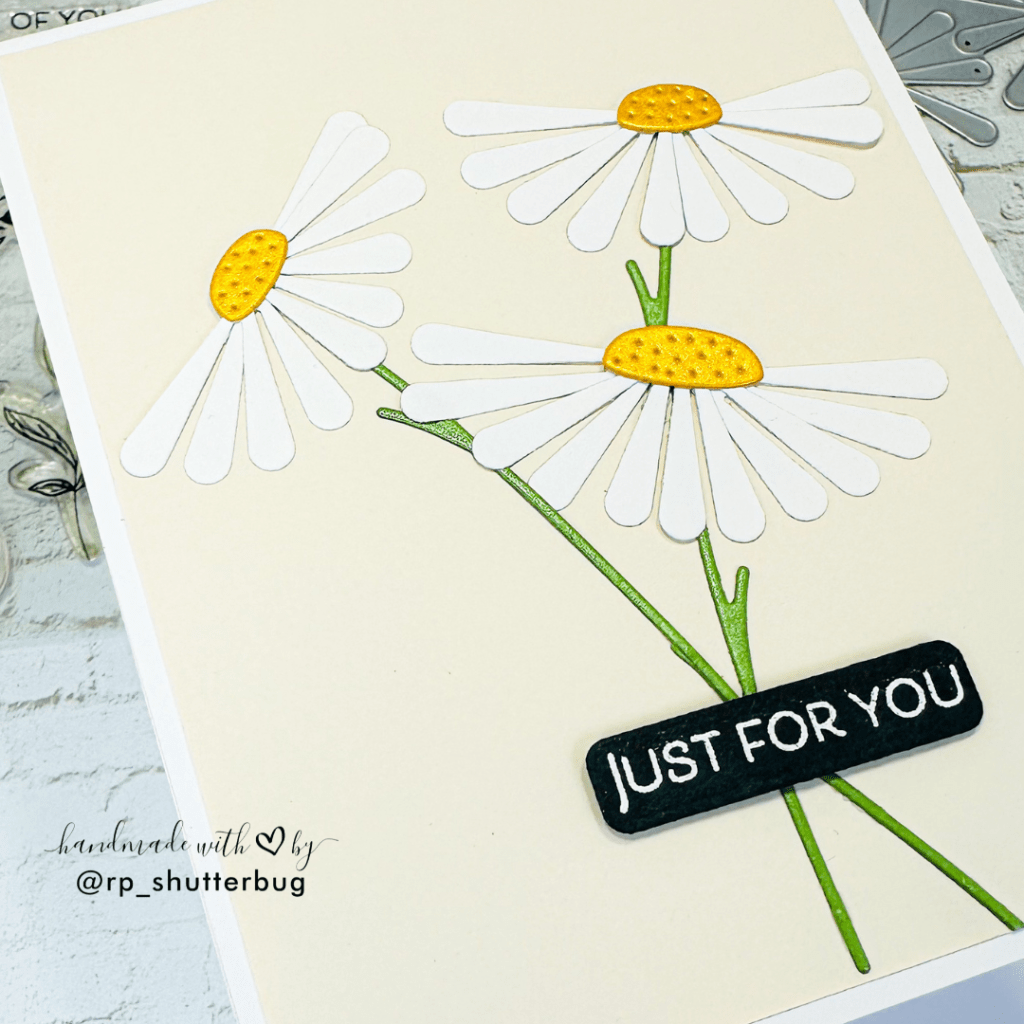
I opted for a clean white daisy with a shimmery yellow center and a soft green stem, using specialty cardstock from Your Paper Insider. The subtle shimmer adds just the right amount of shine without overwhelming the clean aesthetic.
All die-cutting was done with my Spellbinders Platinum 6, a machine I’ve been using and loving for almost two years now. It delivers crisp, clean cuts every single time.
Initially, I planned to use the Dainty Dotted Daisy embossing folder from the Friend Like You release by Simon Says Stamp. I embossed an A2 white cardstock panel and softly ink-blended some Melon ink to bring out the daisy details. Although the texture was beautiful, it felt a bit too busy when paired with the delicate die-cut flowers.
So I switched gears and chose a light cream-colored cardstock instead. I trimmed it down to 4″ x 5.25″, allowing for a nice border when mounted on the card base. This soft background gave the flowers room to shine without competing for attention.
Using liquid glue, I arranged the layered floral pieces on the cream panel to resemble a loose wildflower bouquet. To keep things tidy and precise, I adhered them one by one, creating a dimensional yet natural-looking cluster.
For the sentiment, I used the “Just for You” stamp from the Wildflower Cuttings set—such a simple phrase, but it fits so many occasions. I stamped it onto black cardstock using Simon Says Stamp white pigment ink, then heat embossed it with white embossing powder for a crisp finish.
(Quick tip: I always use a white pigment ink instead of Versamark when embossing in white on black—it gives a much cleaner impression!)
I trimmed the sentiment using the Altenew Featured Sentiment Die, but you can also use a paper trimmer or any label die from your stash. To add a touch more visual interest, I tucked a tiny leftover piece of green stem behind the sentiment strip.
I adhered the sentiment with a thin foam strip to give it a little lift, aligning it perfectly with the help of my T-square ruler.
And that’s a wrap on this clean and simple floral card!
I absolutely love how fresh and elegant it turned out. The subtle shimmer, the soft layering, and the balance between texture and simplicity make this card one of my favorites.
If you want to step it up a notch, you could:
- Add ink splatters to the background (before or after adhering your elements)
- Include sequins or gems for a little sparkle
- Switch up the color palette to suit a specific theme or season
Check out the video tutorial where I share the process of how I created these cards –
Also, don’t forget to check out my Instagram profile (@rp_shutterbug) where I share a ton of inspirations and fun projects.
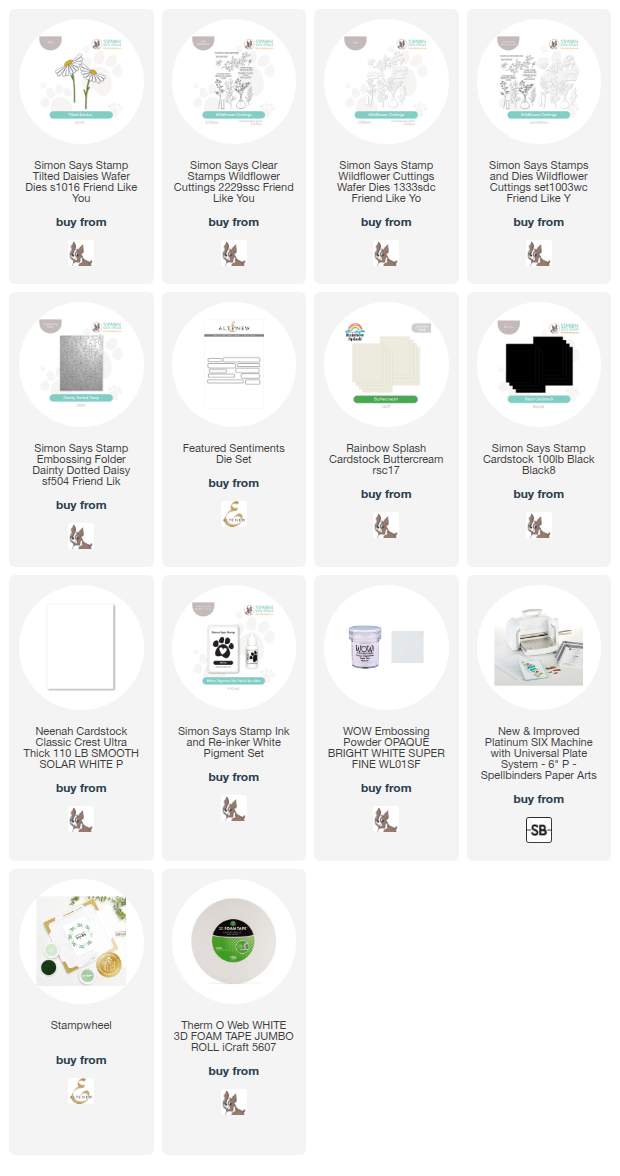
SUPPLIES:
*NOTE: Affiliate links may be used (at no additional cost to you) – thank you for your support!
 https://linkdeli.com/widget.js?id=f5e8378456858c916708
Until next time, stay safe!


Leave a comment