Hello crafty friends, and welcome back to the blog!
Today I’m sharing a card that captures the quiet magic of a winter night — complete with layered mountains, a glowing moon, and a starry sky. I used the Mountainscape Stencil from the Friend Like You release by Simon Says Stamp to build this beautiful scene. What I love about this project is its versatility — while I turned it into a Christmas card, the design would be perfect for any nature-themed occasion, from birthdays to “thinking of you” cards for your adventure-loving friends.
If you enjoy scenic ink blending and working with layered stencils, this one’s for you!
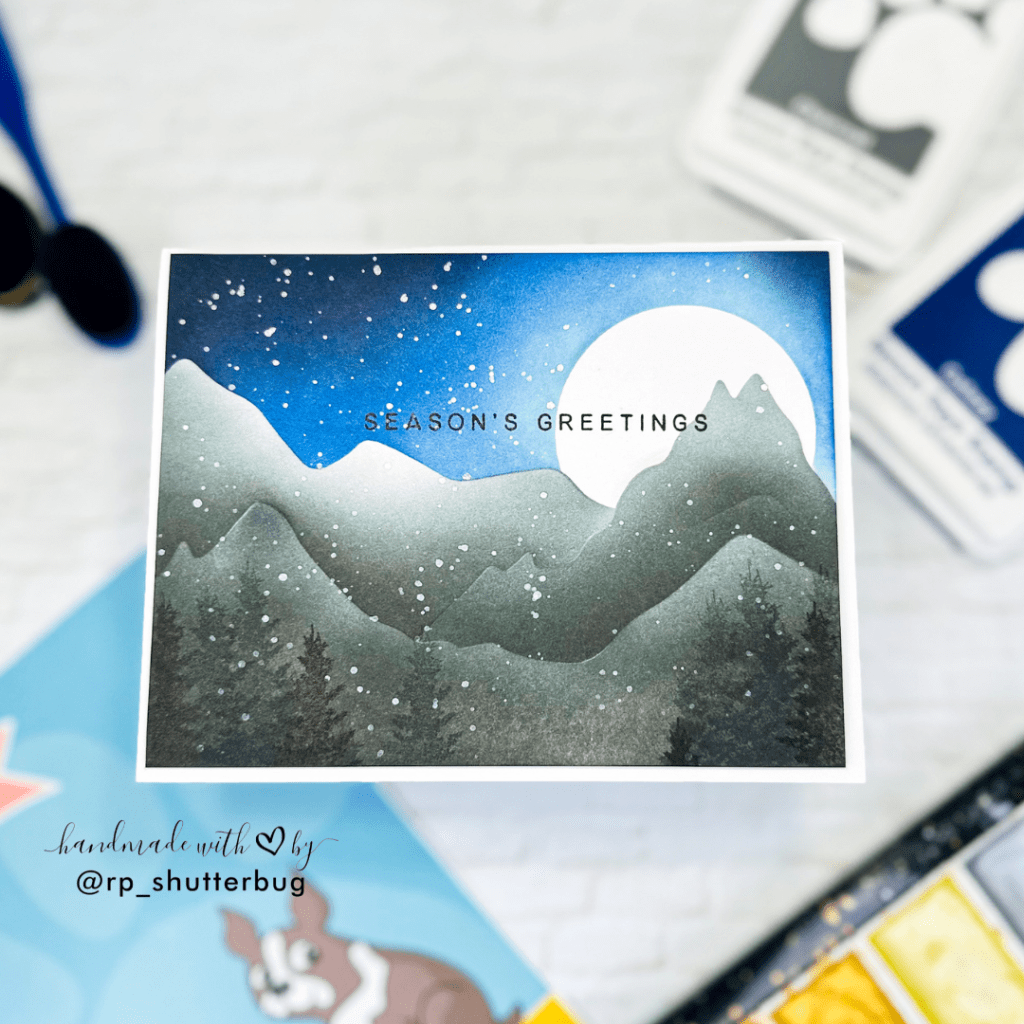
I began with a 4″ x 5 1/4″ white cardstock panel — slightly smaller than a standard A2 card front. My vision was to create a vibrant, wintry night scene with a strong contrast between the mountains and the sky.
Using the Mountainscape Stencil, I ink blended the mountains with a trio of blacks: Flannel, Earl, and Charcoal. I built the layers gradually, adding the darkest shades toward the base and blending lighter toward the peaks to create a moonlit glow. To deepen the shadows at the base of each mountain, I brought in Altenew’s crisp black pigment ink for a bolder look.
Although the stencil comes with masks, I added Post-it notes to block off areas and prevent unwanted blending. Tiny magnets on my magnetic glass mat held everything securely in place — especially helpful when working with small masks that a sticky mat might not hold as well.
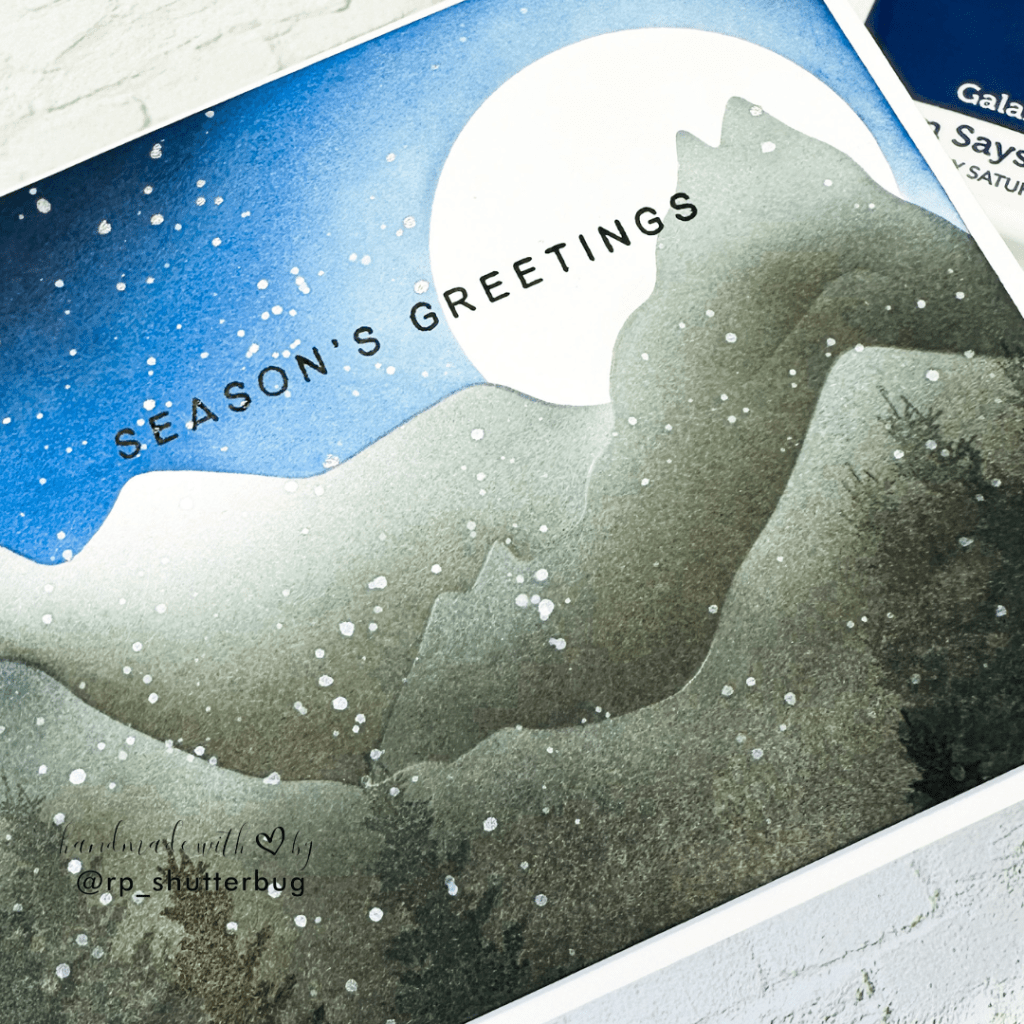
Next, I used the included masks to protect the mountain tops and the circular moon area. For the sky, I chose three Positively Saturated Ink colors: Morning, Twilight, and Galaxy. I started with the lightest shade around the moon to give it a soft glow, then blended outward with Twilight and finally Galaxy for depth. To enhance the nighttime feel, I added a touch of black ink at the edges.
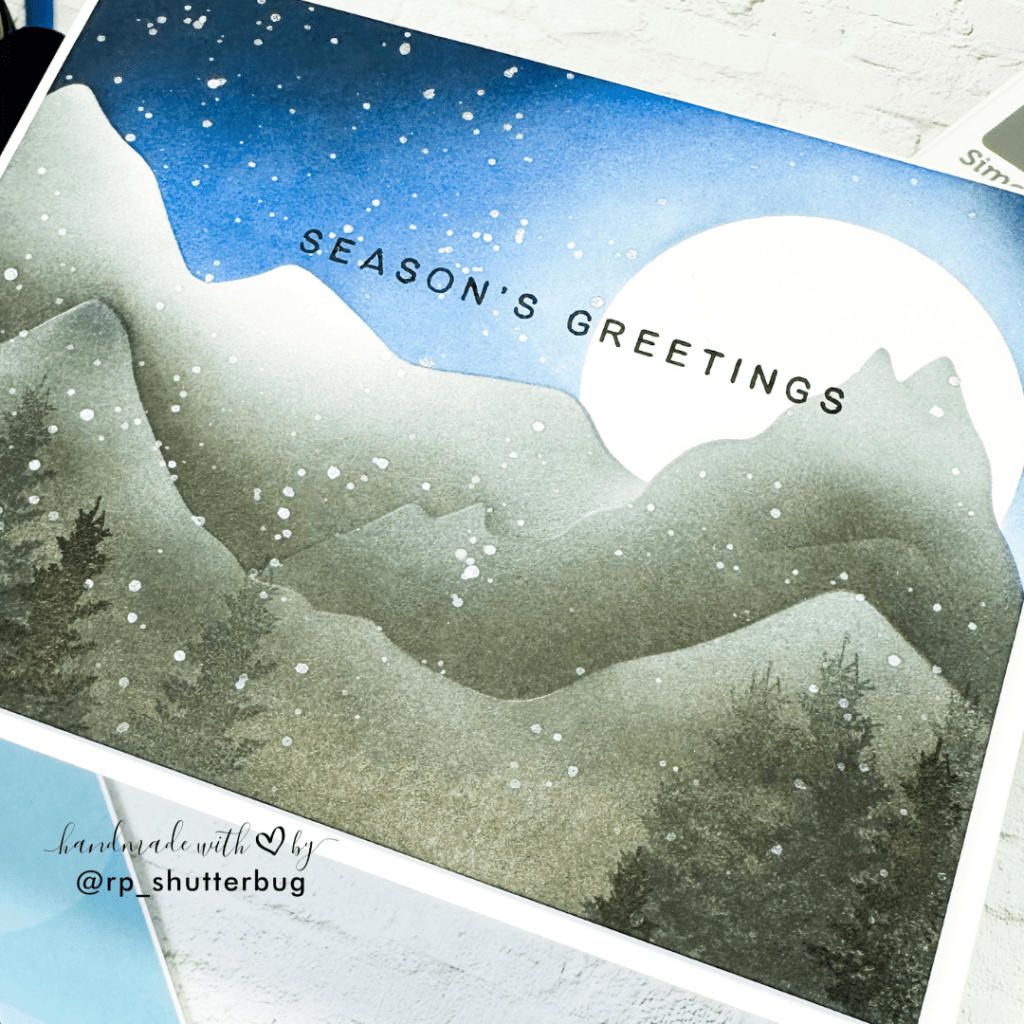
With the sky in place, it was time to add some starry magic. I splattered silver metallic watercolor across the sky, covering the rest of the panel with masks to protect the finished areas. Then, I followed up with white ink splatters to create a snowy atmosphere. One of the perks of using a glass mat is how easy it is to clean up — I simply sprayed the surface with water and wiped it down with a microfiber cloth.
With the background complete, I moved on to the sentiment. I used the Season’s Greetings stamp from the Peaceful Trees set and carefully positioned it using my Altenew stamp wheel. I stamped directly onto the panel with Versafine Onyx Black ink, keeping the look clean and simple.
To ground the design, I added a row of silhouette trees from the same stamp set along the bottom edge of the panel. I used a mix of charcoal and black pigment ink to give the tree line subtle depth.
Finally, I mounted the panel onto a top-folding A2 white card base using foam tape to add dimension.
And that’s it — a peaceful winter night captured on paper! I love how this card turned out. The layering, ink blending, and subtle splatters come together to create a serene and dreamy look that works beautifully for holiday cards and beyond.
If you’ve never tried building a scenic card with stencils and masks, I highly encourage you to give it a try. It’s not only fun but also a great way to stretch a single product into many design possibilities.
Check out the video tutorial where I share the process of how I created these cards –
Also, don’t forget to check out my Instagram profile (@rp_shutterbug) where I share a ton of inspirations and fun projects.
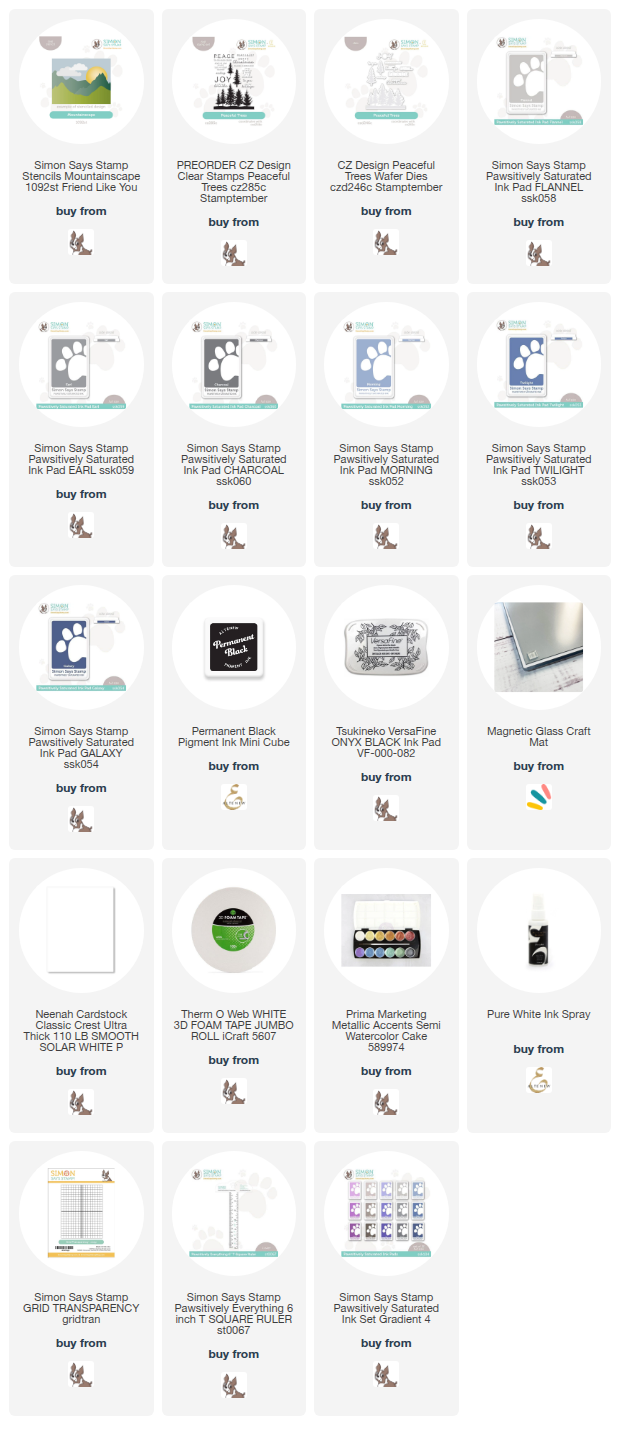
SUPPLIES:
*NOTE: Affiliate links may be used (at no additional cost to you) – thank you for your support!
 https://linkdeli.com/widget.js?id=f5e8378456858c916708
Until next time—sea you soon, matey!


Leave a comment