Hello crafty friends,
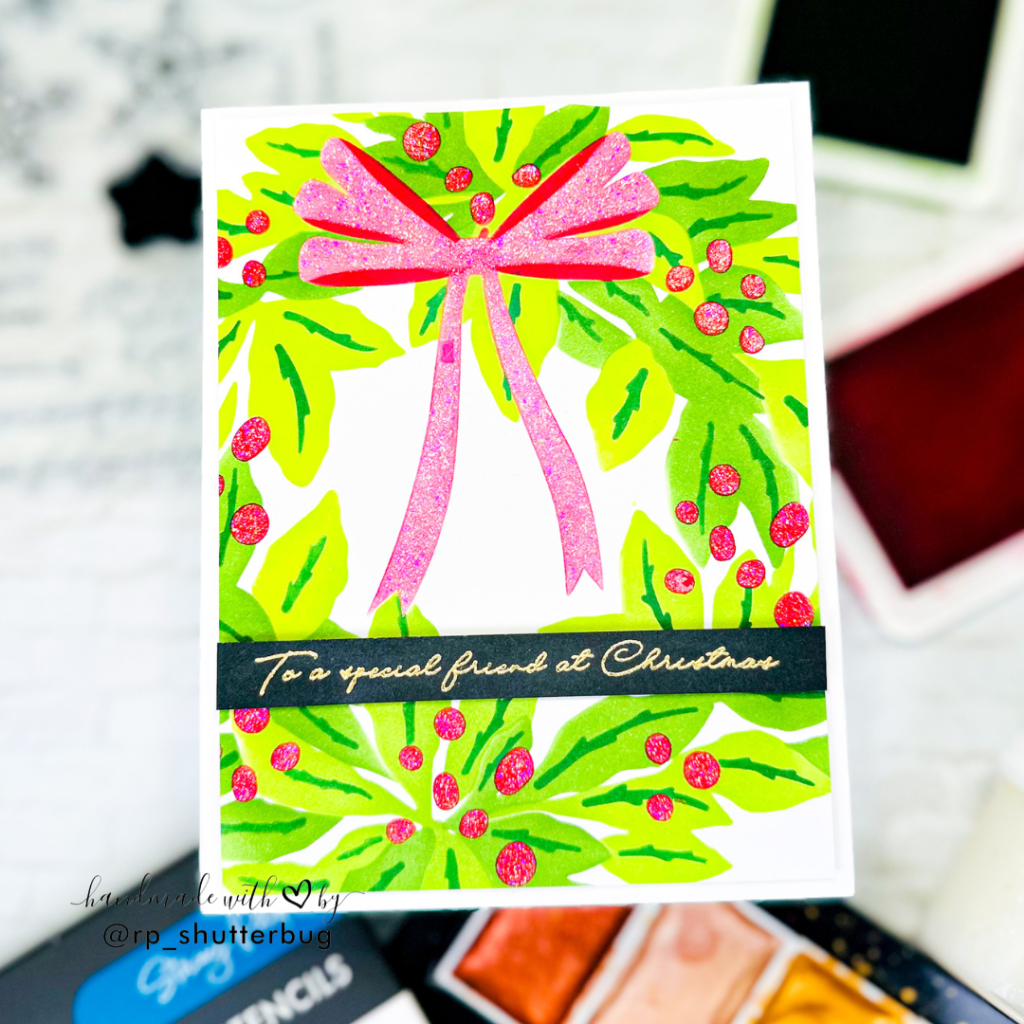
I’m so happy you’re here! Today, I’m sharing a festive and sparkly Christmas in July card that features the brand-new “A Wreath in Time” Layering Stencil Set by Stacy Park in collaboration with Sizzix. This beautiful four-piece stencil set allows you to build a richly layered wreath design with ease—perfect for holiday cardmaking! I combined ink blending, dimensional sparkle paste, and gold heat embossing to create a card that’s elegant, textured, and full of holiday cheer.
To begin, I placed my cardstock panel onto the Sizzix Stencil & Stamp Tool, which includes a sticky grid base to keep your paper from shifting. I used the registration holes on Stencil 1 to lock it in place, ensuring perfect alignment for all the following layers.
Each stencil has etched markings for layering order, plus a few bonus sentiments built right in. Since I only wanted to showcase the wreath, I masked off the sentiment areas with Post-it notes and washi tape to avoid inking them accidentally.
I began ink blending the first two stencils using three shades of green from the SSS Pawsitively Saturated Inks to give the foliage a soft, dimensional look. I kept the packaging image nearby for reference, which helped guide my color choices and layer placement.
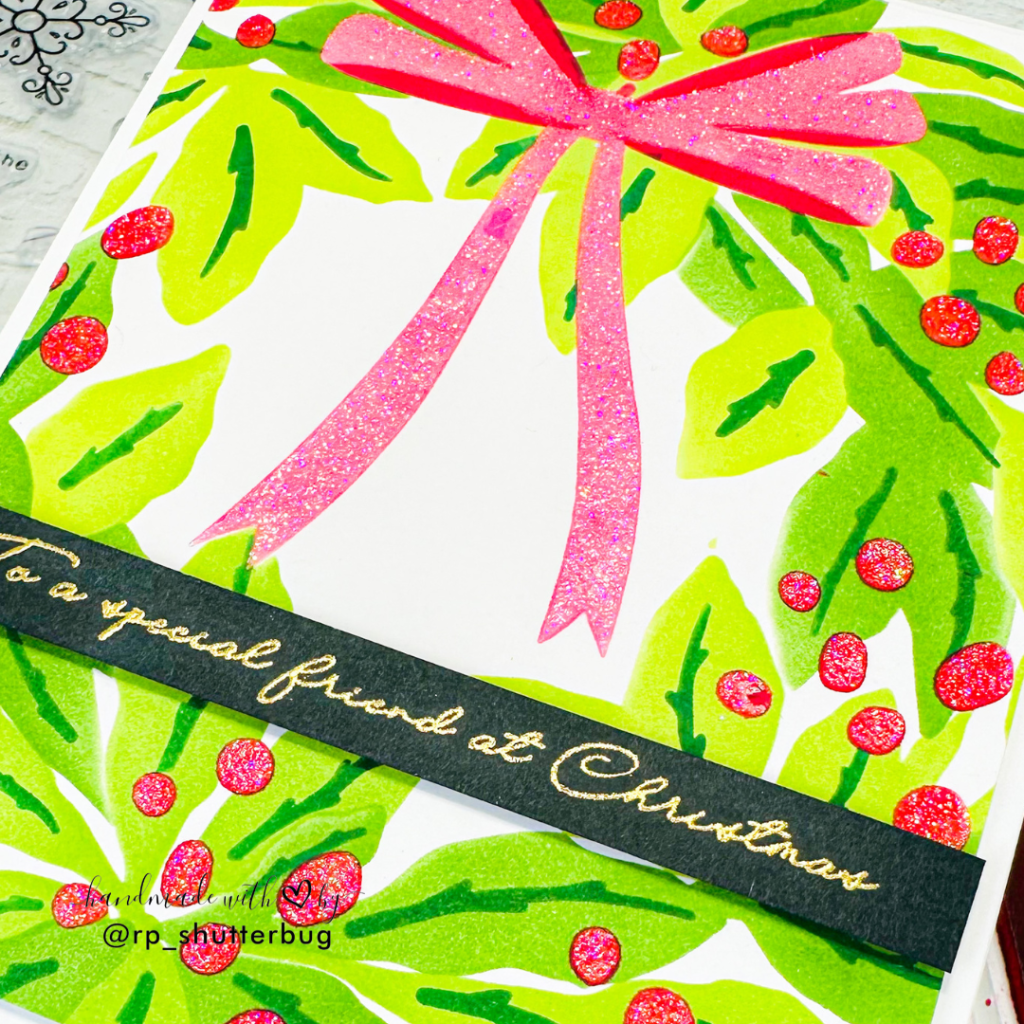
Stencil 3 added the leaf centers and the base layer of the large bow. I used a darker green for the inner leaf details and a rich, festive pink for the bow. Stencil 4 completed the design by adding berries and the top layer of the bow, tying everything together beautifully.
Once I finished the ink blending, I washed Stencil 4 and made sure it was completely dry. Then, using the stencil again, I carefully applied a thin layer of Fairy Dust Sparkle Paste over the bow and berries using a palette knife. This added just the right amount of shimmer and texture to elevate the entire design.
Tip: Always wash your stencils and palette knife immediately after using texture or glitter pastes. Don’t let them dry—it makes cleaning much harder!
I allowed the panel to dry for several hours (or overnight) to make sure the glitter paste set properly before assembling the card.
Once dry, I trimmed the panel down to 4 x 5¼ inches, leaving a nice border when mounted on an A2 card base. For the sentiment, I heat-embossed “To a Special Friend at Christmas” in gold embossing powder. This beautiful sentiment is from the Holiday Bits & Bobs stamp set, and its elegant script paired perfectly with the soft, layered wreath.
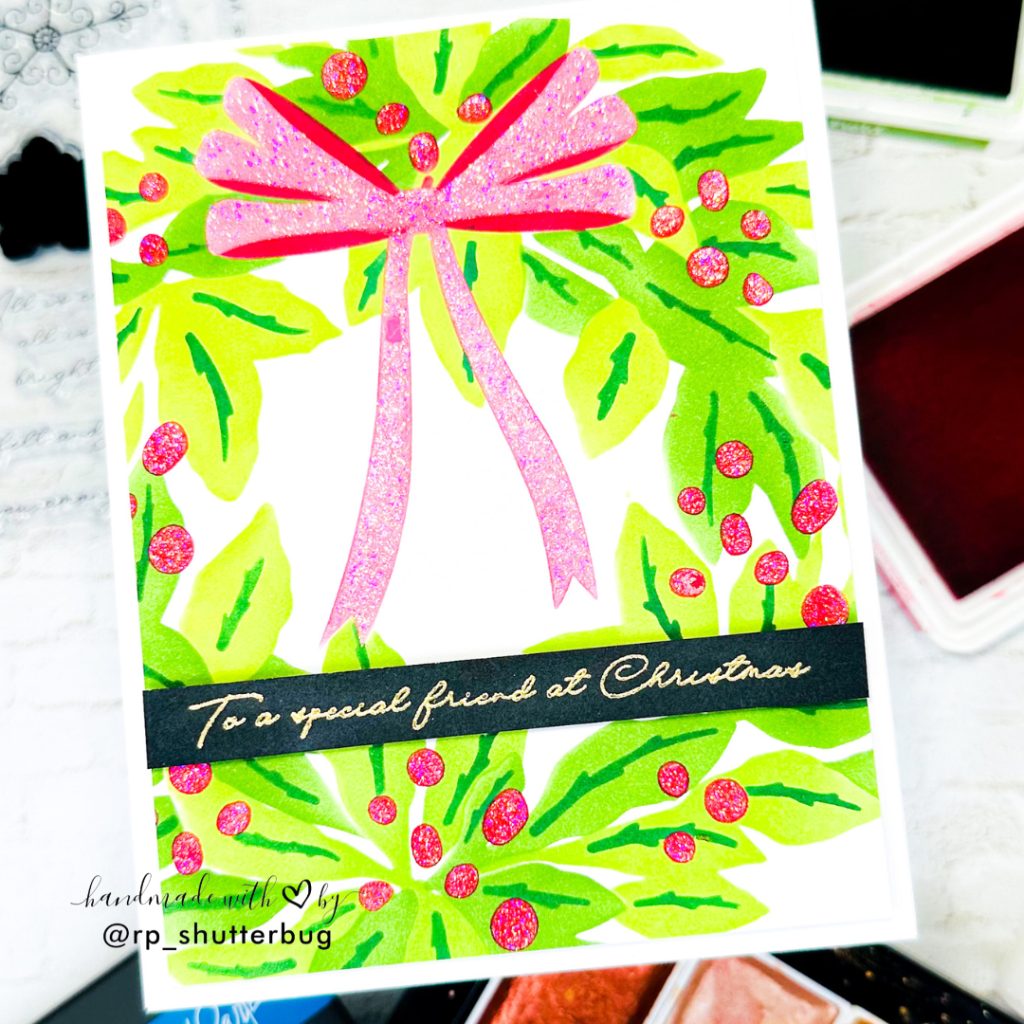
I popped the sentiment up on foam tape and did the same for the entire panel, adhering it to a top-folding A2 card base for added dimension.
And there you have it—a beautifully layered, sparkly holiday card that’s perfect for Christmas in July! This design is not only elegant but also easy to mass-produce, making it ideal for holiday cardmaking. You can switch up the color palette or sentiment to create multiple versions that still feel unique.
Check out the video tutorial where I share the process of how I created these cards –
Also, don’t forget to check out my Instagram profile (@rp_shutterbug) where I share a ton of inspirations and fun projects.
SUPPLIES:
*NOTE: Affiliate links may be used (at no additional cost to you) – thank you for your support!
 https://linkdeli.com/widget.js?id=f5e8378456858c916708
Until next time, stay safe!


Leave a comment