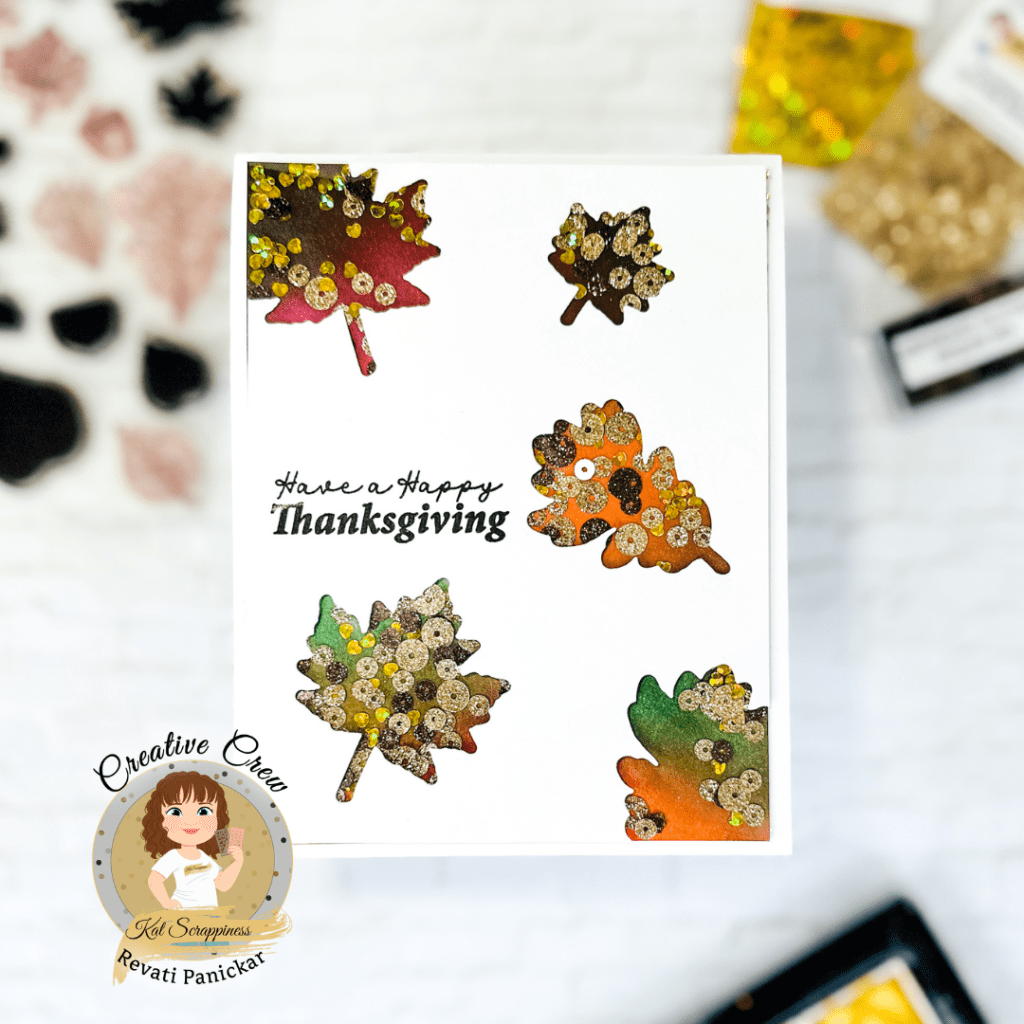
Fall is officially here, and what better way to celebrate the season than with a handmade Thanksgiving card? Today, I’m excited to share a fun and interactive card project: an edge-to-edge shaker card filled with sparkly sequins and set against a beautifully ink-blended background. This project combines vibrant colors, elegant die-cut details, and a clean, simple design — perfect for sending warm wishes to family and friends.
To start, I gathered my materials: the Layered Autumn Leaves stamp set by KS (one of my favorites for fall-themed cards), coordinating dies, an A2-sized card base, and a mix of gold and brown sequins. While the stamp set includes lovely autumn images, for this card, I focused on the sentiment and the die-cut leaves.
I began by preparing two A2-sized panels — one for the window layer and one for the shaker pocket. I scattered the die-cut leaves randomly across the window panel, allowing a couple to overhang the edges. This creates the charm of the edge-to-edge design. After die-cutting, I set aside the leaf cutouts for future projects and focused on the panel with the leaf windows.
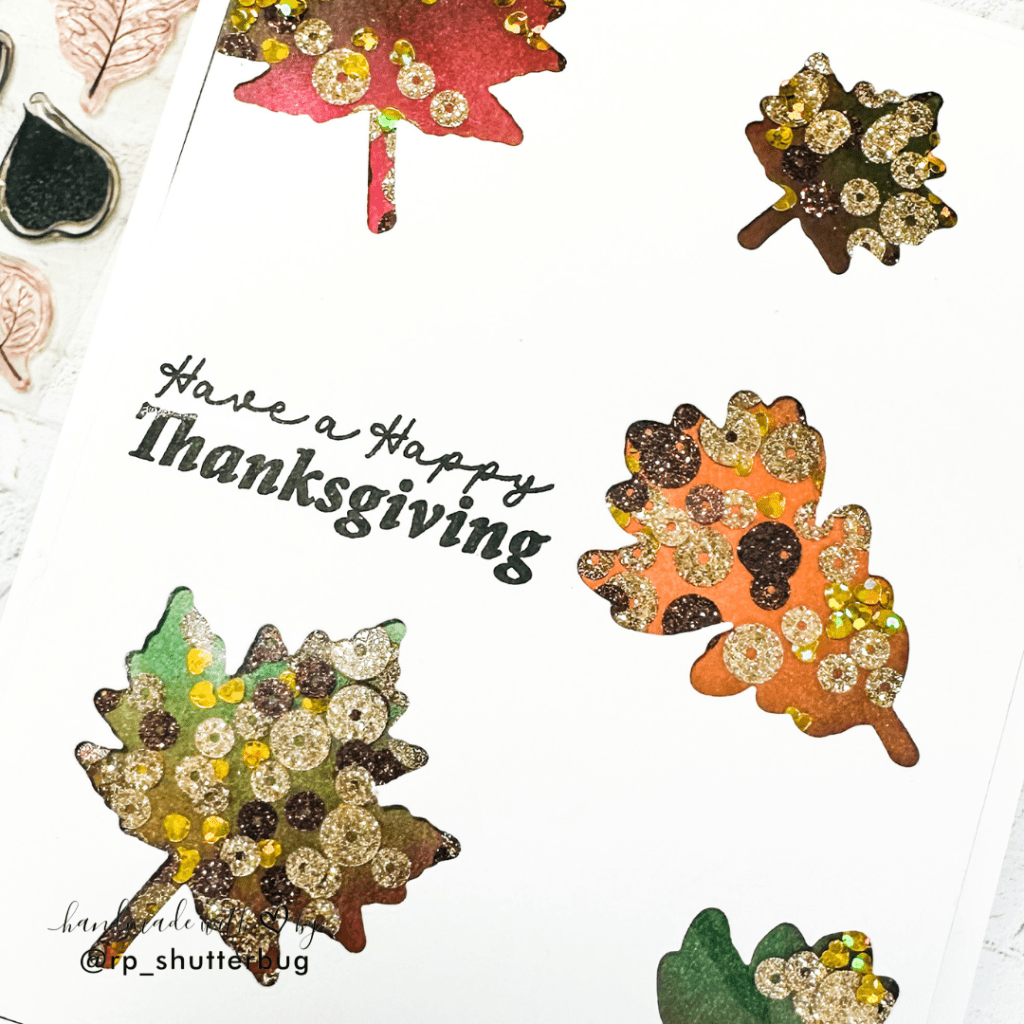
Next, I moved to the background. Using a variety of fall colors — oranges, browns, reds, and greens — I blended the inks on my Glass Board Studio mat. I love this mat for ink blending because it’s easy to clean, and the included magnets hold your panel in place if you’re stenciling. The ink-blended background was intentionally random and splotchy to create a natural, organic look. Placing the window panel over the background ensured color peeked through each leaf opening.
For the shaker pocket, I repurposed a plastic sleeve and cut it into two sheets to create multiple shaker cards. Using double-sided tape, I assembled the pocket and filled it with a mix of Brilliant Gold Heart, Platinum Gold Glitter, and Espresso Glitter sequins. Trimming the excess plastic gave the card a clean, polished edge.
Before sealing the window panel onto the shaker pocket, I stamped the sentiment, “Have a Happy Thanksgiving,” using the Altenew Stamp Wheel and Versafine Onyx Black ink. Finally, I adhered the window panel to the shaker pocket with liquid glue for precise alignment, and then attached the entire assembly to the A2 card base.

The finished card is a beautiful combination of color, sparkle, and simplicity. The ink-blended background peeks through the die-cut leaves, while the shaker pocket adds movement and fun. This edge-to-edge shaker card is a perfect way to send warm Thanksgiving wishes to loved ones, and it’s a project that both beginners and experienced cardmakers can enjoy. I hope this tutorial inspires you to create your own festive, interactive cards this season!
Check out the video tutorial where I share the process of how I created this card –
Also, don’t forget to check out my Instagram profile (@rp_shutterbug) where I share a ton of inspirations and fun projects.
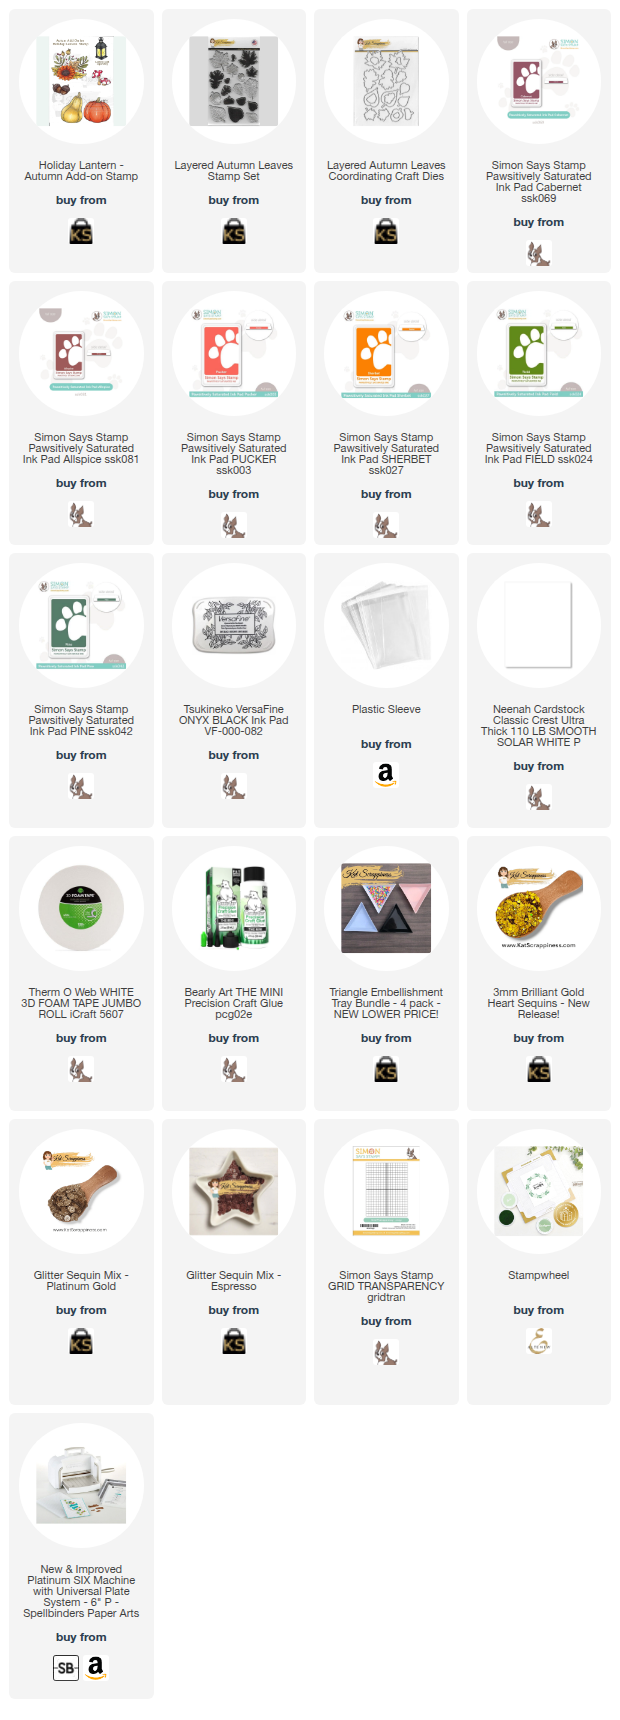
SUPPLIES:
*NOTE: Affiliate links may be used (at no additional cost to you) – thank you for your support!
 https://linkdeli.com/widget.js?id=f5e8378456858c916708
Thank you again for joining me today. Until next time, stay safe.


Leave a comment