Hello crafty friends,
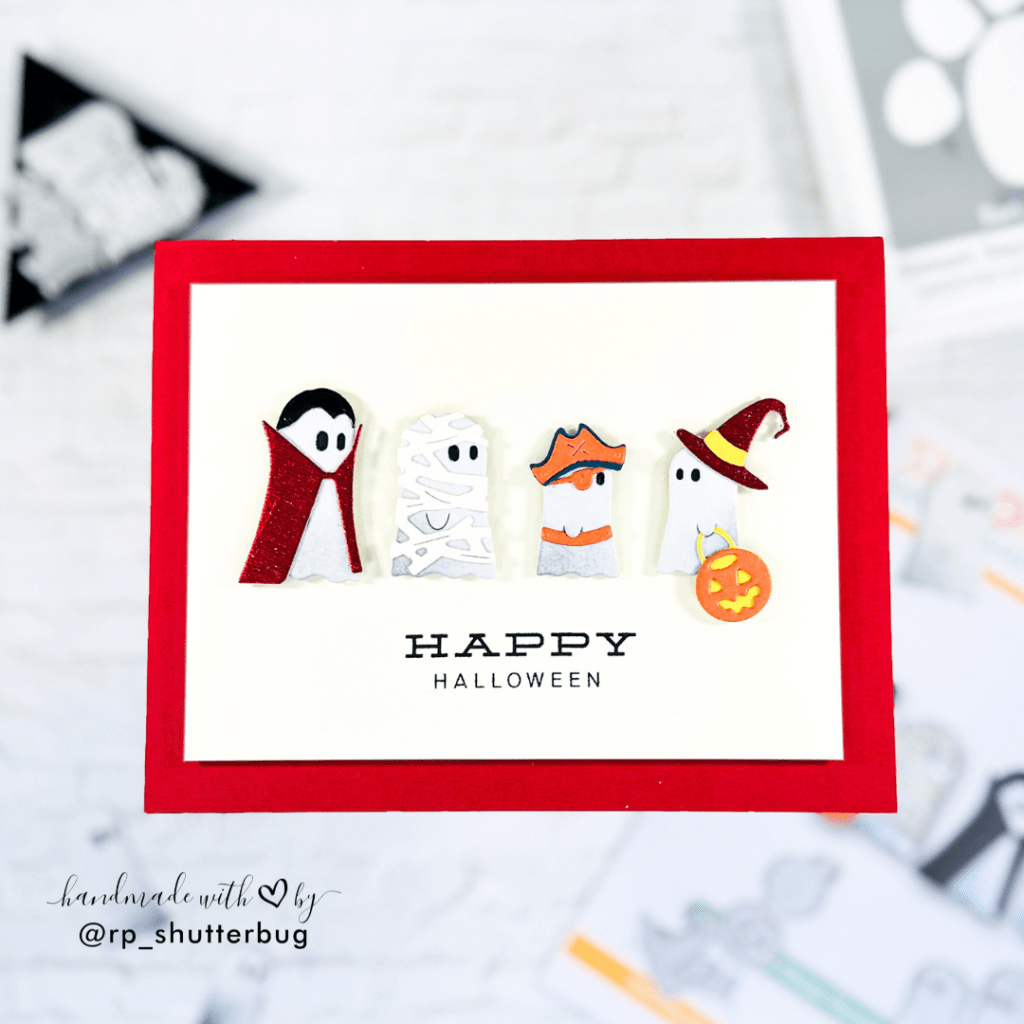
Halloween is the perfect time to get creative with fun and spooky card designs—but it doesn’t always have to be messy or complicated! In this tutorial, I’m showing you how to create a clean, simple, and absolutely adorable Halloween card using the colorful, hand-selected papers from Your Paper Insider Box #13. From die-cut ghosts in cute costumes to a subtle yet striking sentiment, this card is full of charm while staying elegant and approachable for crafters of all levels.
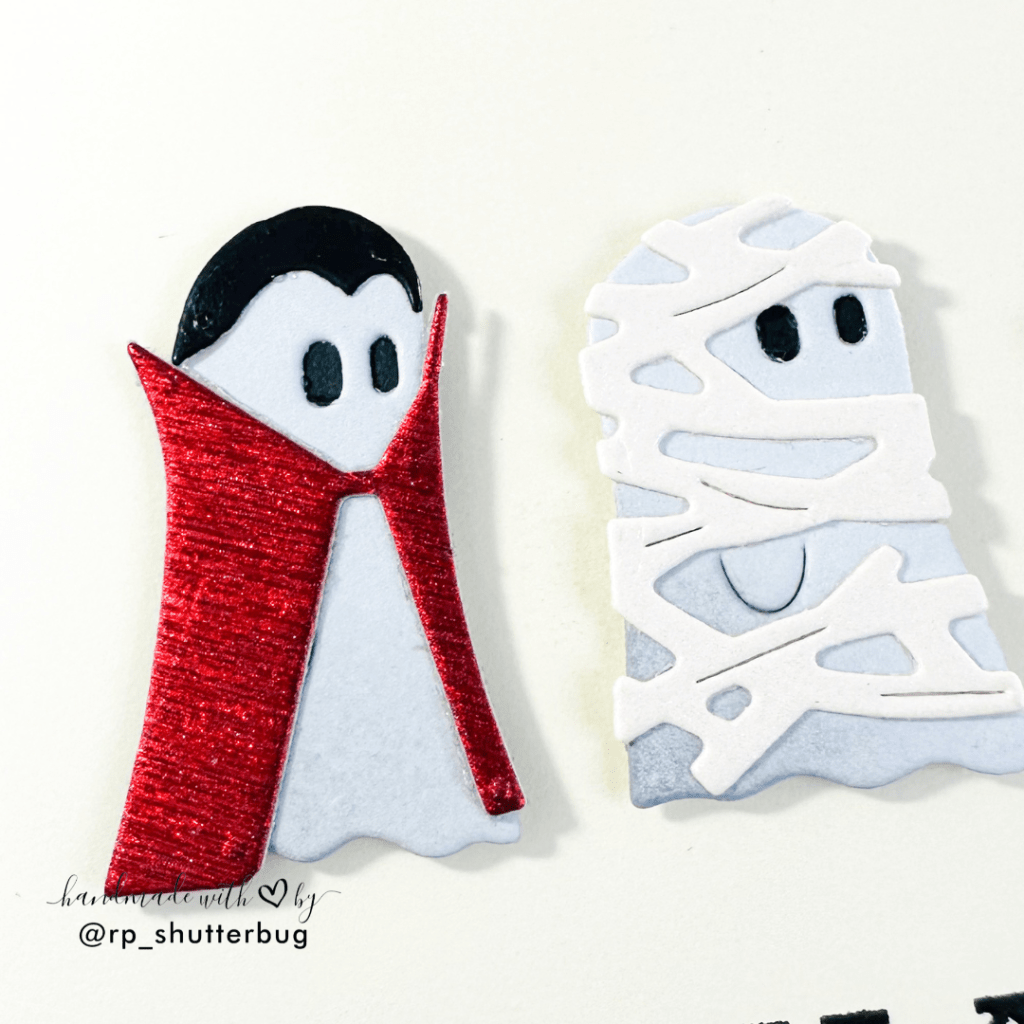
I started by cutting all of the pieces for my ghosts and their costumes using the fun papers from Box #13. To keep everything organized, I stored the tiny pieces in triangle trays—this makes assembly much easier! One of my favorite papers was the red brushed-metal double-sided cardstock, which I used for the vampire coat and witch’s hat. Its texture and shine really make the pieces pop.
For the ghosts themselves, I used light gray Savoy Cotton cardstock, which looks almost white on camera but has a soft hint of gray. I added subtle shading with a mini ink-blending brush and Earl Light ink from Simon Says Stamp to give the ghosts a bit of depth.

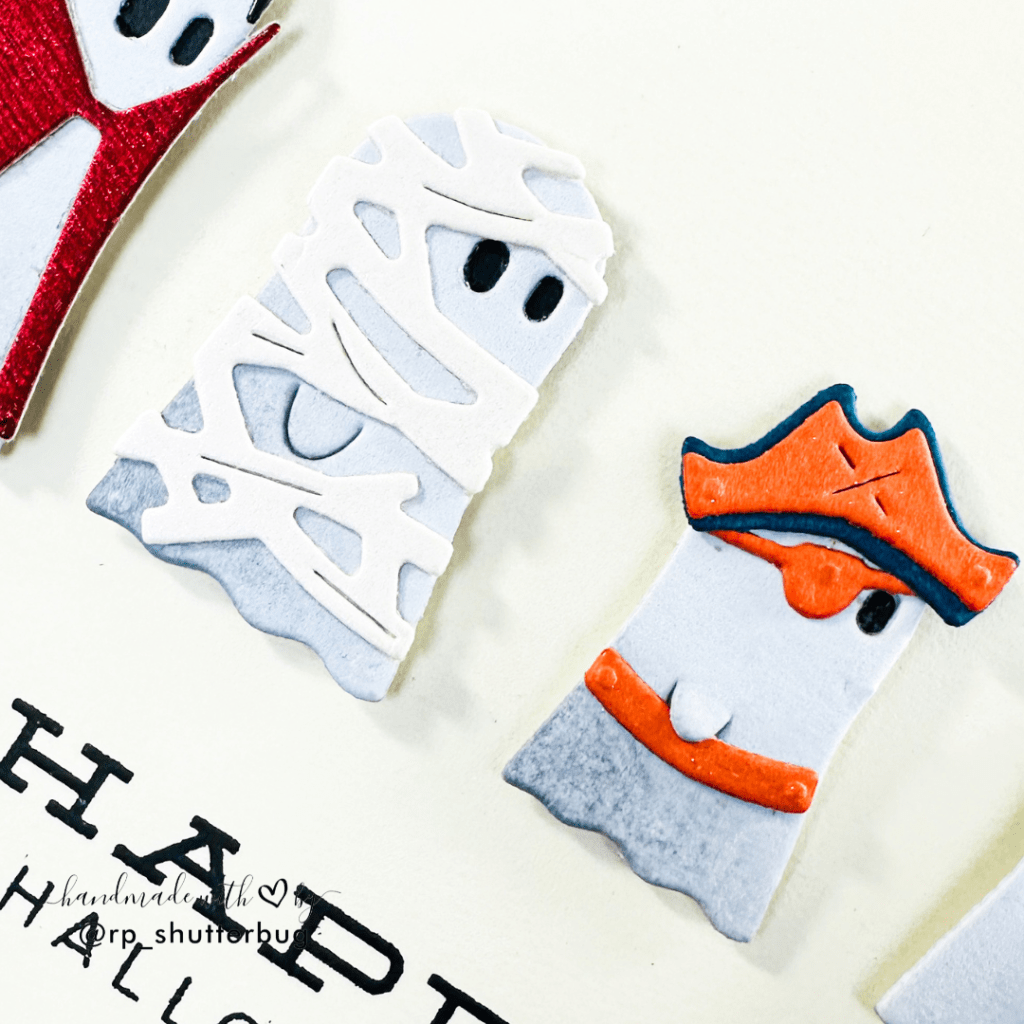
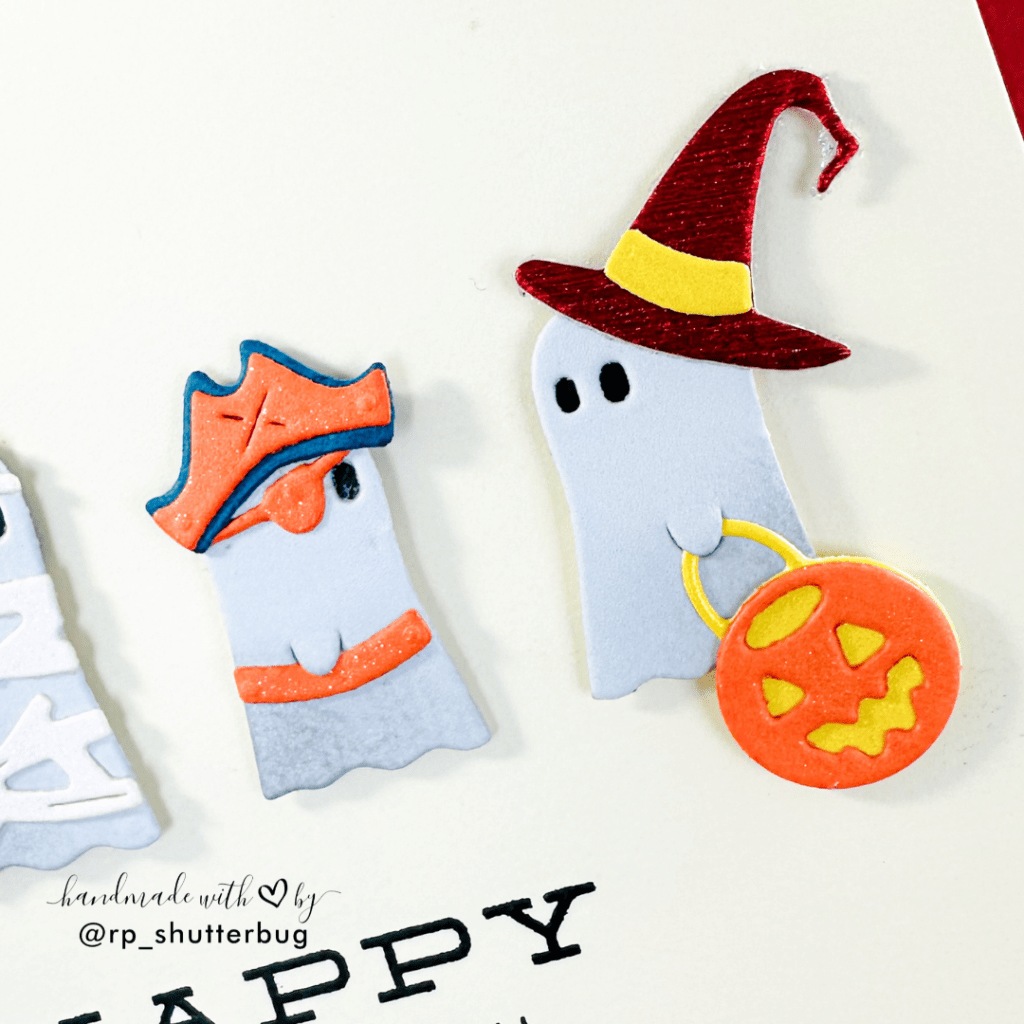
Each ghost has its own personality! I created a mummy, a witch, a vampire, and a pirate, carefully adding hats, coats, and even a tiny eyepatch for the pirate. The die-cut ghosts have openings under their hands, perfect for tucking in little pumpkin baskets or adding belly bands.
For the pumpkin baskets, I used Canary Yellow Shimmer cardstock for the base and Pumpkin Color Mates cardstock for the pumpkin’s face. Tiny pieces like these are easiest to handle with reverse tweezers.
Once the die-cut pieces were ready, I adhered them to a cream cardstock panel trimmed to 3 ½ x 4 ¾ inches, leaving a nice border around the card base. I stamped a simple “Happy Halloween” sentiment using the Pumpkin to Talk About Stamp Set from Simon Says Stamp and VersaFine Onyx Black ink, positioning it just below the focal point.
To add dimension, I popped each ghost up using tiny foam circles. This gives a subtle lift without overpowering the clean design. I also kept the background simple—no splatter or extra textures this time—to let the ghosts and their costumes shine.
Finally, I adhered the panel onto a bright red card base using foam tape, completing the card with a bold border that frames all the fun die-cut elements. The finished card is playful, clean, and perfect for sending Halloween cheer!
I had so much fun creating this Halloween card using the vibrant, hand-selected papers from Your Paper Insider Box #13. The variety of colors and textures made assembling the little ghosts an absolute joy, and their costumes really bring them to life.
Whether you love messy, spooky Halloween designs or prefer clean and simple cards like this one, I hope this tutorial inspires you to get creative with die cuts and specialty papers for your next Halloween project!
If you would like to see a video tutorial of how I created this card, check out the link below –
Do check out fun pictures of the project on my Instagram page (@rp_shutterbug). Do tag me on Instagram with pictures of your projects.
Don’t miss the Your Paper Insider Box #13 Subscription Box –

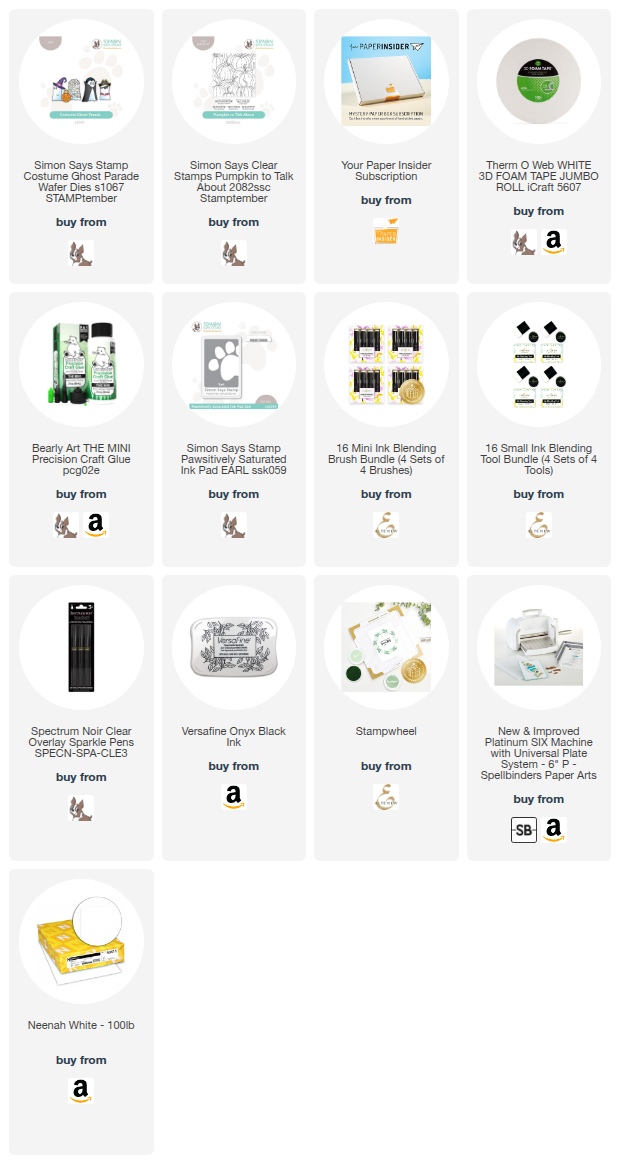
SUPPLIES:
*NOTE: Affiliate links may be used (at no additional cost to you) – thank you for your support!
 https://linkdeli.com/widget.js?id=f5e8378456858c916708
Thank you so much for joining me today. Until next time, stay safe!


Leave a comment