Hello crafty friends,
I am so excited to have completed level 1 of the Altenew Educator Certification Program. Here I am today, with my first card for Level 2. WOW!!
My first card here is inspired by some fun tips and tricks shared by Lydia Evans, where she talks on how to create beautiful backgrounds for your cards.
This card is very special to me, since I used the Build a Flower : Torch Ginger Stamp and Die Set combo, which was my very first purchase from Altenew a few years back.
PRODUCT LINKS CONTAIN COMPENSATED AFFILIATE LINKS AT NO COST

The main focus for this card was to create a beautiful floral background.
The Build a Flower : Torch Ginger Stamp is a layering stamp. I began by stamping one of the intricate layers using some shiny Fine Gold Embossing Powder by Simon Says Stamp. I used the SSS Clear Embossing Ink to stamp this layer thrice onto an A2 size white panel. (Don’t forget to use your anti-static powder tool before you ink up with your watermark ink).
After I heat set the embossing powder, I allowed to cool down for a couple of minutes before inking it up. While my panel was cooling down, I cut the floral image using the coordinating die set onto to a scrap piece of white cardstock. This created a stencil for our floral background. You could also use the solid layer of the floral image to stamp onto the heat embossed panel.
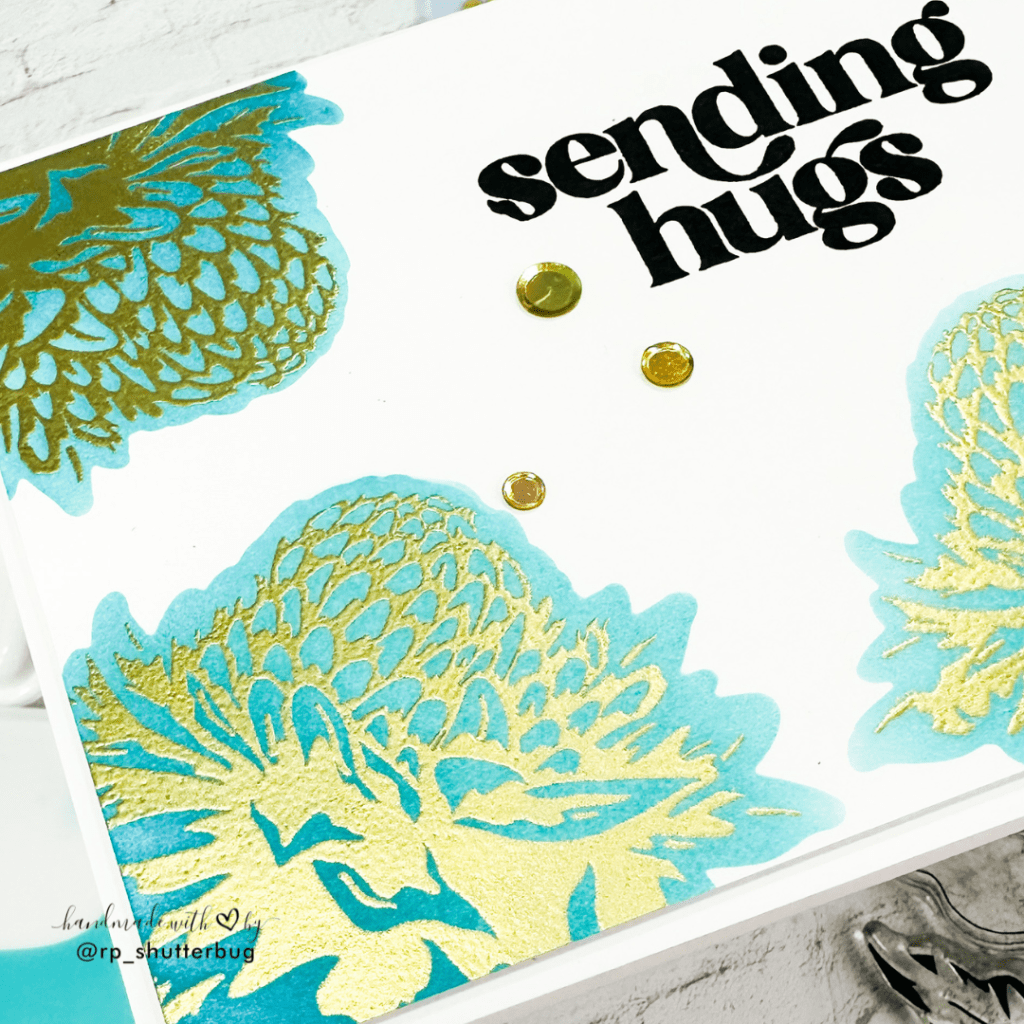
Once my panel had completely cooled down, I positioned this stencil piece onto one of the heat embossed images and decided to ink blend onto to it using some beautiful shades of teals. I wanted to create an Ombre look for these floral images, so I used the SSS Pawsitively Saturated Inks in the shade Ocean, Surf and Seafoam which is a perfect trio of colors for this project.
I colored in all of the 3 florals. I did leave some space on the 4th quadrant of this panel. This was very I planned on stamping my sentiment.

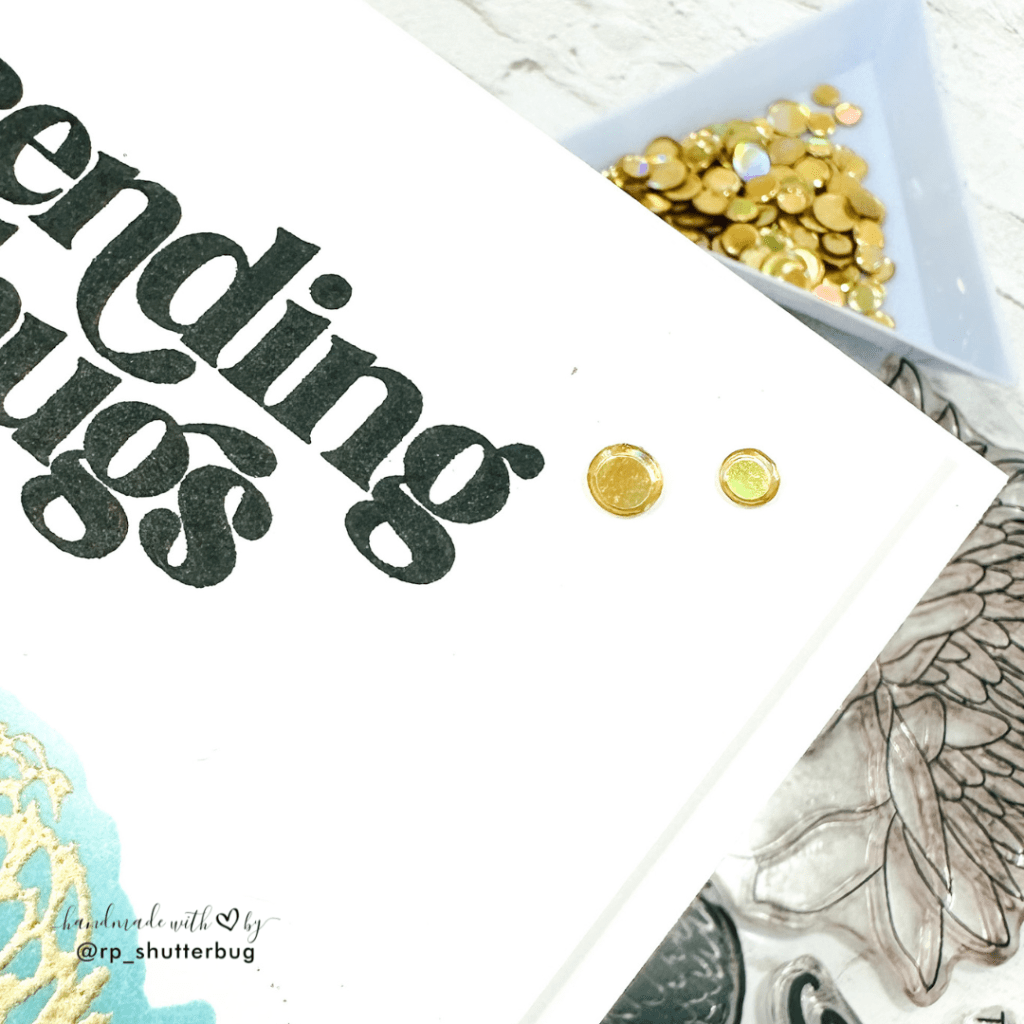
Using Versafine Onxy Black ink, I stamped the sentiment “Sending Hugs” from the Alluring Orchids outline Stamp, which again has a very large and gorgeous floral image along with some really beautiful sentiments.
To add some finishing touches, I decided to add some bling. I used the Gold Hologram Sequin Mix by This Calls For Confetti, which I thought matched perfectly with the Gold embossing on our floral images.
I love how this card turned out. I am so happy I chose this trio of teals for my flowers. The shades of teals on my flower along with the gold embossing powder is even more beautiful in real life!

I hope this inspires you to create something similar using your layering stamps.
Also, a big thank you to the creators at Altenew for all the wonderful classes and tips and tricks to create beautiful projects.
The Altenew Educator Certification Program is definitely a best opportunity to showcase my work and get in touch with all of the amazing crafters.

Thank you for being here with me today. Do check out fun pictures and videos of the project on my Instagram page (@rp_shutterbug). Also, tag me on Instagram with pictures of your projects.
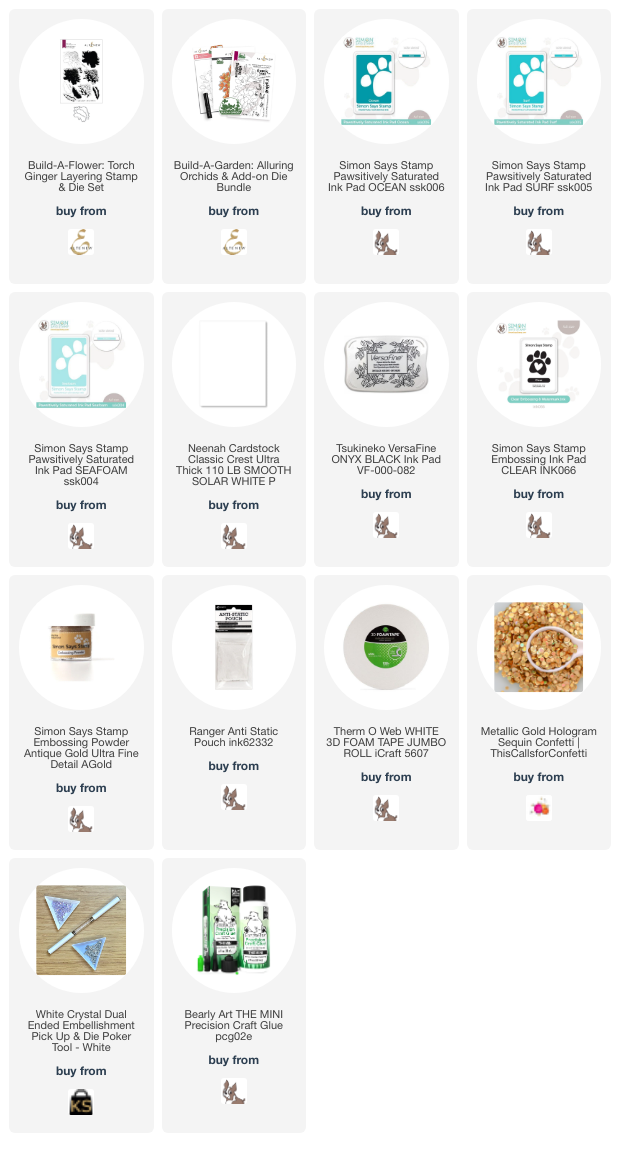
SUPPLIES:
*NOTE: Affiliate links may be used (at no additional cost to you) – thank you for your support!
 https://linkdeli.com/widget.js?id=f5e8378456858c916708
Thank you for joining me!


Leave a reply to Revati Panickar Cancel reply