Hello crafty friends,
I’m excited to share that I’m starting Level 3 of the Altenew Educator Certification program, and I couldn’t be more thrilled to dive into Creative Coloring with Erum – Advanced Techniques. Erum has a wonderful way of sharing fun, colorful, and unique techniques that make creating beautiful card fronts feel like an absolute joy. In this class, I’ll be learning everything from adding marker details to stamped images, playing with different textures, watercolors, and stencils, to mastering gorgeous watercolor techniques. With so many exciting lessons ahead, I can’t wait to explore all the amazing ways to elevate my card-making skills!
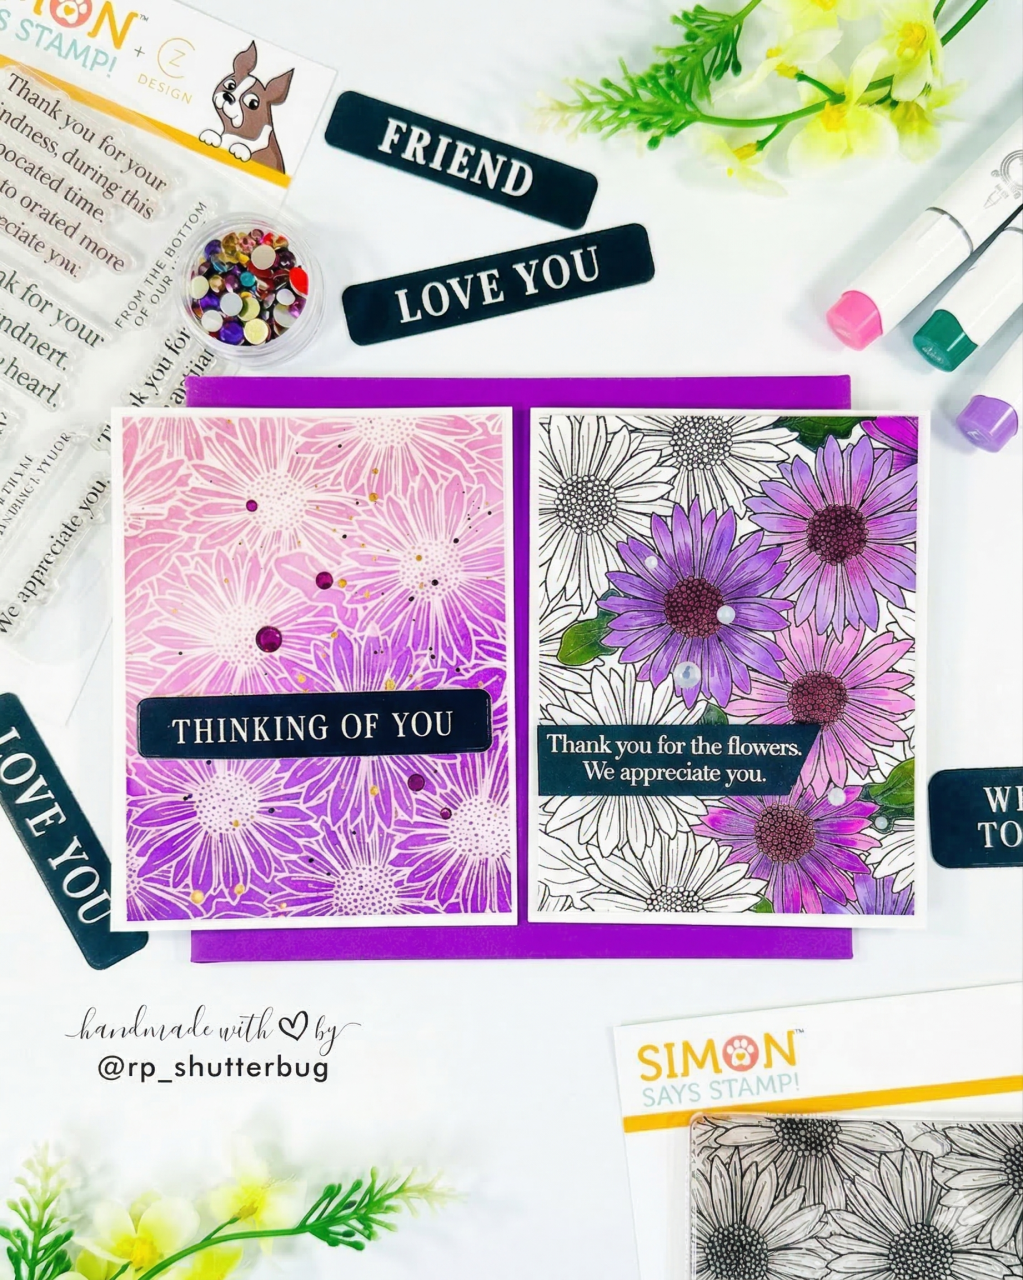
I created 2 cards using 1 stamped focal point image for my project today. I love that I was able to incorporate many valuable lessons by Erum in these cards.

I started with this beautiful floral image from the Flourishing Garden Stamp Set. This is a very big image that was perfect to cover 2 card fronts.
I started by stamping my image using white pigment ink and heat setting it with white embossing powder. The Flourishing Garden Stamp Set comes with a coordinating stencil, but I chose to add some fun water colors to my focal point.
I used my Altenew Spring Garden Set Watercolor Brush Markers to color in the beautiful florals. Once I was done coloring, I felt the image was too flat and needed some texture. So I decided to bring in my alcohol markers to add some fun details on all the flowers and the leaves.
The alcohol markers gave a very fun detail and unique look to my flowers. The alcohol markers gave a completely new look to my flowers. After I was done coloring, I used the coordinating die to cut out this image. It was then time to create some fun watercolor backgrounds for my cards.
Let’s take a look at the cards separately for more details –
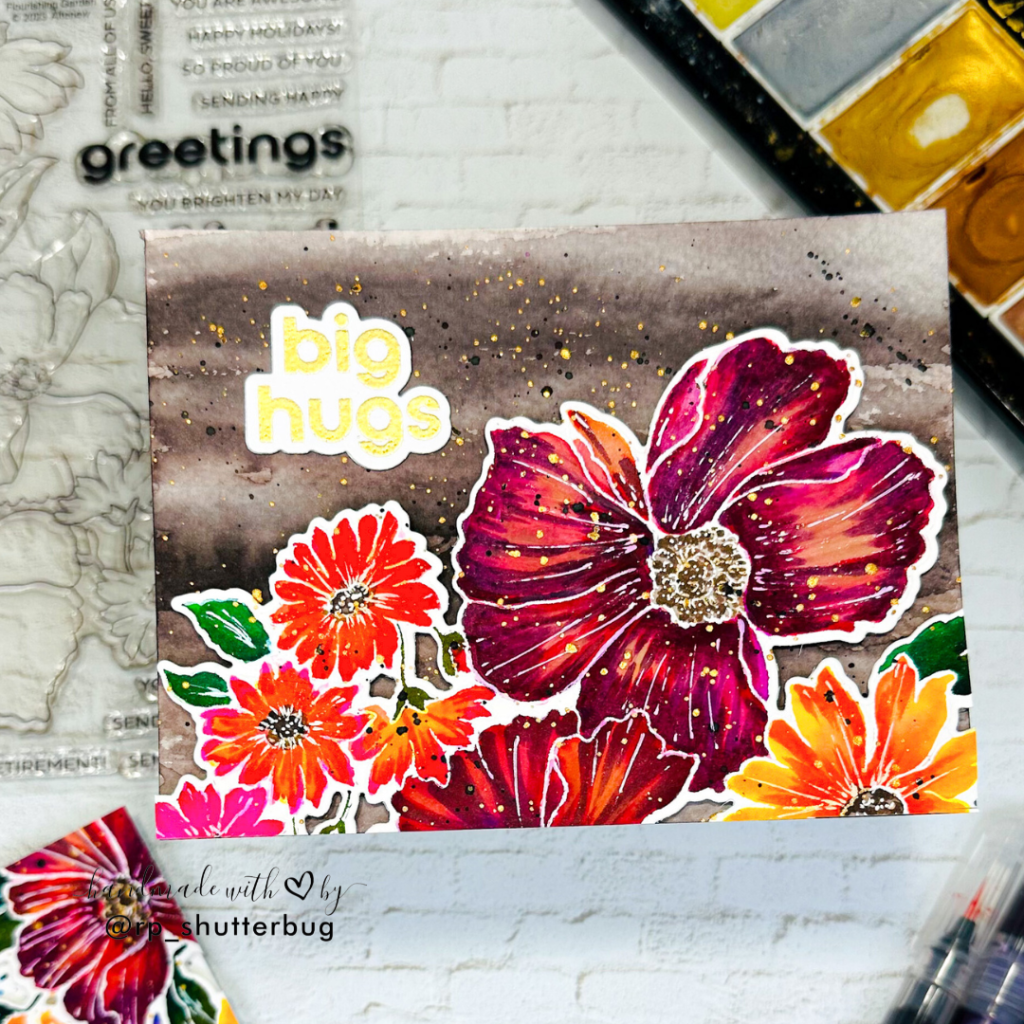
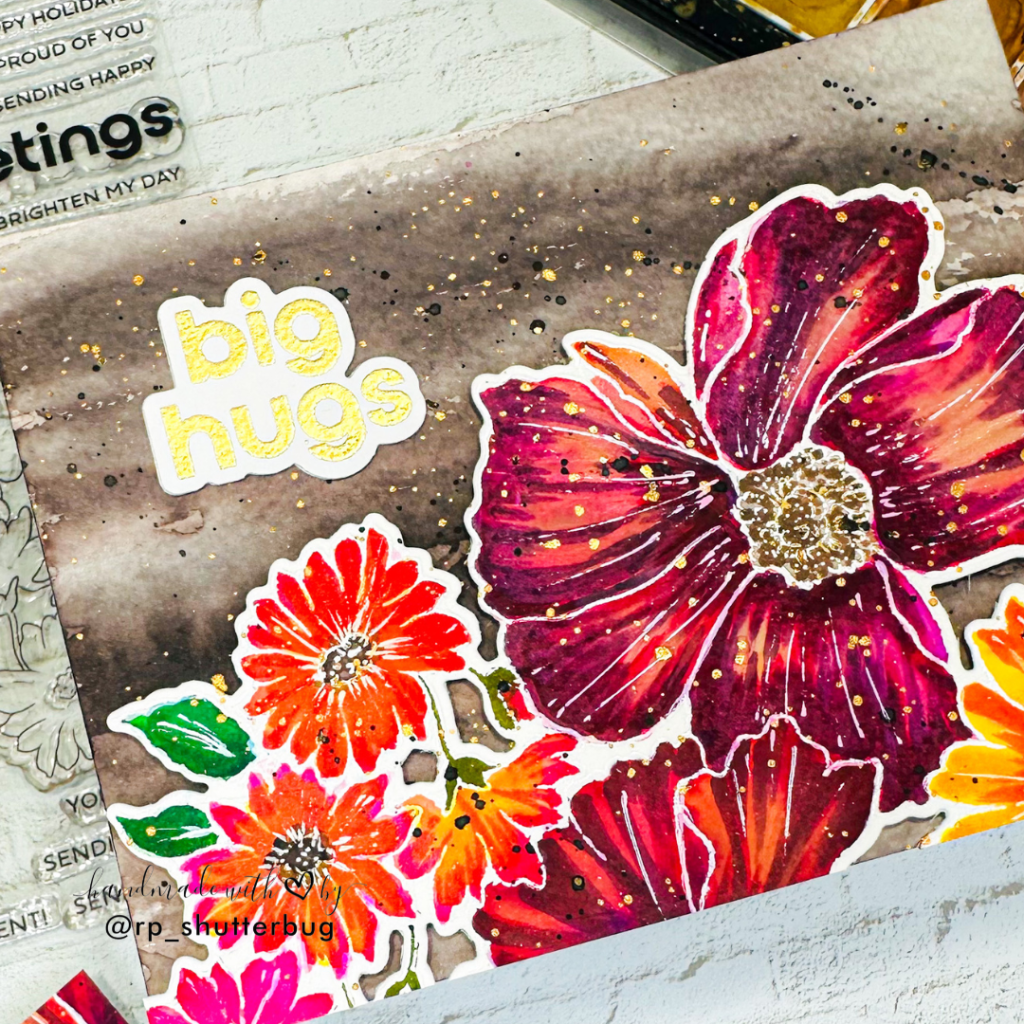
I decided to take a watercolor panel and create a textured wood grain look on my background for my first card. I used a light shade of brown and using some vertical lines and strokes I created a very light, and not highly grained wood like background. I didn’t want a lot of harsh crisp wood lines, so I went with just a few layers of the same light brown watercolor.
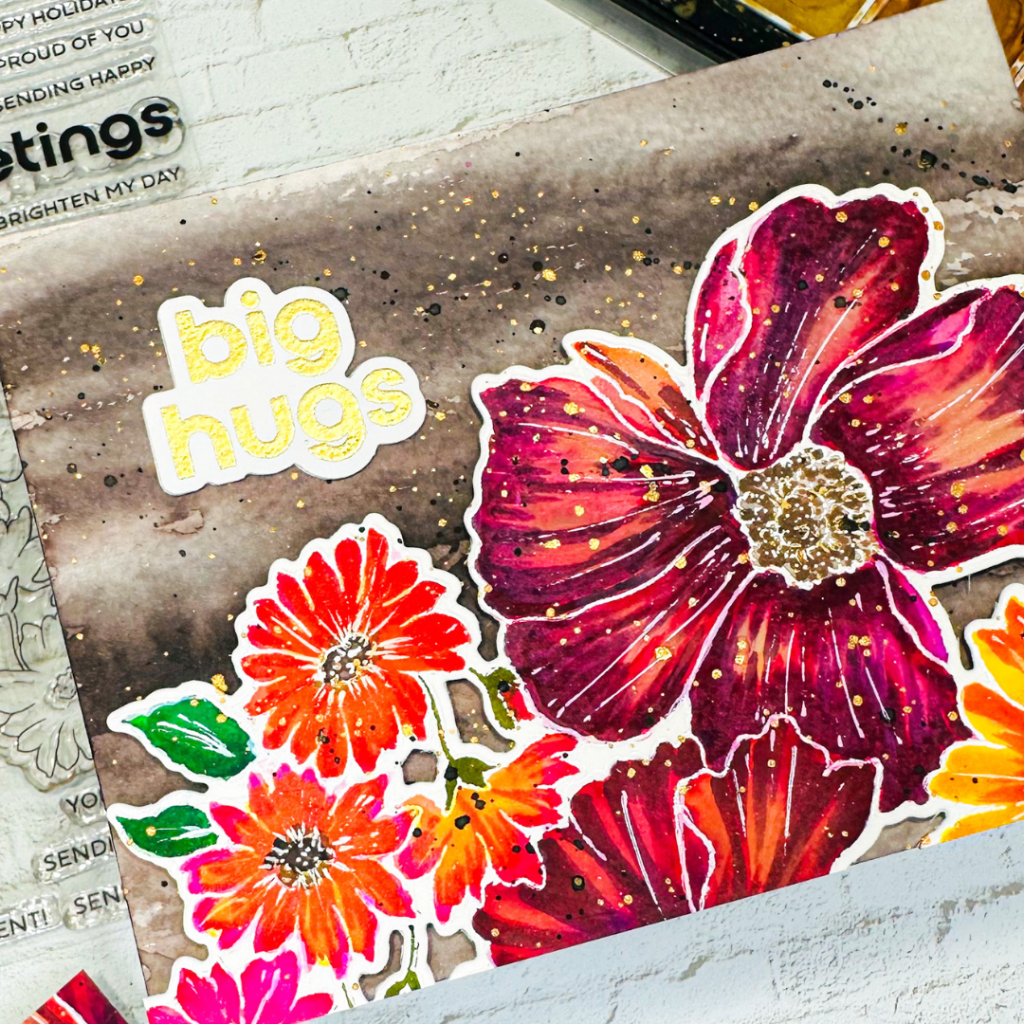
Once I was done with the background, I adhered the focal point image using foam tape and then added some gold metallic and black watercolor splatter on this card front. I finished the card with a beautiful gold heat embossed sentiment.
For card number 2, I have the remaining part of the stamped and colored floral focal point image. I chose to add a fun watercolor technique on my background.
In one of the lessons, Erum spoke about the Watercolor Drip Technique. As a crafter, I love creating clean and simple card designs, but the watercolor color drop technique was definitely something out of my comfort zone and something that I had to try for sure.
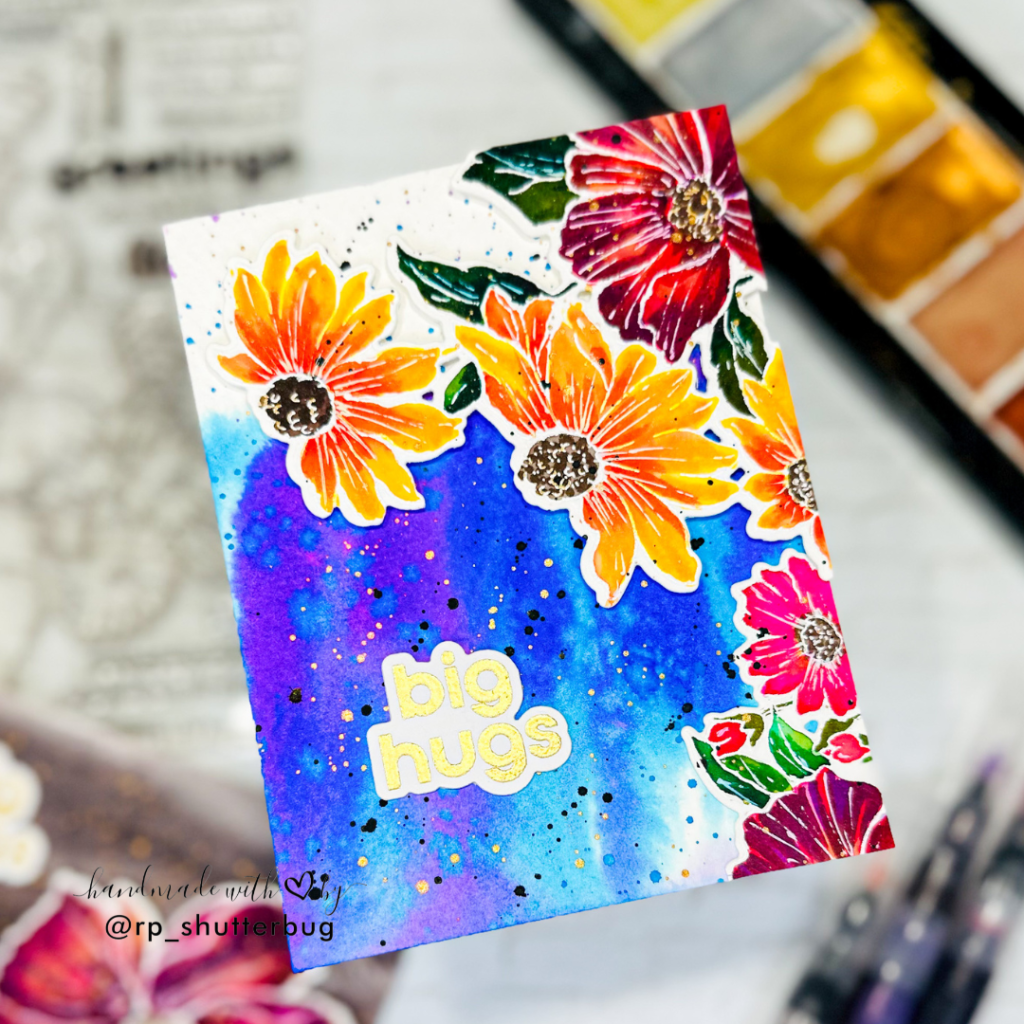
I started by spraying a 3/4th watercolor panel with water and held the paper upright to let the water flow down. I then used vibrant blue and purple watercolor, dropping the colors onto the wet surface and allowing them to flow with the water. Before the color dried, I added a bit of splatter for some extra texture. Once the color had dried, I added another layer of splatter to enhance the texture and give the piece more depth.

I then stuck my focal point onto the card front using foam tape. I absolutely love the contrast between the bright yellow flower and the deep blue background. The vibrant colors really pop, creating a striking visual. To add some extra depth, I splattered metallic gold and black watercolor across the piece, which adds a touch of elegance and a bit of drama, perfectly complementing the bold color combination.

I finished the card with a beautiful gold heat-embossed sentiment, and I absolutely love how this card turned out. The vibrant colors really bring it to life, and I’m thrilled with the result. What’s even better is that I used just one stamped image to create two beautiful cards, making the process even more rewarding. Although watercoloring can be intimidating for me personally, I truly enjoyed every step of the process and loved seeing how the colors came together in the end.
As the title suggests, this project is definitely all about creative coloring! I’ve never combined two different coloring mediums in one project before, so this was a fun new challenge. Today, I used watercolor and alcohol markers together to create a very unique look. The blend of these two mediums brought such a beautiful depth and dimension to the piece that I can’t wait to experiment more with this technique in the future!
A big huge thanks to Erum for sharing such fun lessons. The Altenew Educator Certification Program is definitely a best opportunity to showcase my work and get in touch with all of the amazing crafters.

Thank you for being here with me today. Do check out fun pictures and videos of the project on my Instagram page (@rp_shutterbug). Also, tag me on Instagram with pictures of your projects.
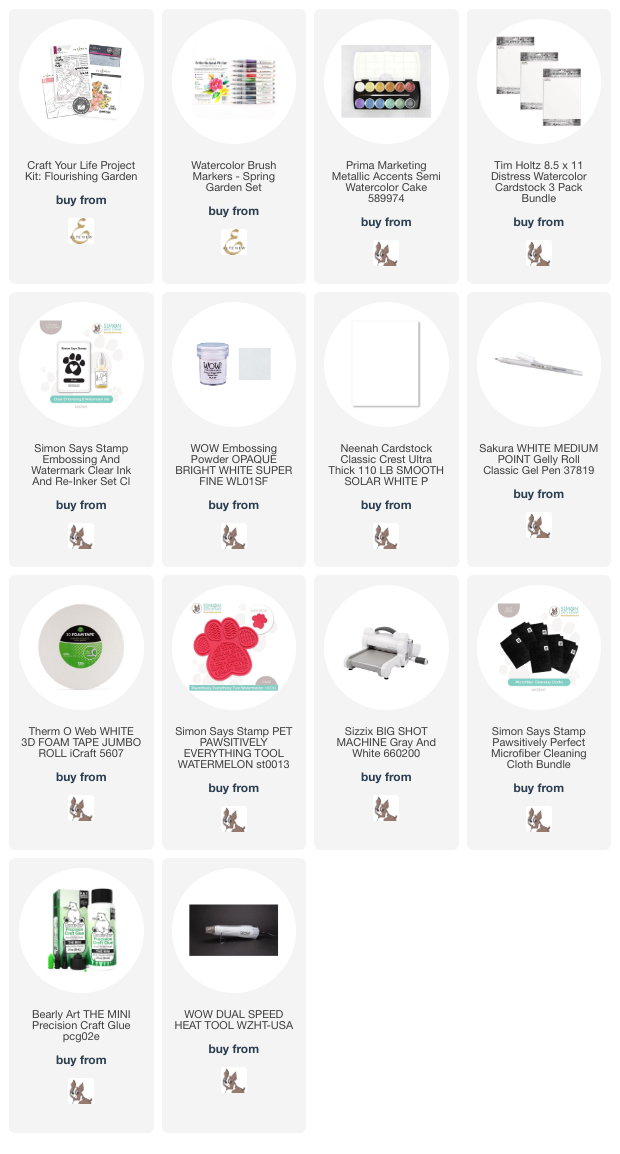
SUPPLIES:
*NOTE: Affiliate links may be used (at no additional cost to you) – thank you for your support!
 https://linkdeli.com/widget.js?id=f5e8378456858c916708
Thank you again for joining me today. Until next time, stay safe.


Leave a reply to Caught by Altenew: 8 Amazing Crafting Projects By Fans Cancel reply