Hello crafty friends,
After a bit of a break, I’m back to working on my AECP Level 3 projects—and I’m excited to share two interactive cards inspired by the Cards In Motion class taught by Ashley Tucker.
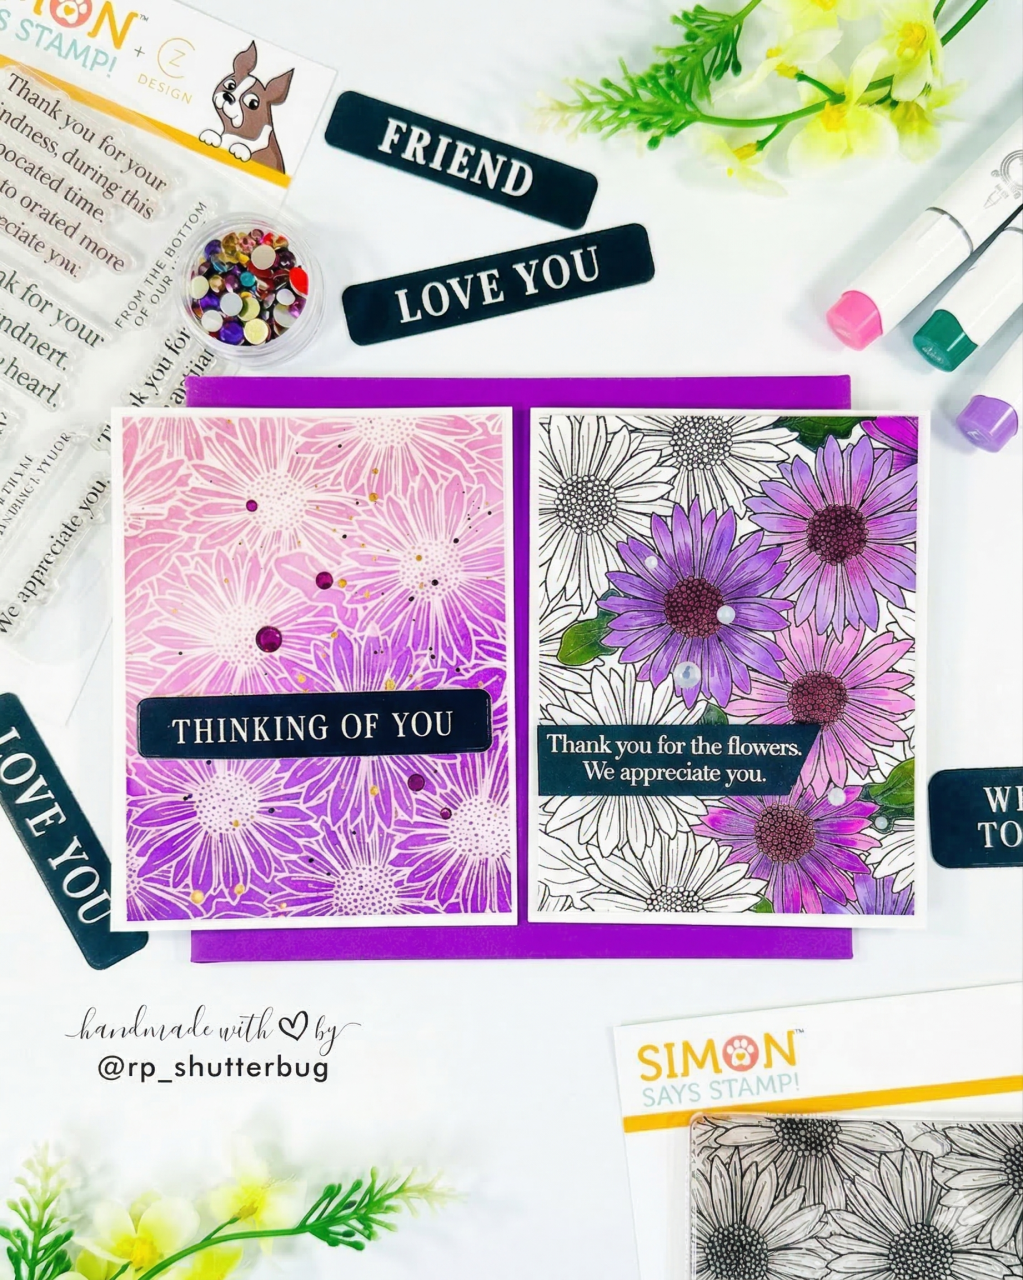
While I usually gravitate toward clean and simple, single-layer cards, interactive designs like window shaker cards always spark my creativity. For my first project, I combined the playful elements of a shaker card—bling, embellishments, and all—with a minimal and elegant design featuring a floral die cut and a classic sentiment strip.
For the second card, I returned to my clean-and-simple style for the front panel, but added a fun twist: a cheerful pop-up surprise waiting inside.

Card #1
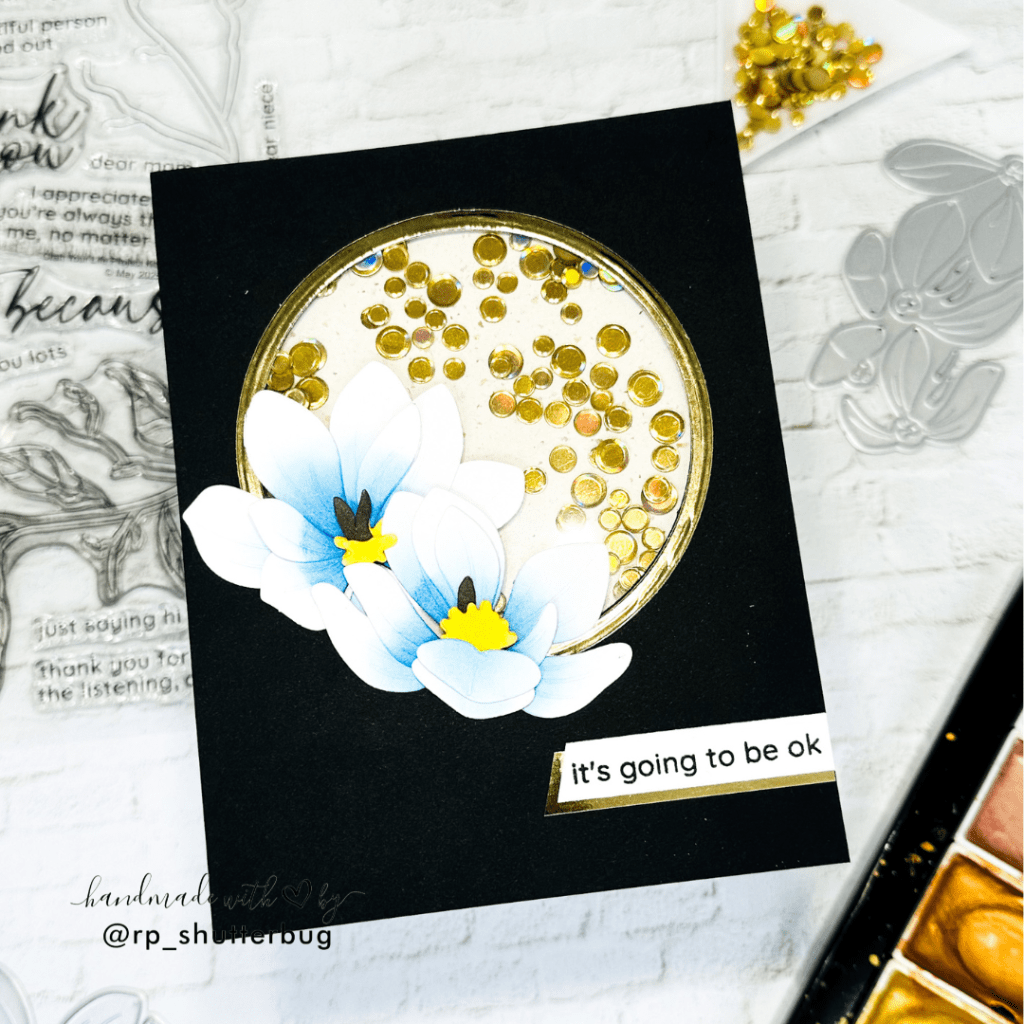
I began by cutting a circular window into a black A2-sized card panel to serve as the shaker window for the card front. Then, I die cut a piece of acetate slightly larger than the window opening. To secure it in place, I used liquid glue to adhere the acetate to the back of the panel.
Before adding the shaker elements, I turned my attention to the background that would be visible through the window. I chose a piece of textured patterned paper and added some playful watercolor splatters to enhance the design and tie in the colors of both the paper and the sequin mix.
While the splatters were drying, I started preparing the shaker window. To create enough space for the sequins to move freely, I added two layers of foam tape around the window opening. When working with circular windows, I find it helpful to remove the backing paper from both sides of the foam tape—it makes it much easier to shape and adhere the tape smoothly around the curve.
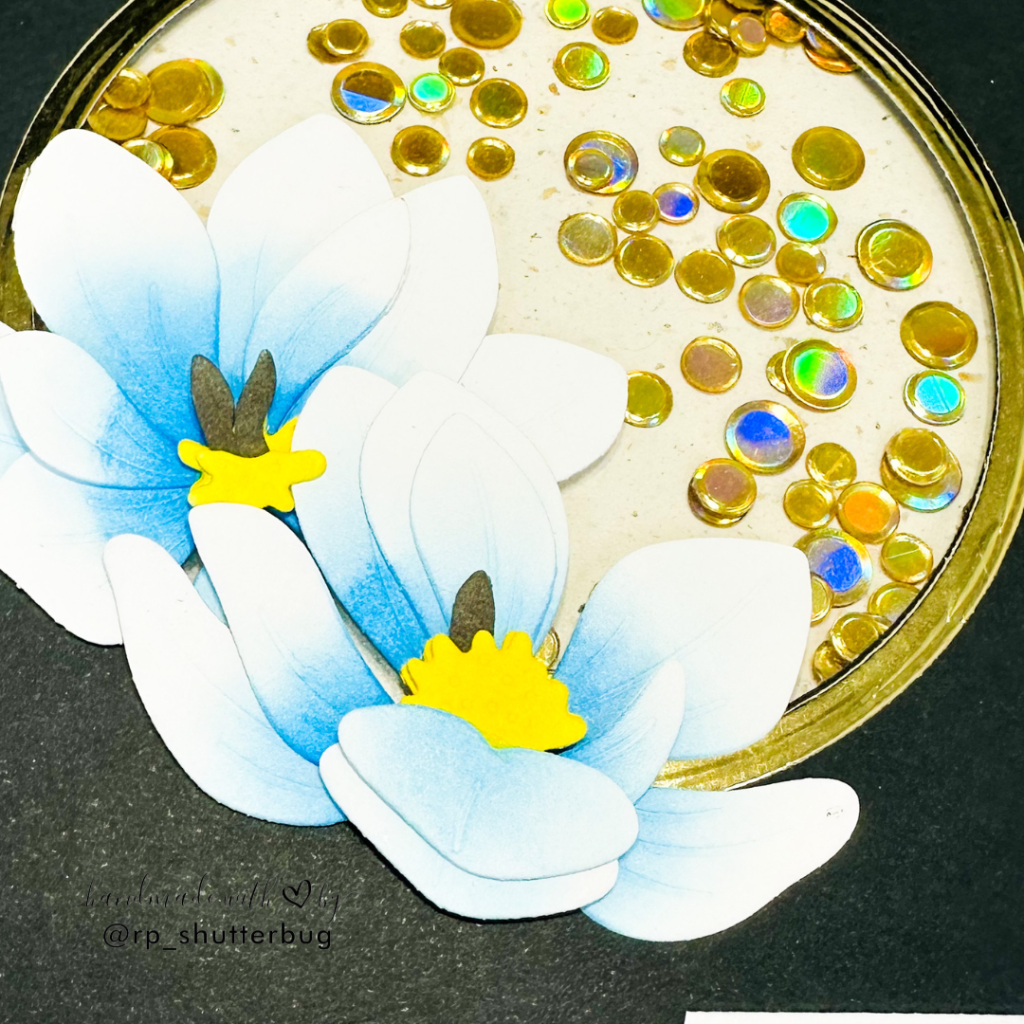
I added a mix of gold sequins inside the shaker window to bring in that fun, sparkly element. With the interactive window complete, it was time to start building the card front.
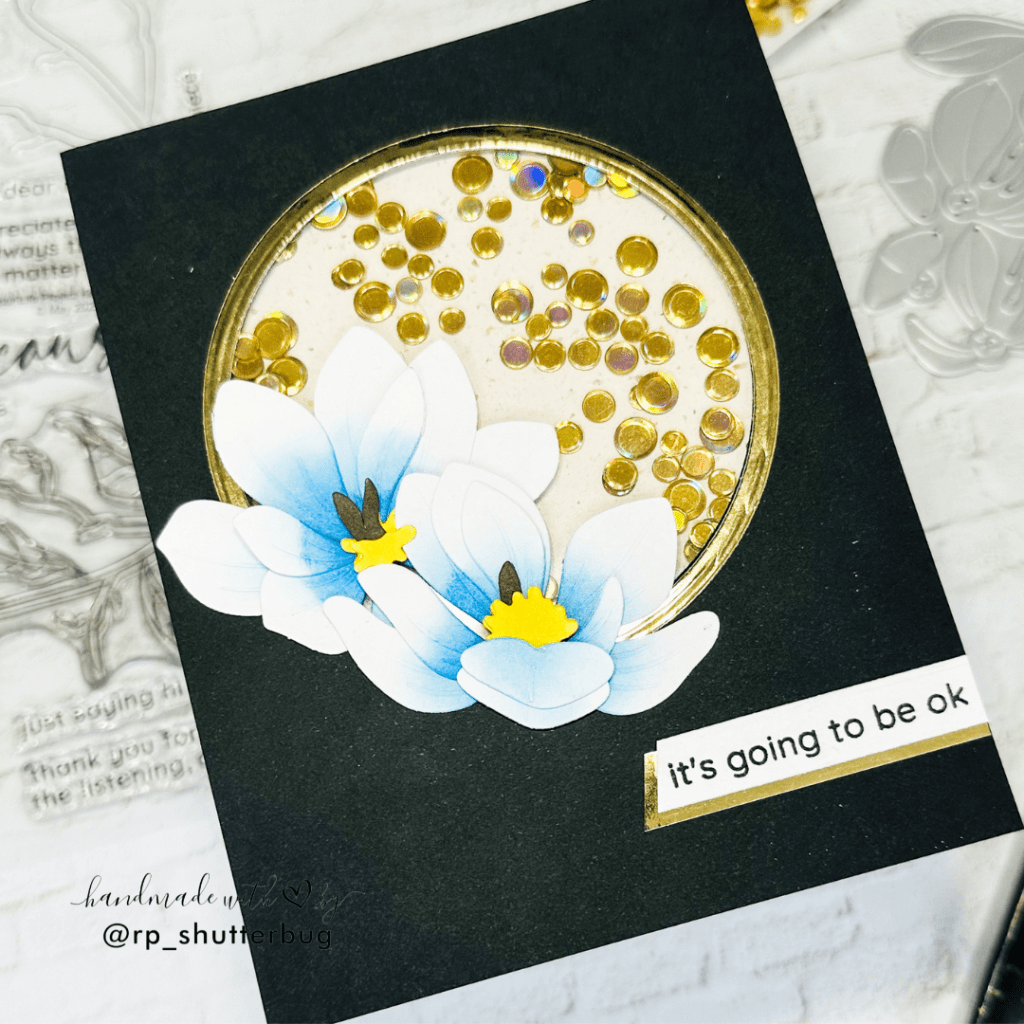
At this stage, the window looked a bit too simple on its own, so to brighten things up, I created a border around it using two circle dies—one that matched the size of the window opening, and a slightly larger one to form a ring. This is a quick and easy way to create clean frames that elevate your card design.
To embellish the shaker window, I die cut some gorgeous magnolia blooms using the Magnificent Magnolias die set. These floral accents added just the right touch of elegance and charm.
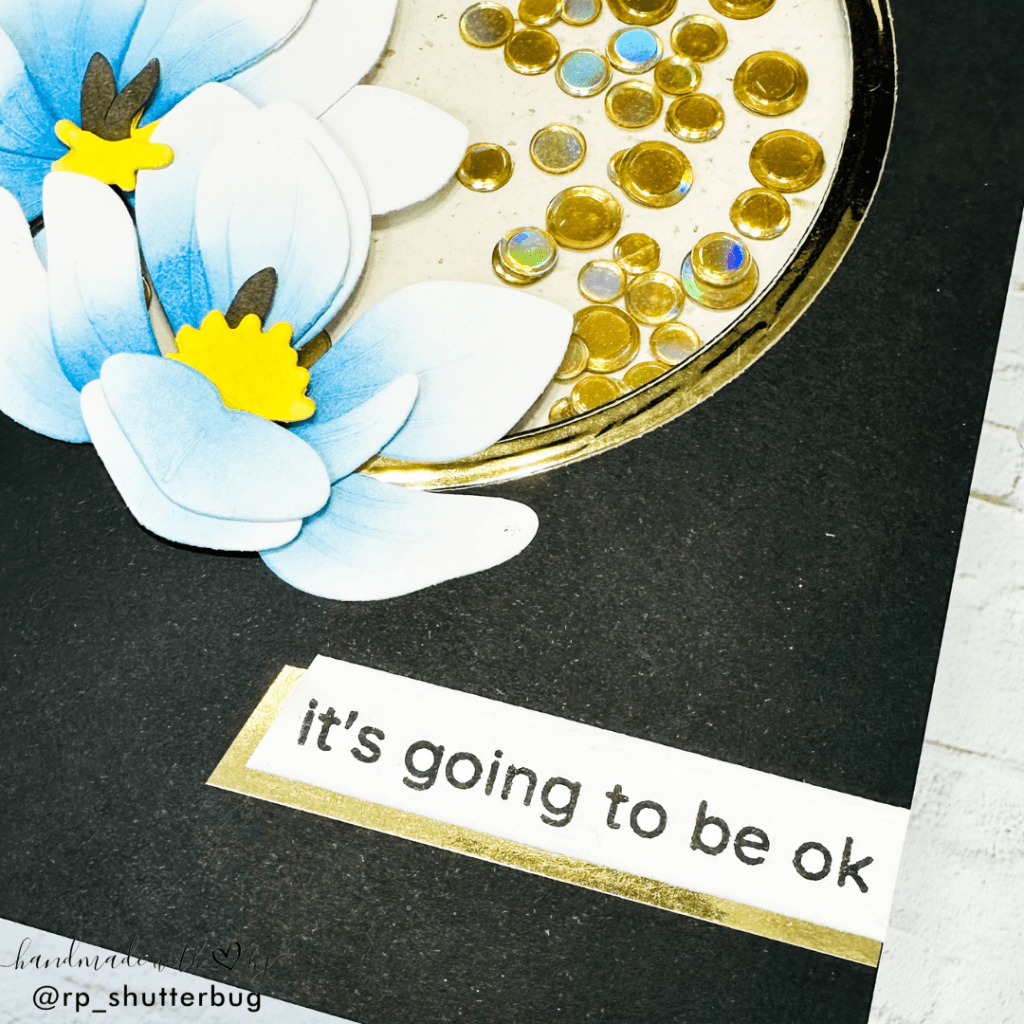
Finally, I stamped the sentiment, “It’s going to be OK,” onto white cardstock and layered it over a strip of gold cardstock—the same gold I used for the frame—to bring everything together with a cohesive touch.

While I love creating clean and simple cards, I wanted to add a fun pop-up surprise for my second design. I began by working on the inside interactive element, starting with a card panel measuring 4 x 5¼ inches.
I planned to place the pop-up feature on the right-hand side of the card. To do this, I used a T-square ruler to mark two pencil lines, each half an inch from the center fold. Then, using scissors, I carefully cut along those lines to create a slit.

Next, I opened the card and gently pushed the cut section inward to form a small loop. This created a step or platform inside the card, which would serve as the base for attaching my pop-up image.
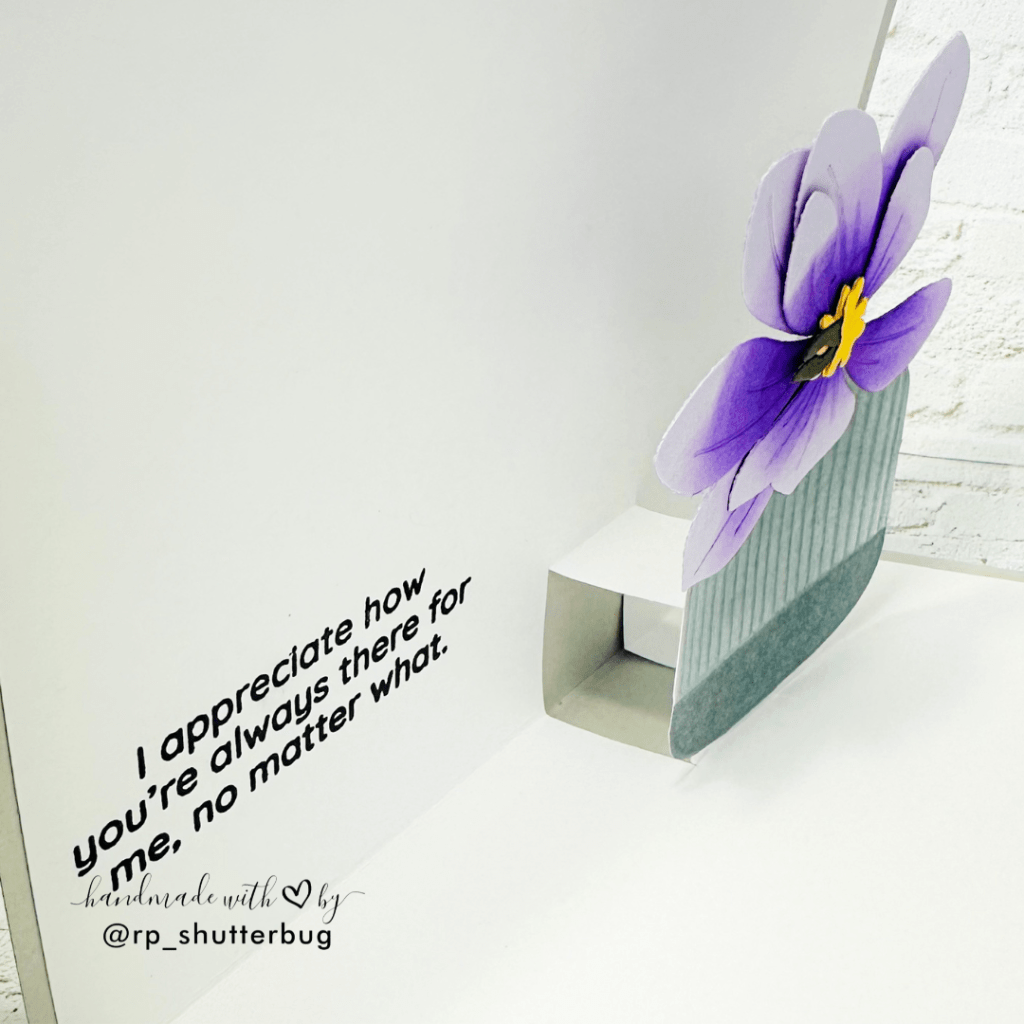
Before attaching the die-cut floral piece to the pop-up mechanism, I wanted to add a heartfelt touch to the inside of the card. I chose a sentiment that reads, “I appreciate how you’re always there for me no matter what.” Its simplicity and sincerity felt like the perfect match for the soft, elegant design I had in mind.

For the pop-up element, I used a 3D embossed vase along with a floral die-cut from the Magnificent Magnolias bundle. I adhered this arrangement onto the step created by the pop-up fold, giving the inside of the card a delightful surprise when opened.

To finish, I mounted the entire panel onto a standard A2 card base. This not only completed the card but also created a lovely border around the inner pop-up feature, framing the scene beautifully and adding that final polished touch.
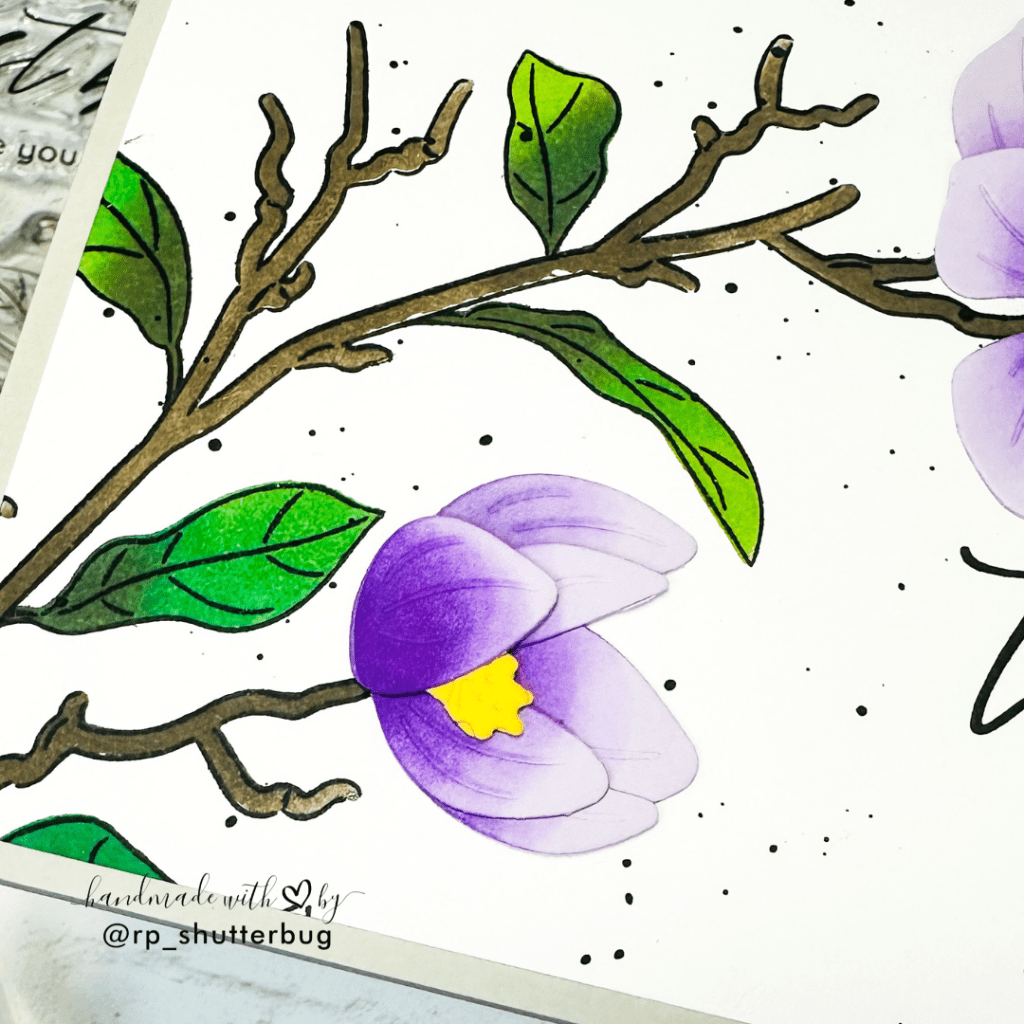
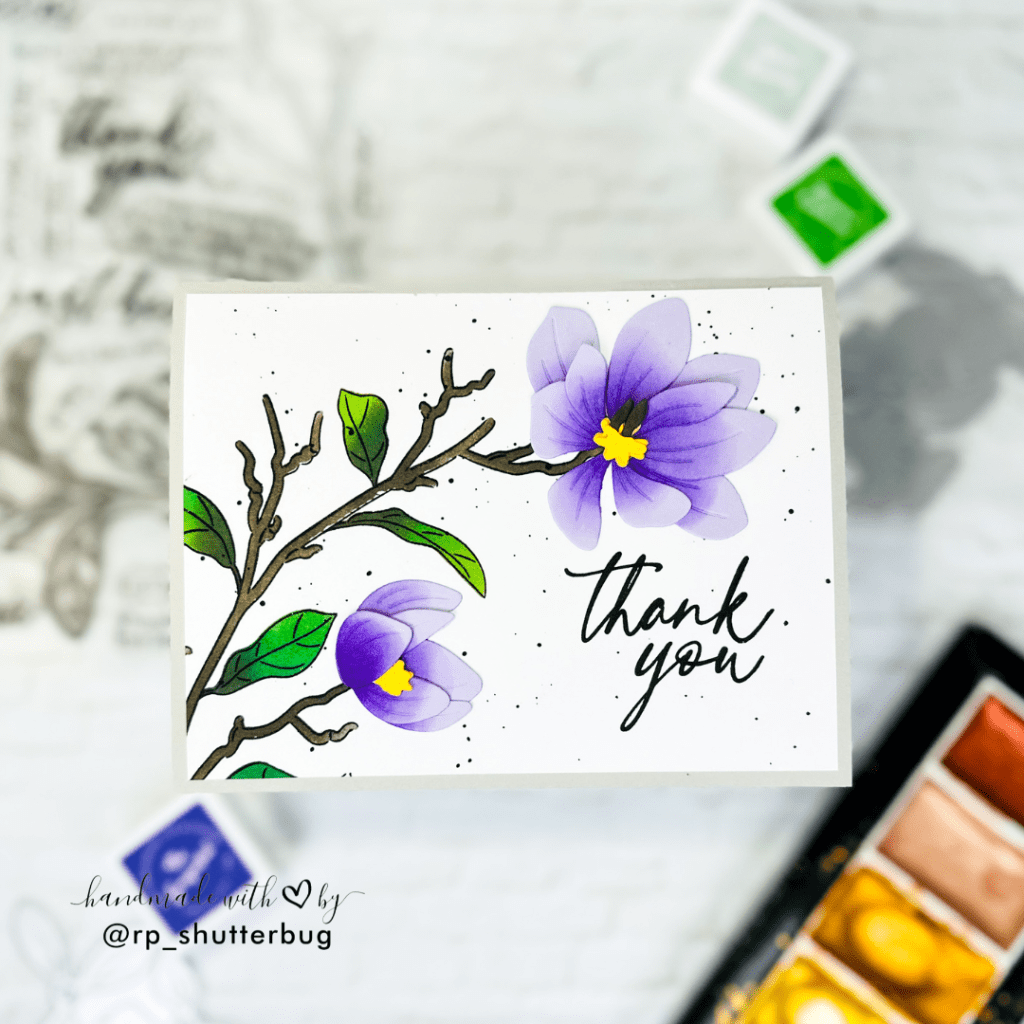
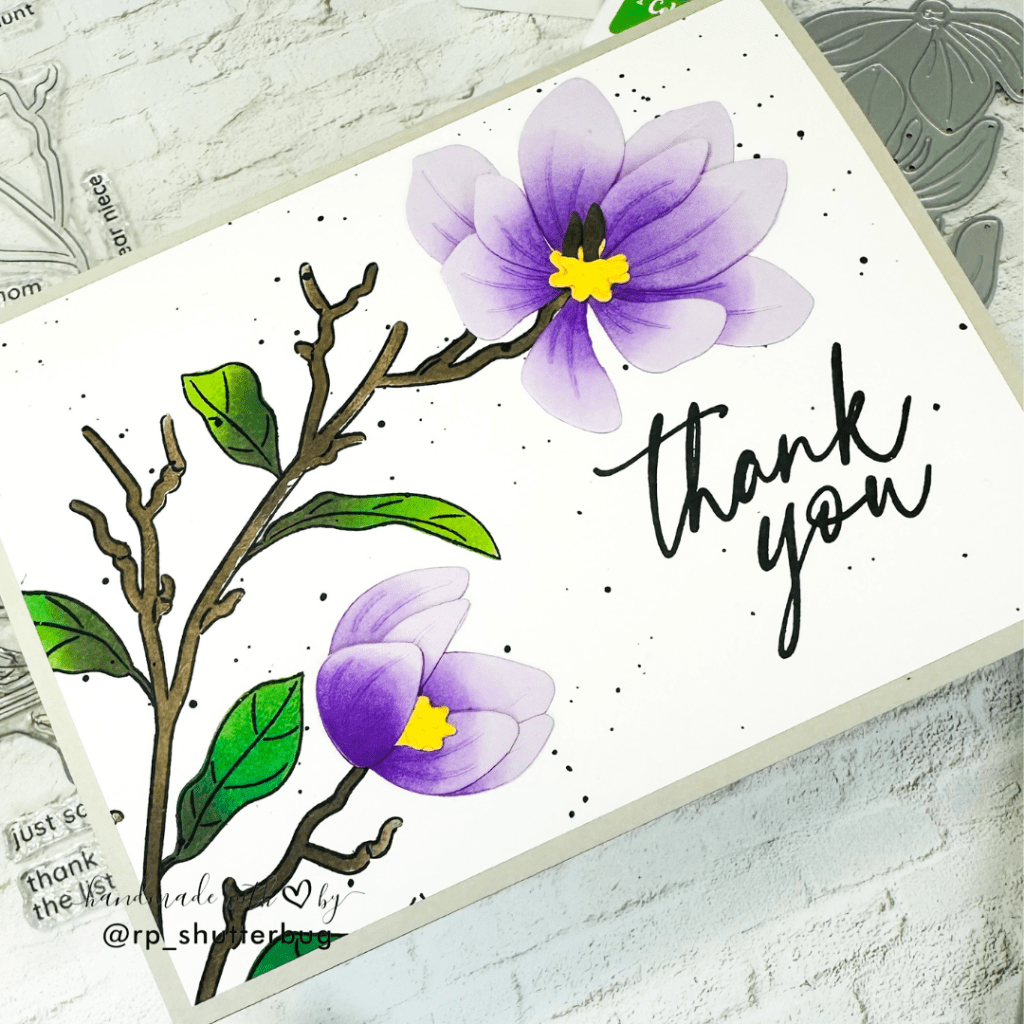
I kept the front of the card clean and simple, featuring a beautifully stamped branch paired with a die-cut floral element and a “thank you” sentiment—both from the Magnificent Magnolias bundle. Before adhering the floral accents, I added a few black watercolor splatters to the panel for a subtle touch of texture and contrast.
Interactive cards have always fascinated me—the movement, the surprise, and the joy they bring to the recipient make them so special. While I typically lean toward clean and simple cardmaking, I’ve always admired interactive designs from afar, thinking they might be too complicated or require specialty tools.
Taking the Cards In Motion class by Ashley Tucker truly changed that for me. It broke down the techniques into approachable steps and helped me gain the confidence to try them myself. Thanks to what I learned, I was not only able to create one interactive card—but two! And the best part? I stayed true to my clean and simple style while adding fun, unexpected elements that made the designs come to life.
What I also love is that I didn’t need any specialty dies or complicated mechanisms to make these cards work. With a little creativity and basic tools, it’s completely possible to add movement and dimension to your projects without stepping away from your personal style.
This experience has definitely opened the door for me to explore more interactive techniques in the future—without sacrificing the simplicity I love.
A huge thanks to Ashley for sharing all the fun lessons. The Altenew Educator Certification Program is definitely a best opportunity to showcase my work and get in touch with all of the amazing crafters.

Thank you for being here with me today. Do check out fun pictures and videos of the project on my Instagram page (@rp_shutterbug). Also, tag me on Instagram with pictures of your projects.
SUPPLIES:
*NOTE: Affiliate links may be used (at no additional cost to you) – thank you for your support!
 https://linkdeli.com/widget.js?id=f5e8378456858c916708
Thank you again for joining me today. Until next time, stay safe.


Leave a reply to Revati Panickar Cancel reply