Hello Crafty friends,
Finally, the day arrived. On November 1st, 2025, I sat alongside a group of incredibly talented cardmakers to complete my AECP Level 3 Workshop — the very last step of this beautiful journey. I can’t even begin to express how much joy and accomplishment I felt during those two hours. The session was not only fun and wonderfully interactive, but it also gave me the chance to share so many of the techniques and lessons I’ve gathered from every AECP class I’ve taken throughout the year.
For anyone new to the AECP program, it consists of three levels, each packed with a set number of classes and final assignments. My own journey began more than a year ago, on June 8th, 2024. At the time, I saw it simply as an opportunity to learn new techniques and to express myself through color, sparkle, and creativity. I didn’t realize then how much this path would give me. The journey may have felt slow at times, but it was rich with learning — not just about cardmaking techniques, but also about blogging, sharing my work, building community, and discovering how vibrant and expansive this crafty world truly is.
What a journey it has been! This program has been such a wonderful, inspiring experience. Through the 25 classes I’ve had the privilege to take, I’ve learned more than I ever imagined — new techniques, new perspectives, and a deeper appreciation for the art we all love. I genuinely feel like my crafty toolbox, skills, and confidence have grown beyond anything I expected.
Planning
For my final AECP assignment, I was tasked with hosting a two-hour workshop — either in-person or virtually via Zoom. At first, I was convinced I would host an in-person session and simply invite a few neighbors and crafty friends. The idea of running an online class felt daunting; I wasn’t confident about handling the technical side of things, and Zoom seemed a little overwhelming. But I’m so glad I listened to Erum’s advice and decided to conduct the workshop online. It turned out to be the best decision! Not only did it make the workshop more accessible, but it also allowed me to connect with fellow cardmakers already enrolled in the AECP program. I needed a minimum of four participants to make this workshop official — so you can imagine my excitement when not just four, but eleven people signed up!
Before diving deeper into the planning, I have to pause and express my gratitude to Traci, Ishani, and Liz. They helped me through every stage of preparation — from scheduling a date, designing a banner, and figuring out Zoom, to setting up my camera and offering constant encouragement right up until the last minute. Their support truly made this entire experience possible. I also want to give a special shout-out to Ishani for generously sharing her Zoom platform with me. She not only helped set up the link but also showed up early before the workshop to assist with camera setup and mic testing. Your support truly made all the difference!

I began the planning process by creating a workshop banner that included all the essential details, along with a brief description of what we would be creating together. Since my cardmaking style leans heavily toward clean and simple designs, I wanted that to be the core theme of the workshop projects. I also knew I wanted to incorporate stamping and ink-blending tips that I’ve learned throughout my AECP journey. And to make things even more fun, I decided to introduce an interactive element to the cards. Yes — interactive! A bold choice for a final workshop, but I trusted myself and went for it. After posting the banner in the AECP Facebook group, sign-ups came in quickly, and soon enough, my class list was full with eleven enthusiastic participants. I reached out to each of them individually to collect their email addresses so I could send all the details.
To help everyone prepare, I created a detailed PDF document for the class, outlining every step of the projects and including photos of the finished cards so they had a clear idea of what we’d be making. About a week before the workshop, I emailed the the Zoom link along with a list of optional product suggestions. Since the real focus of the workshop was on technique, participants were encouraged to use any stamps or colors they preferred. I requested everyone to have a few A2 card bases ready ahead of time to make the session flow smoothly.
The Day of the Workshop
Then came the big day — the day of the workshop. I’m pretty sure I barely slept the night before! I was nervous, excited, and fully aware that this was the final challenge of my AECP journey. About thirty minutes before the session began, I hopped on a call with Erum. She walked me through what to expect during and after the workshop, calming my nerves with her guidance. Her encouragement, along with the little last-minute tips she shared, truly helped me step into the session with confidence and run the workshop with ease.
The Projects
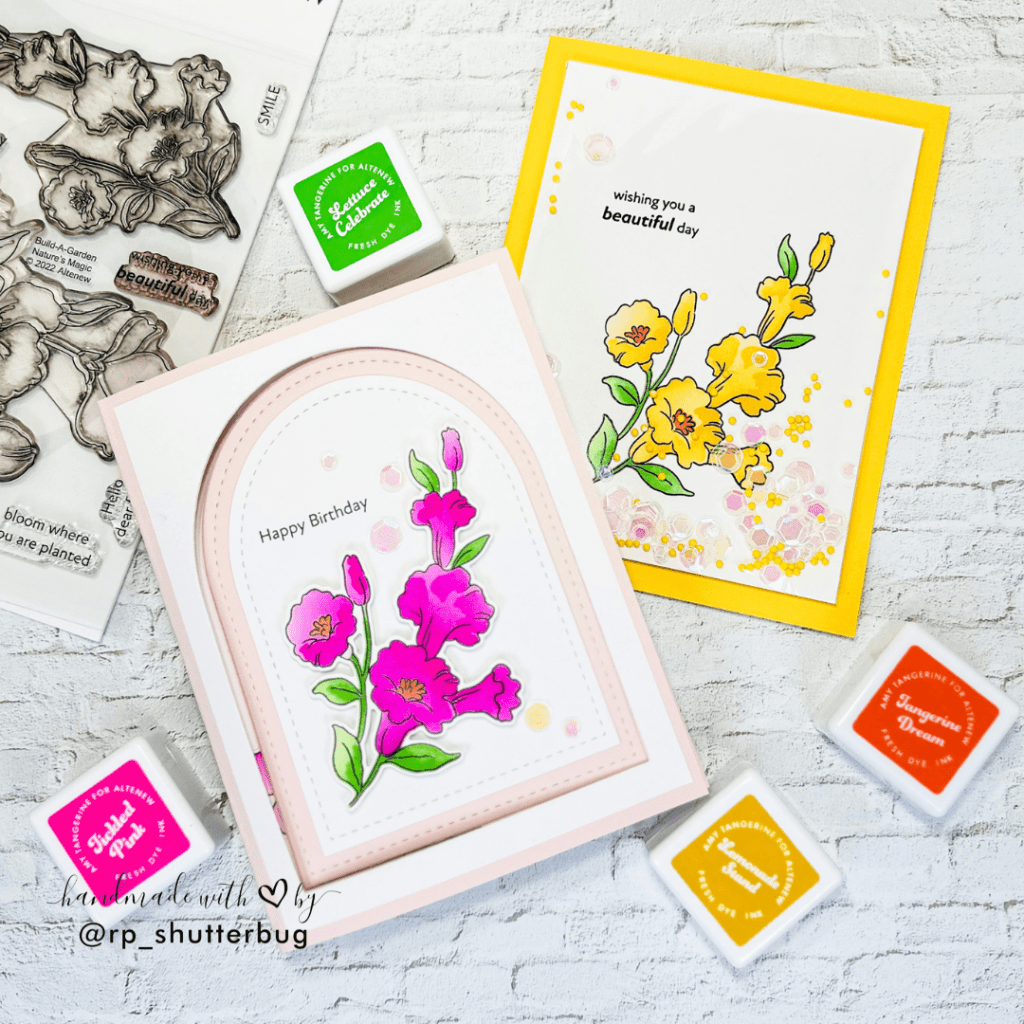
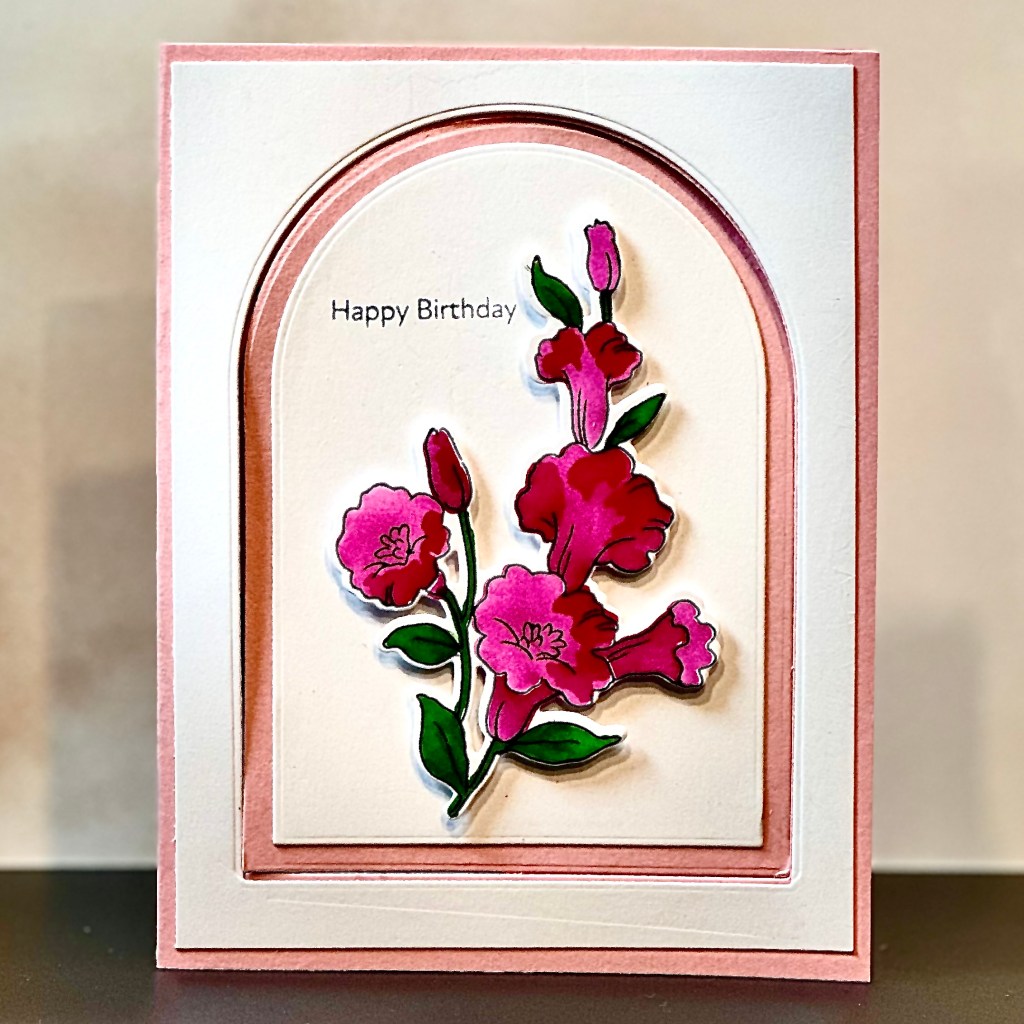
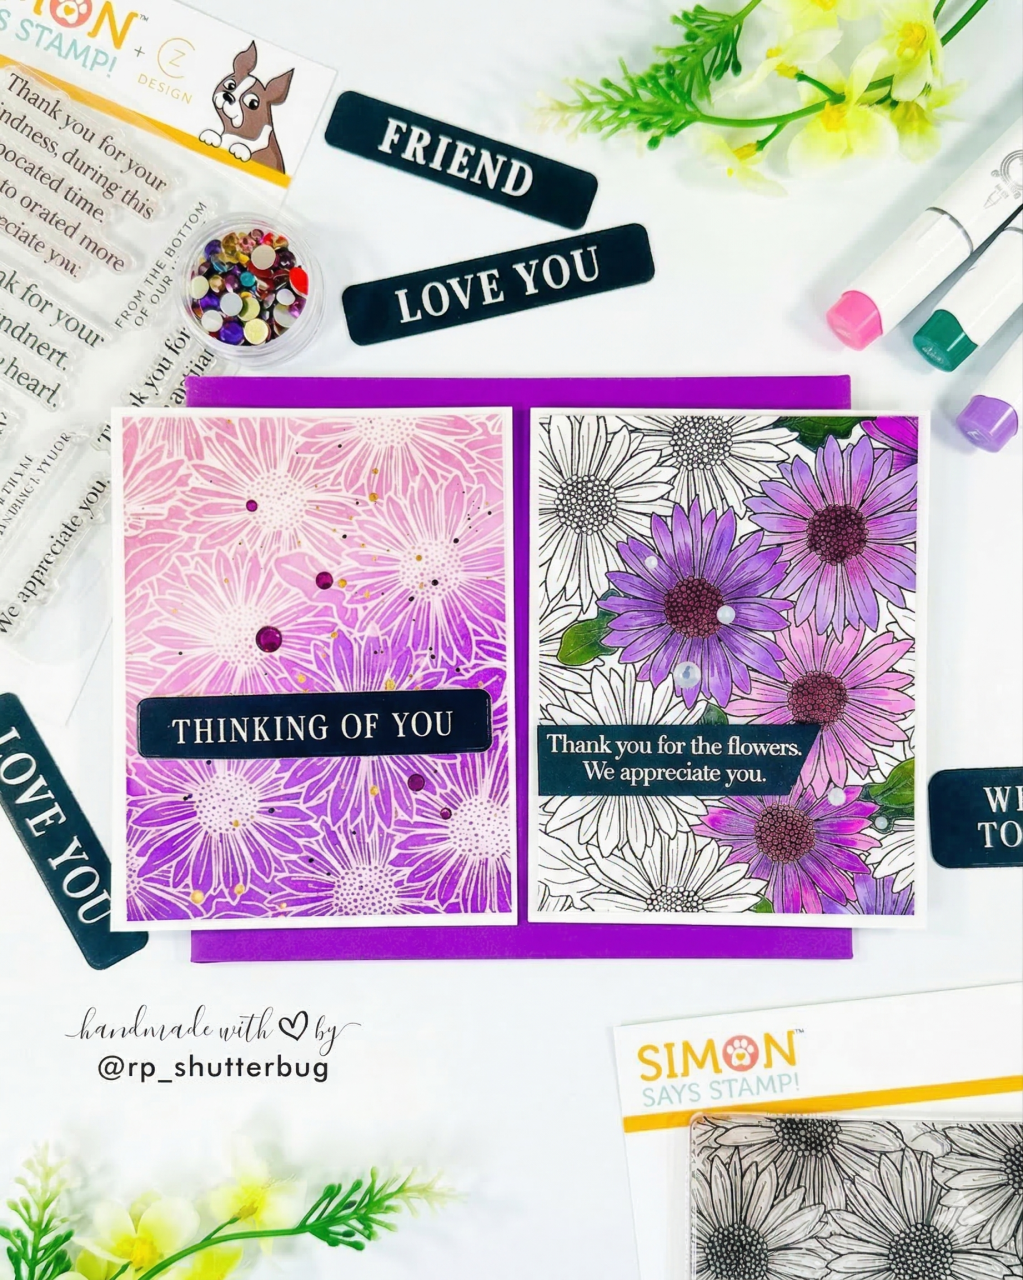
Before we jumped into the individual card designs, we began with some essential prep work. We started by stamping the focal elements that we would be using for both projects. I stamped the floral images directly onto my card bases using black pigment ink because I planned to heat-emboss them with clear embossing powder. I love how embossing helps the stamped outlines stand out and makes the colors pop beautifully during ink blending.
Next, we moved on to ink blending all the floral images. I encouraged participants to use stamp sets that had coordinating stencils because I wanted to show how I achieve a multi-layered look using just one ink pad—no need for a whole range of colors or supplies! Once the blending was complete, I stamped my sentiment on one of the floral images, which would later be used for Card #1.
Doing everything step by step not only kept the workshop organized but also helped save time—especially important since we had only two hours to complete both projects. This method is also incredibly useful when mass-producing multiple cards.
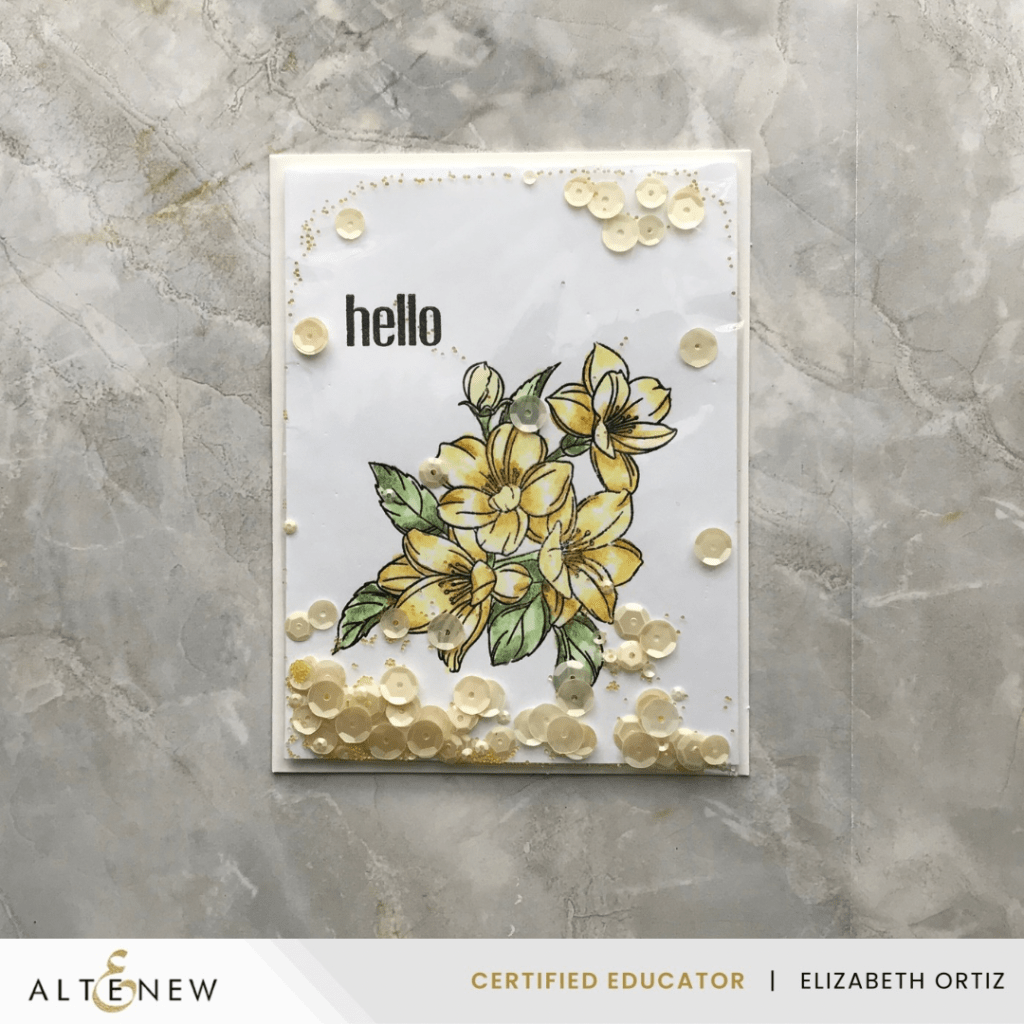
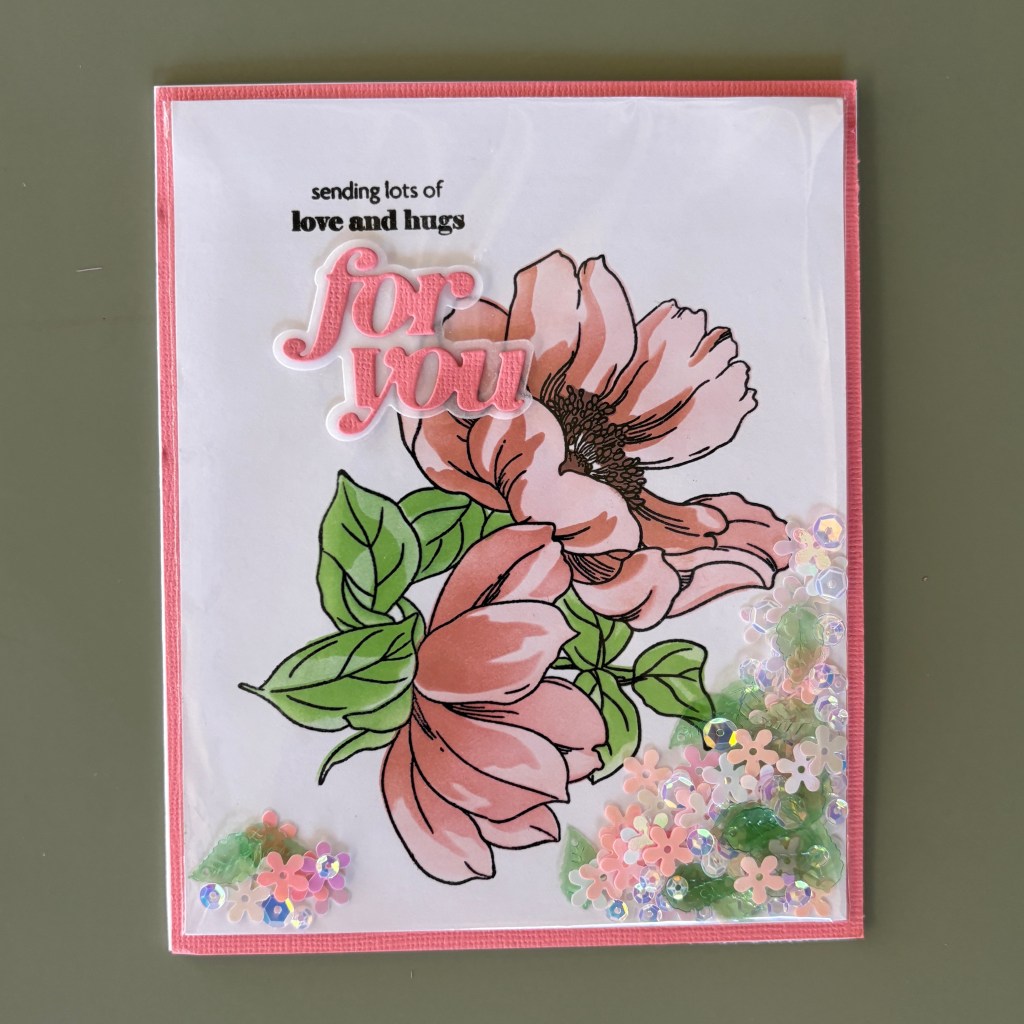
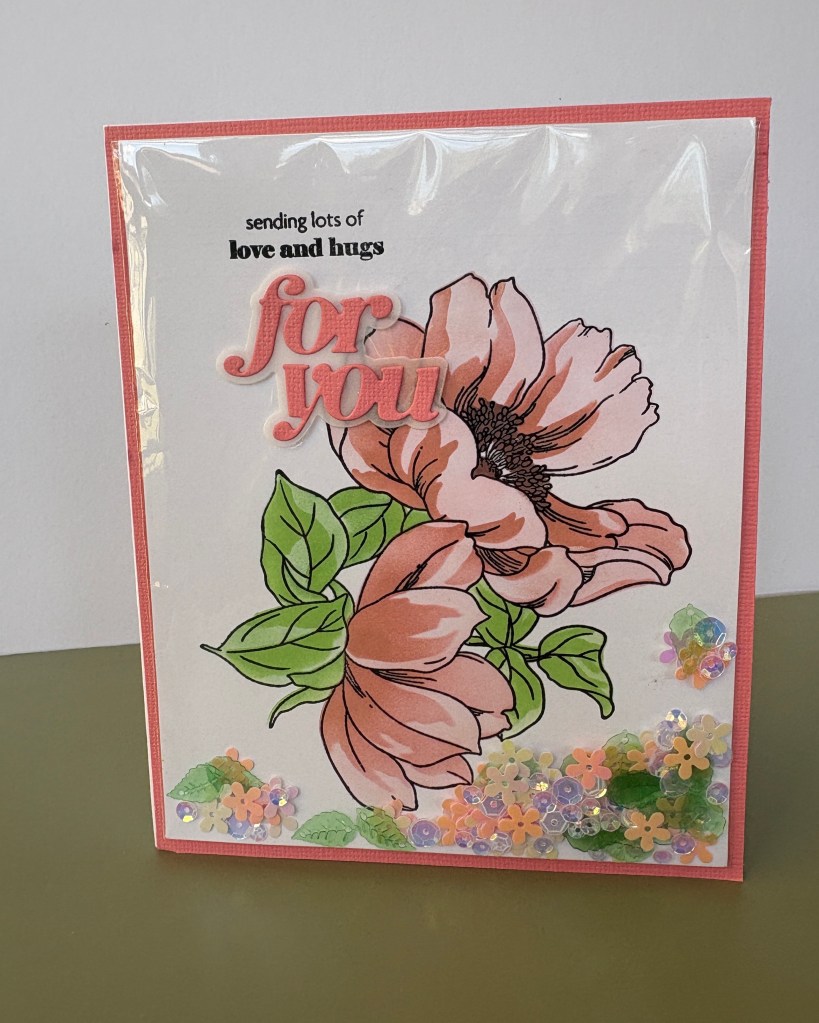
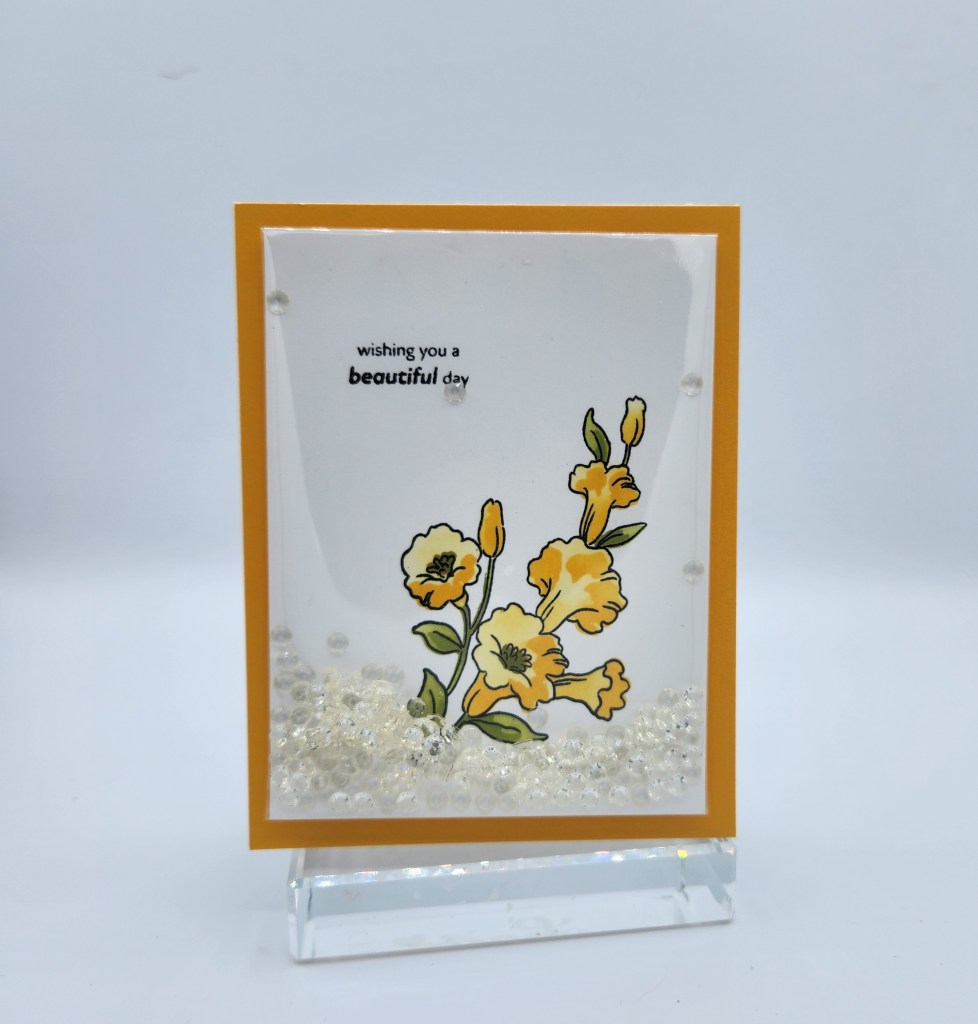
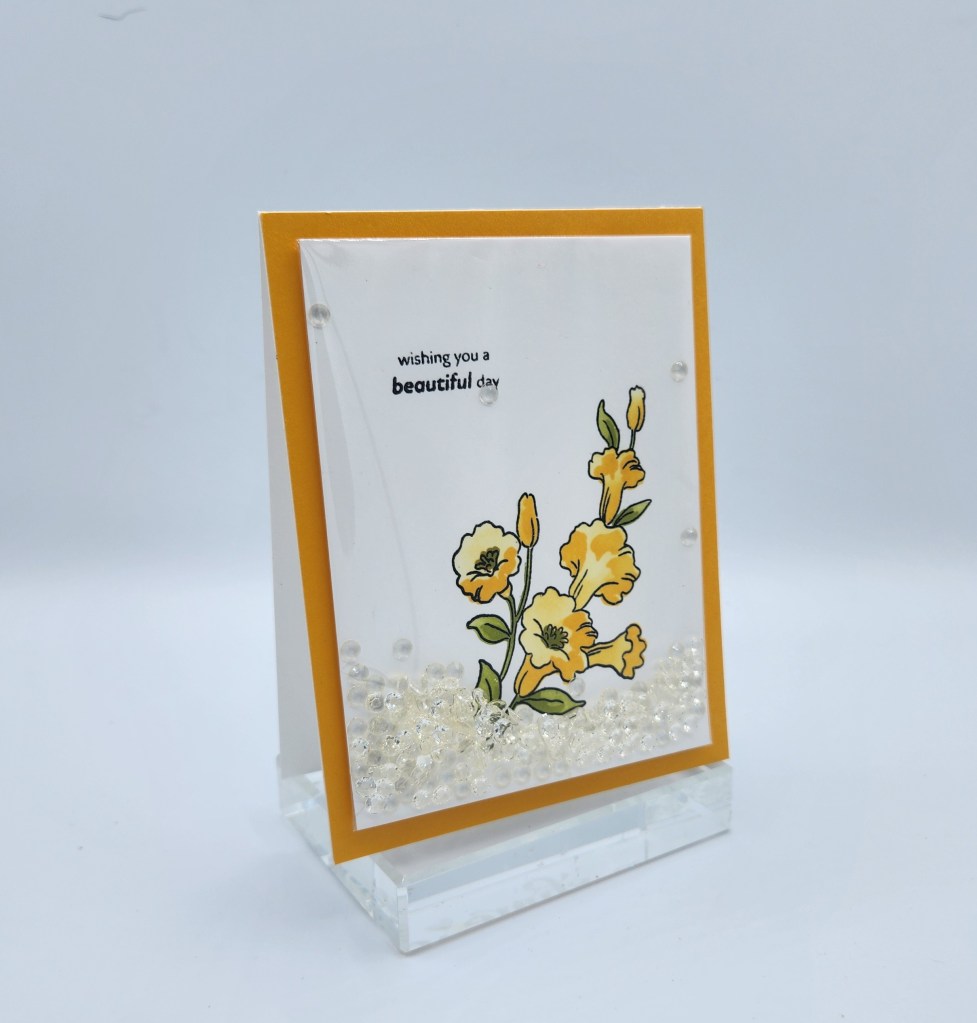
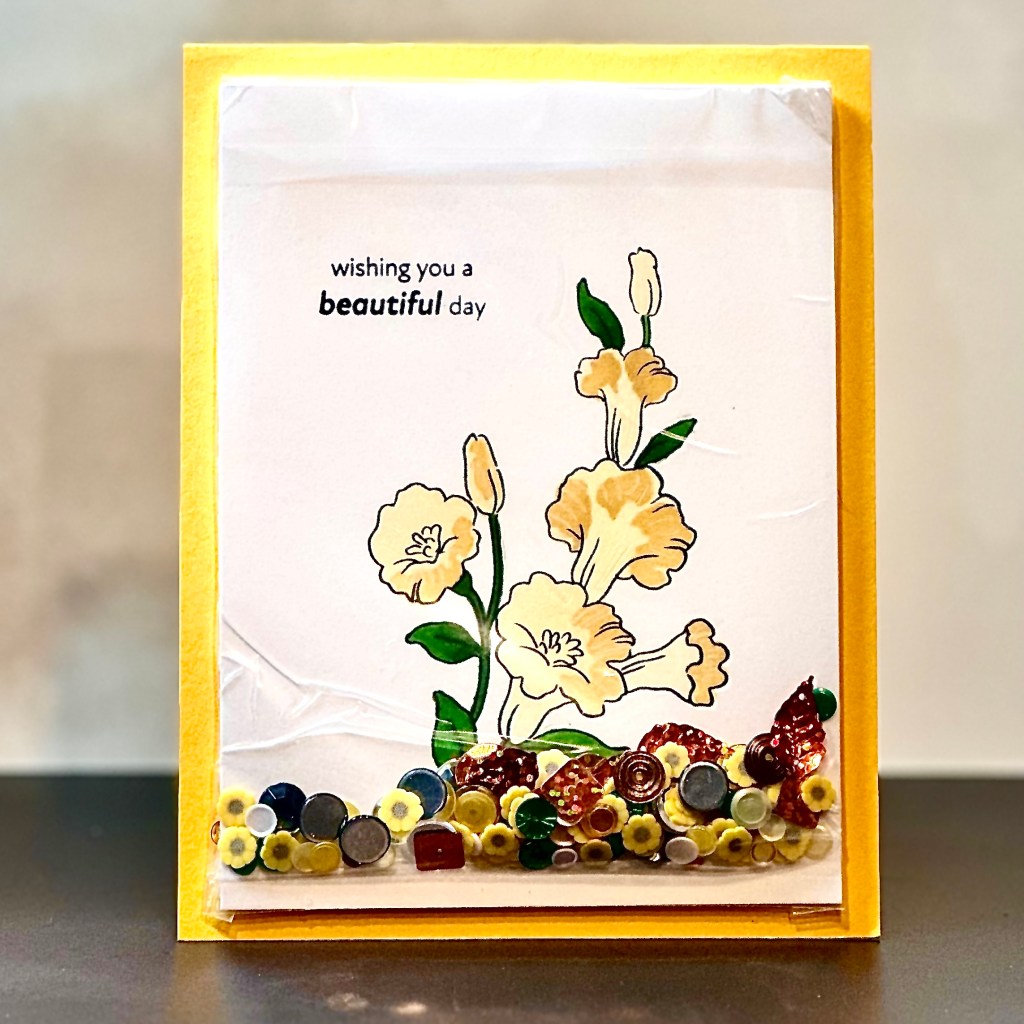
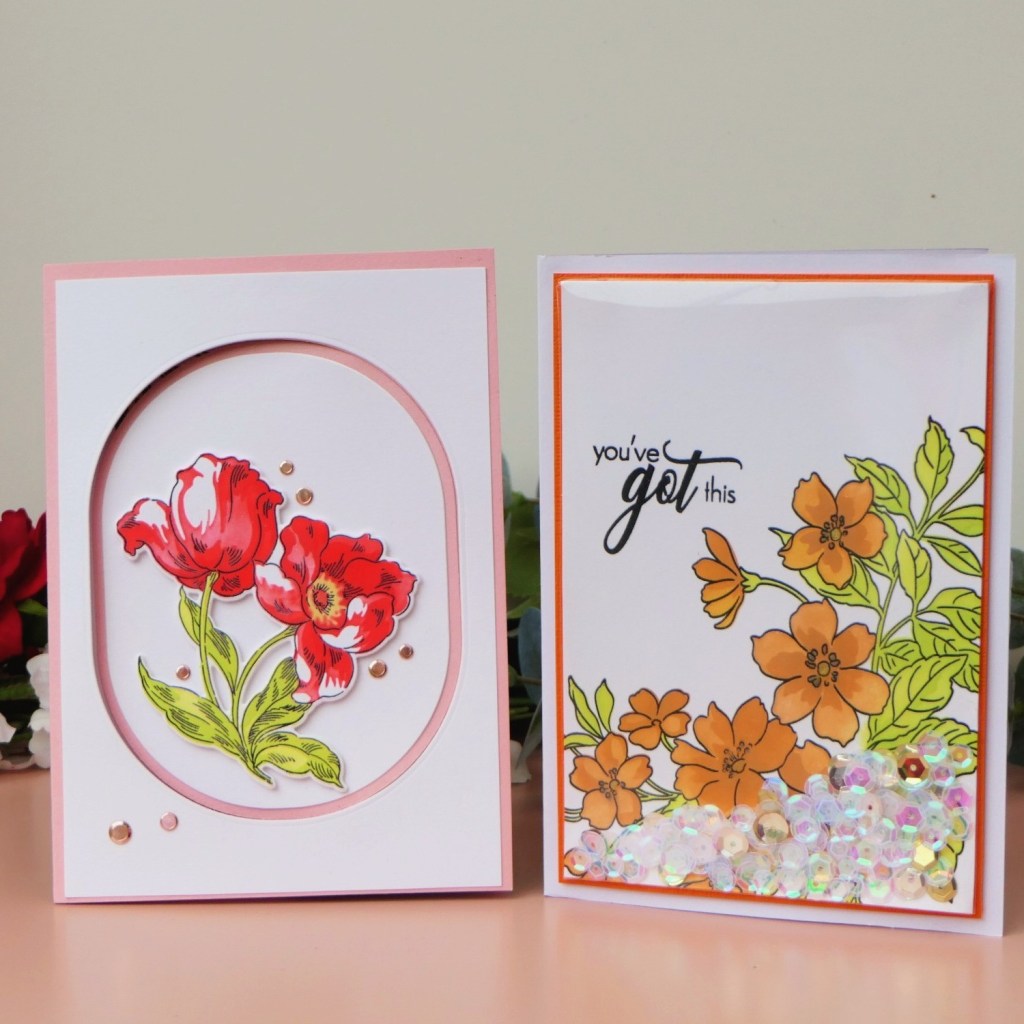
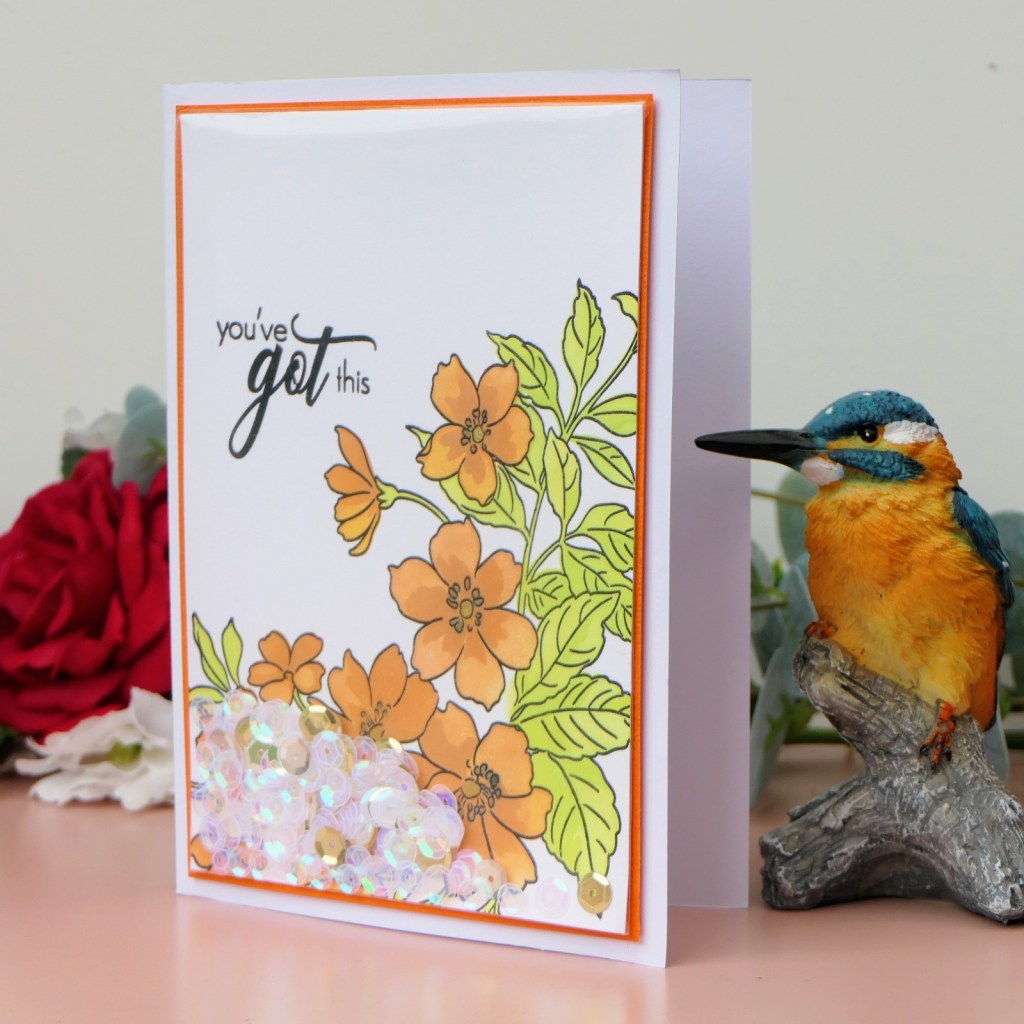
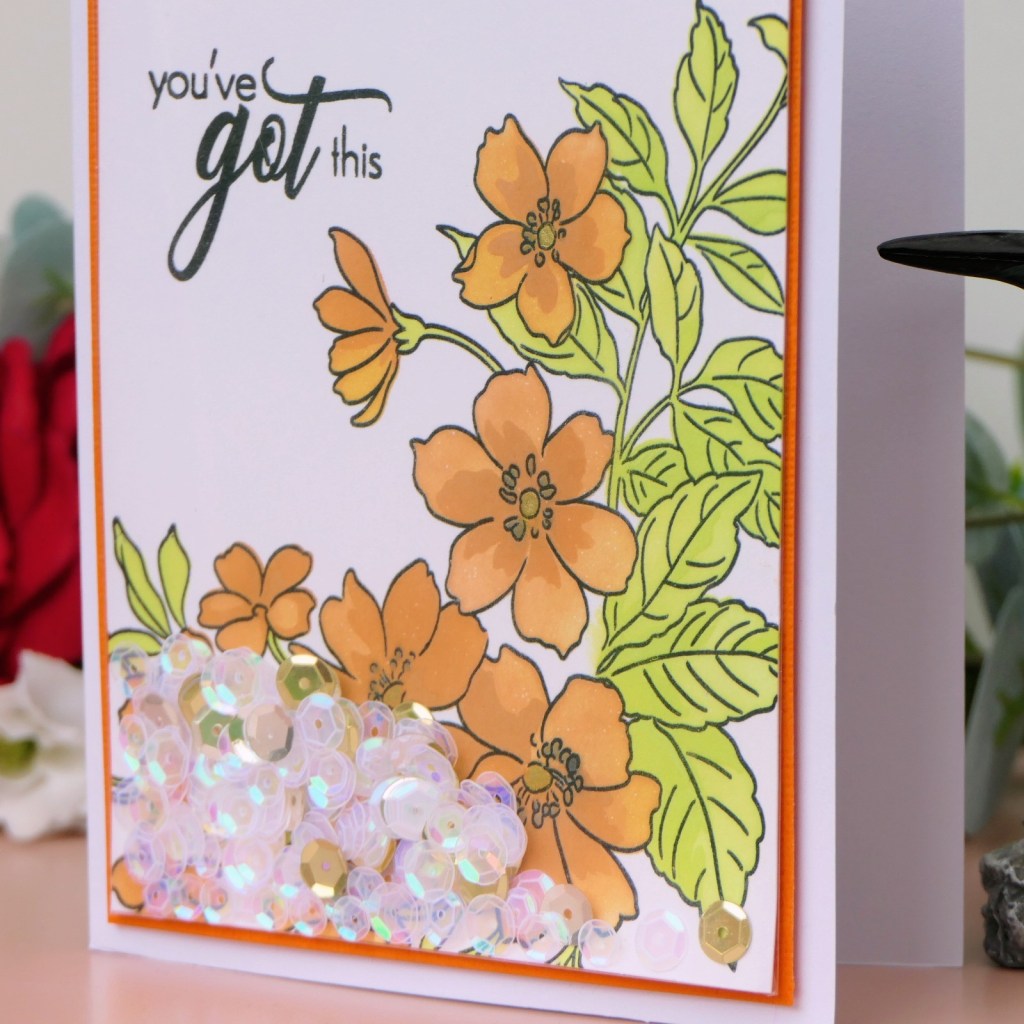
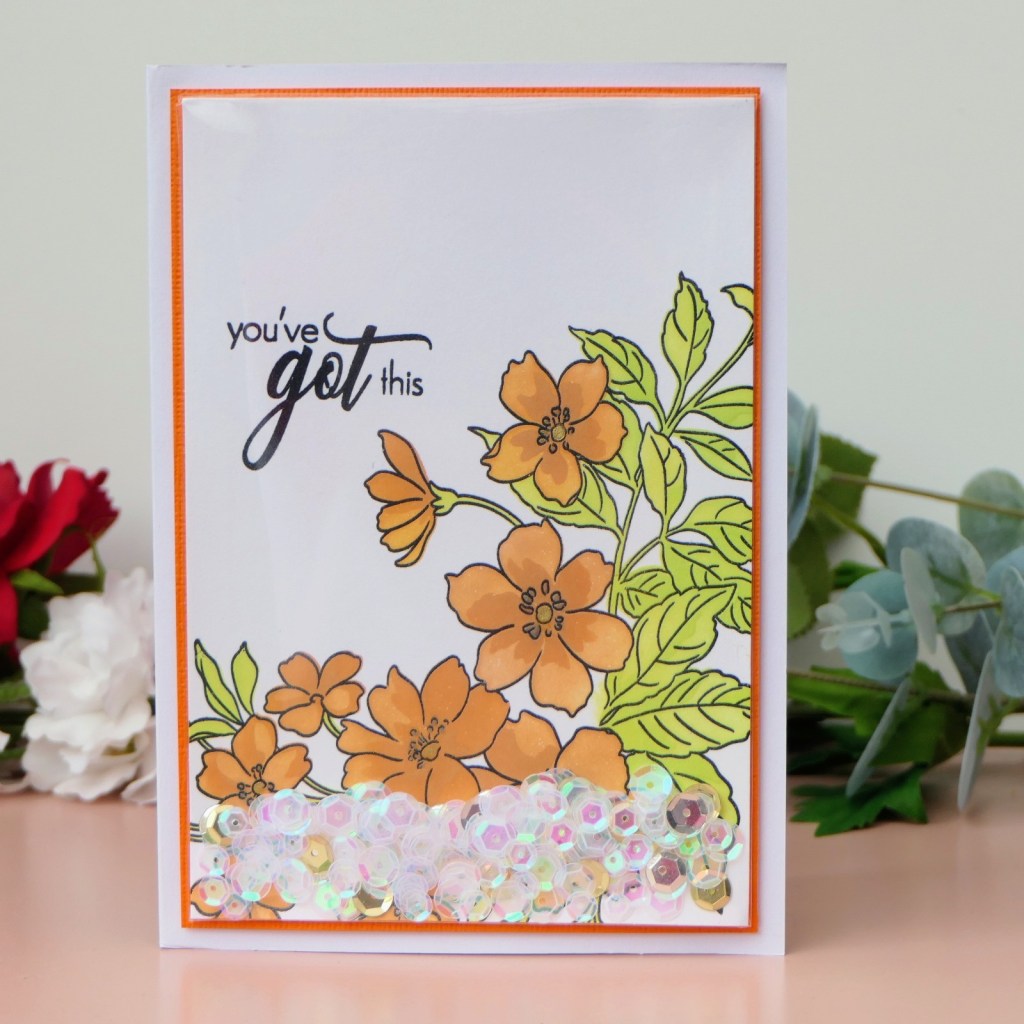
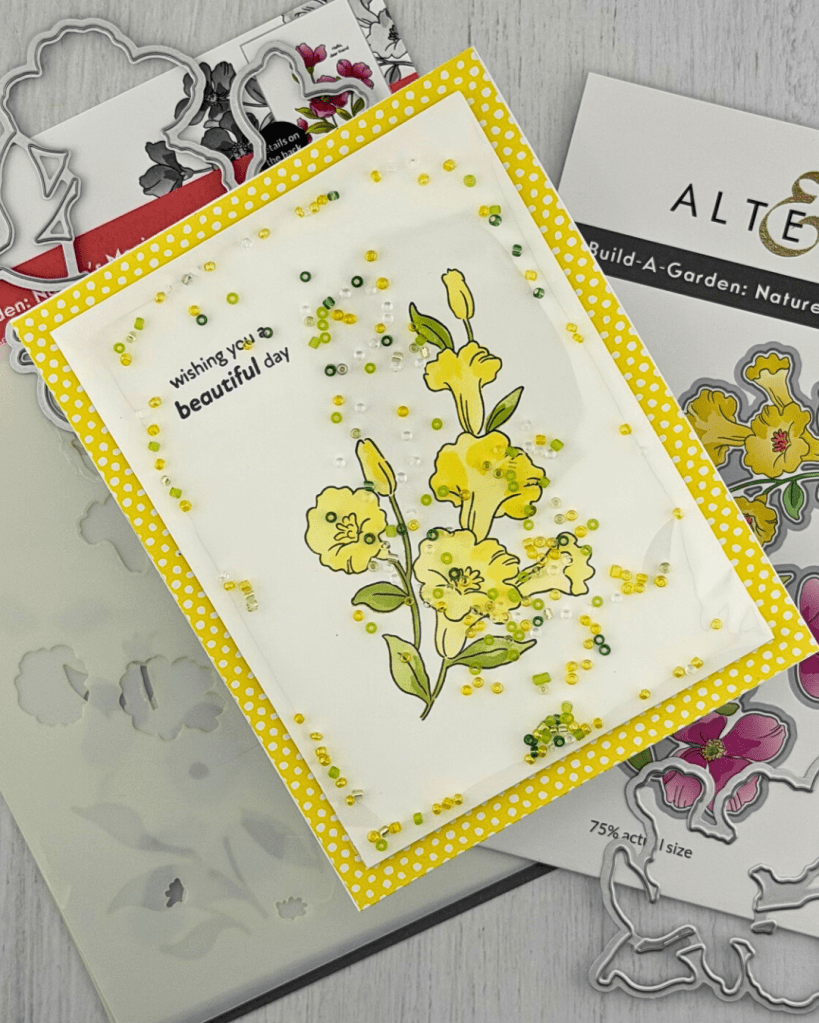
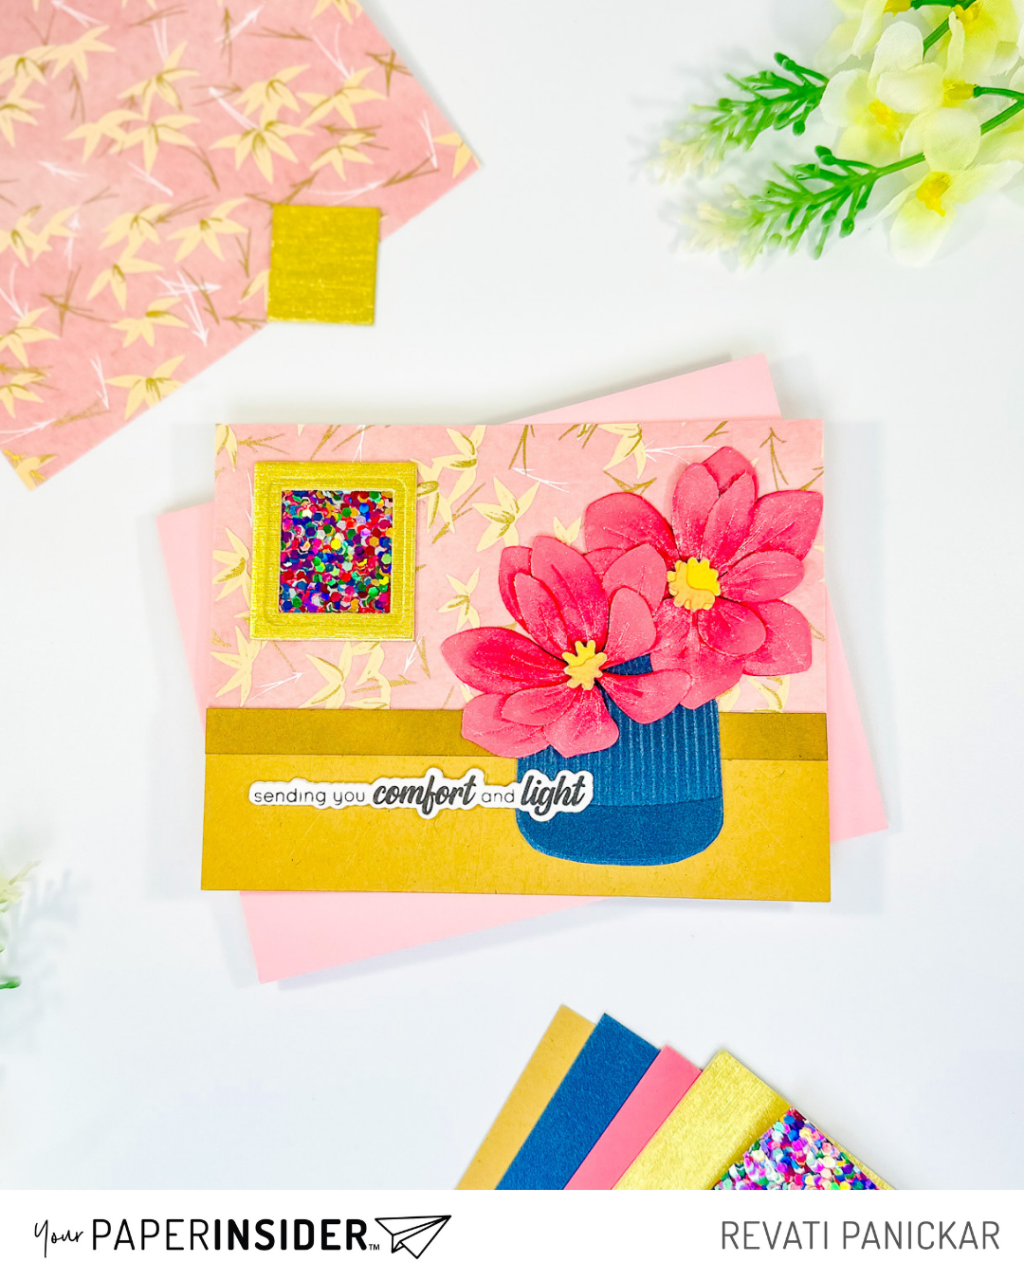
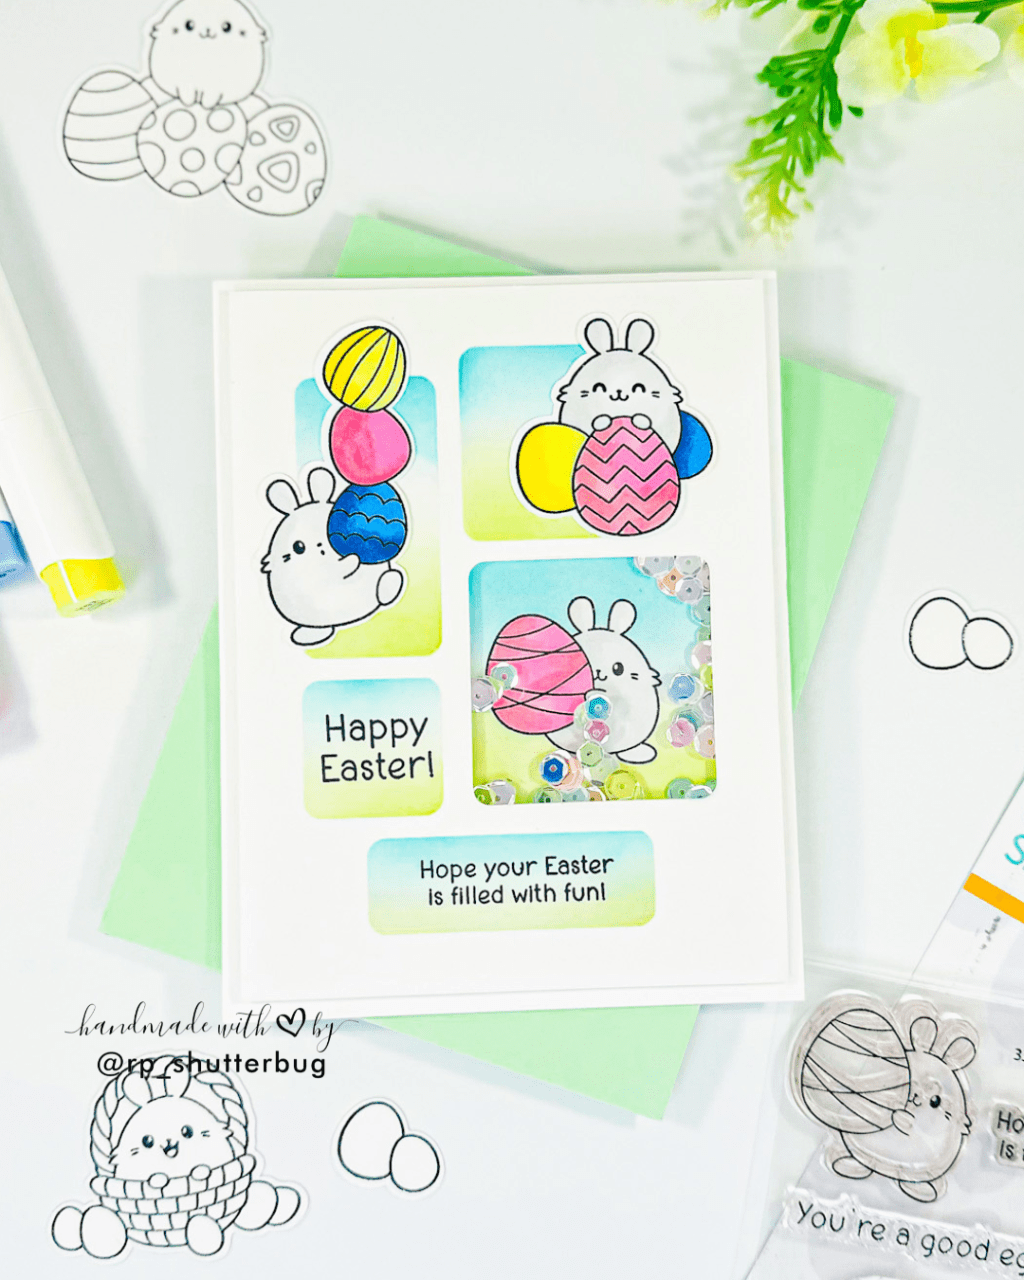
Card 1 – Edge-to-Edge Shaker Card
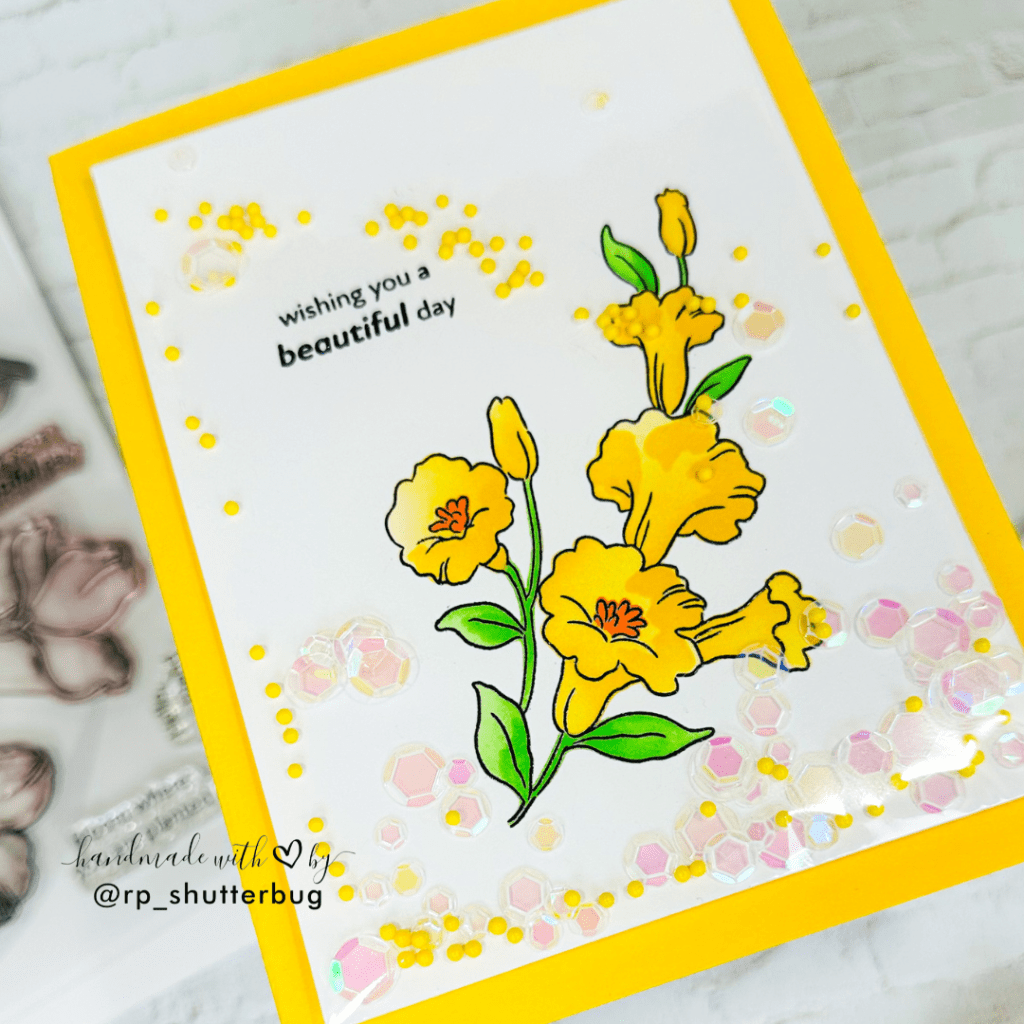
Shaker cards have always been a favorite of mine, and when you want to keep things simple yet interactive, an edge-to-edge shaker is the perfect choice. It’s surprisingly easy to create and gives you instant wow-factor.
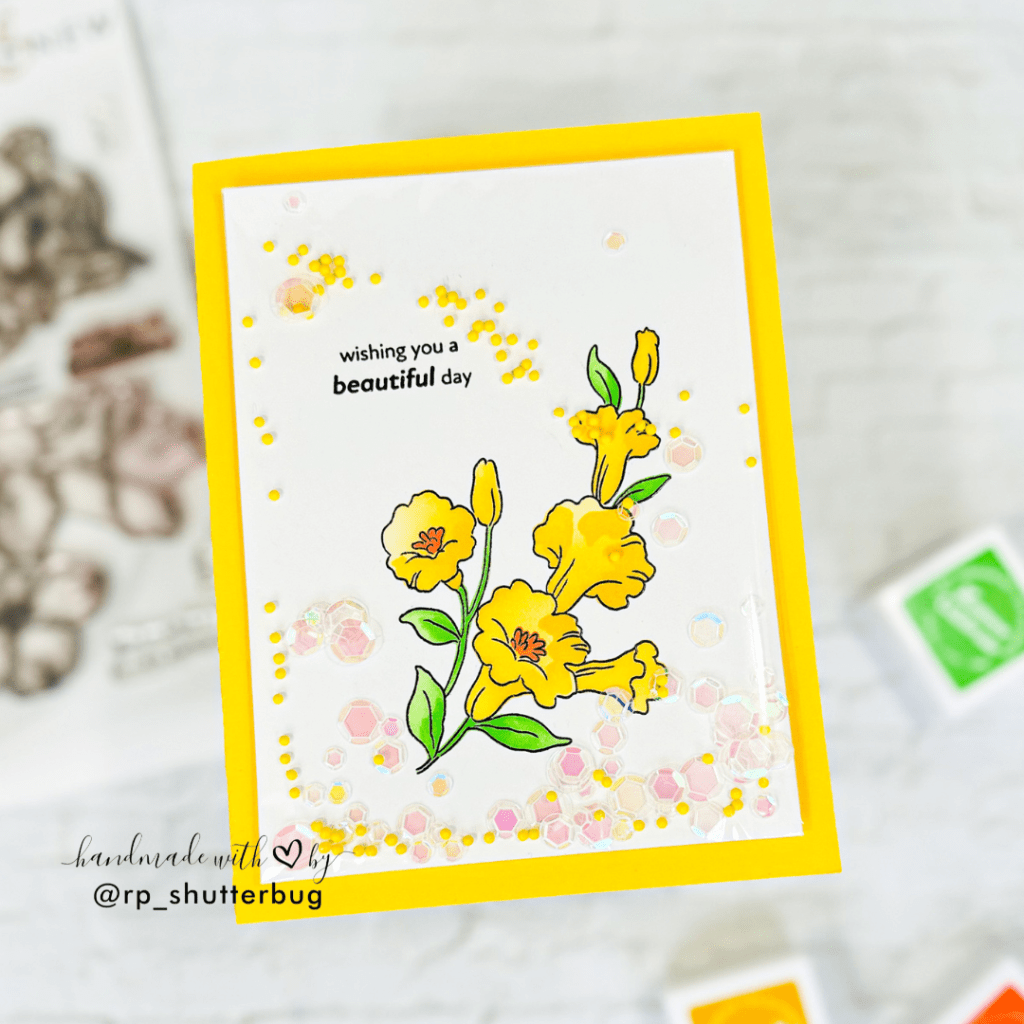
For this card, I used one of the stamped and ink-blended floral panels as the card front. Then I grabbed a plastic pocket—the same kind I normally use to store finished cards—which became our shaker window. I trimmed the pocket slightly larger than the card panel so there would be enough room to seal the edges.
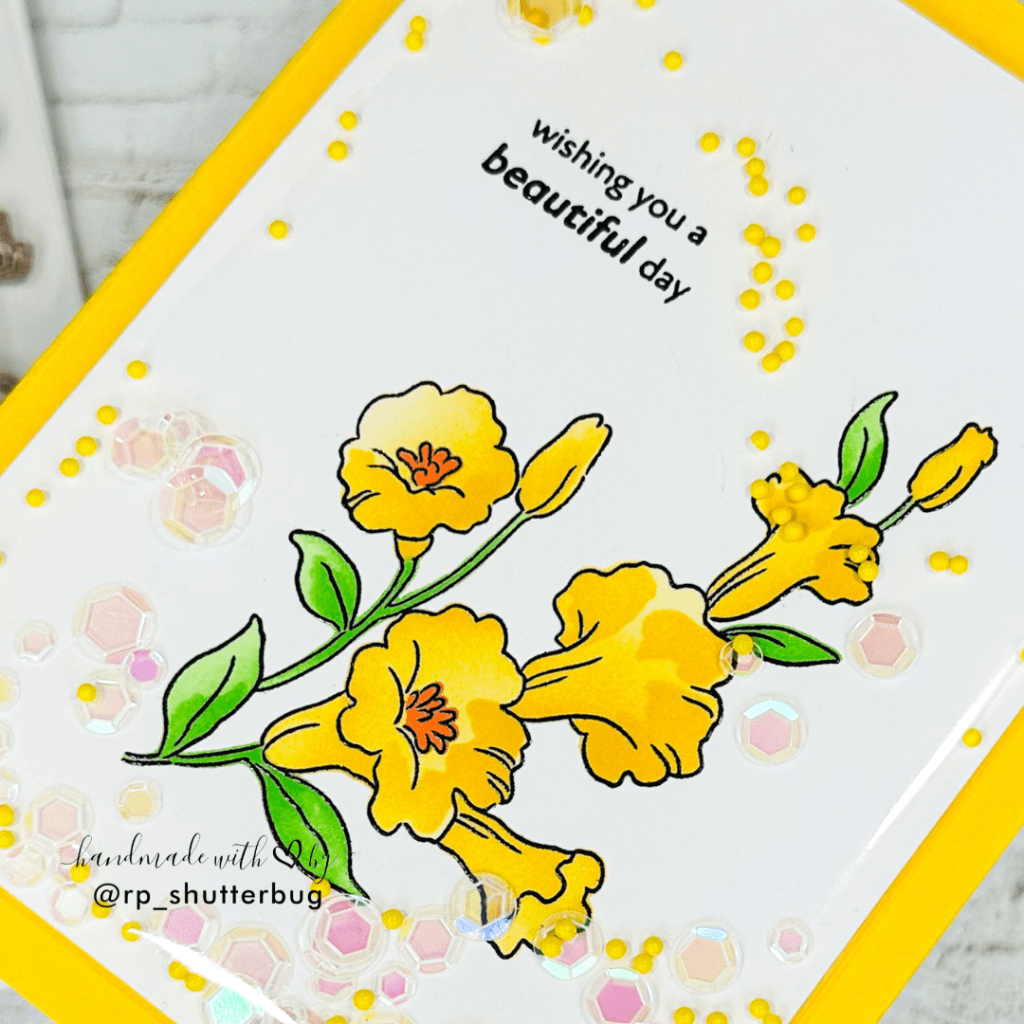
After sealing three sides, I added a fun mix of confetti that matched the colors of my floral design. I sealed the final edge, and just like that, the shaker panel was ready! All that was left was to adhere it onto an A2 card base to complete the project.
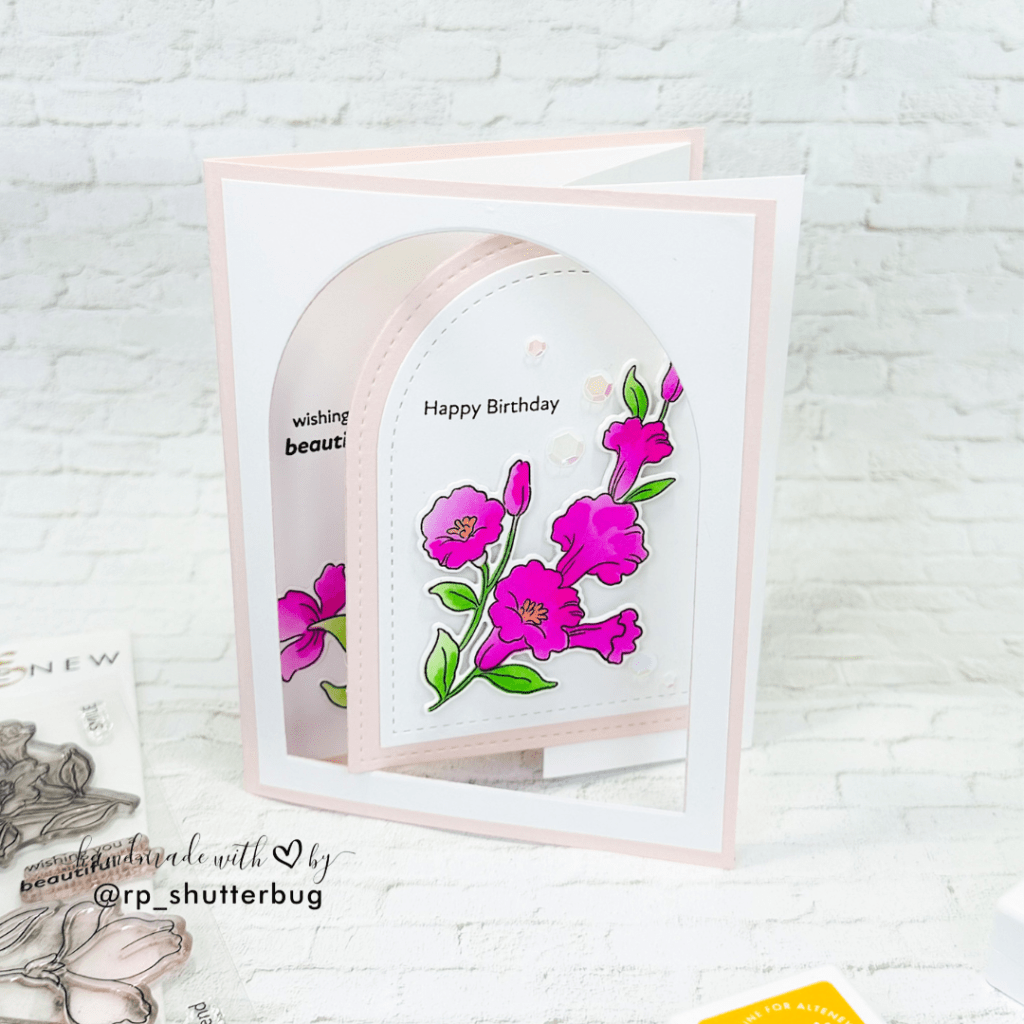
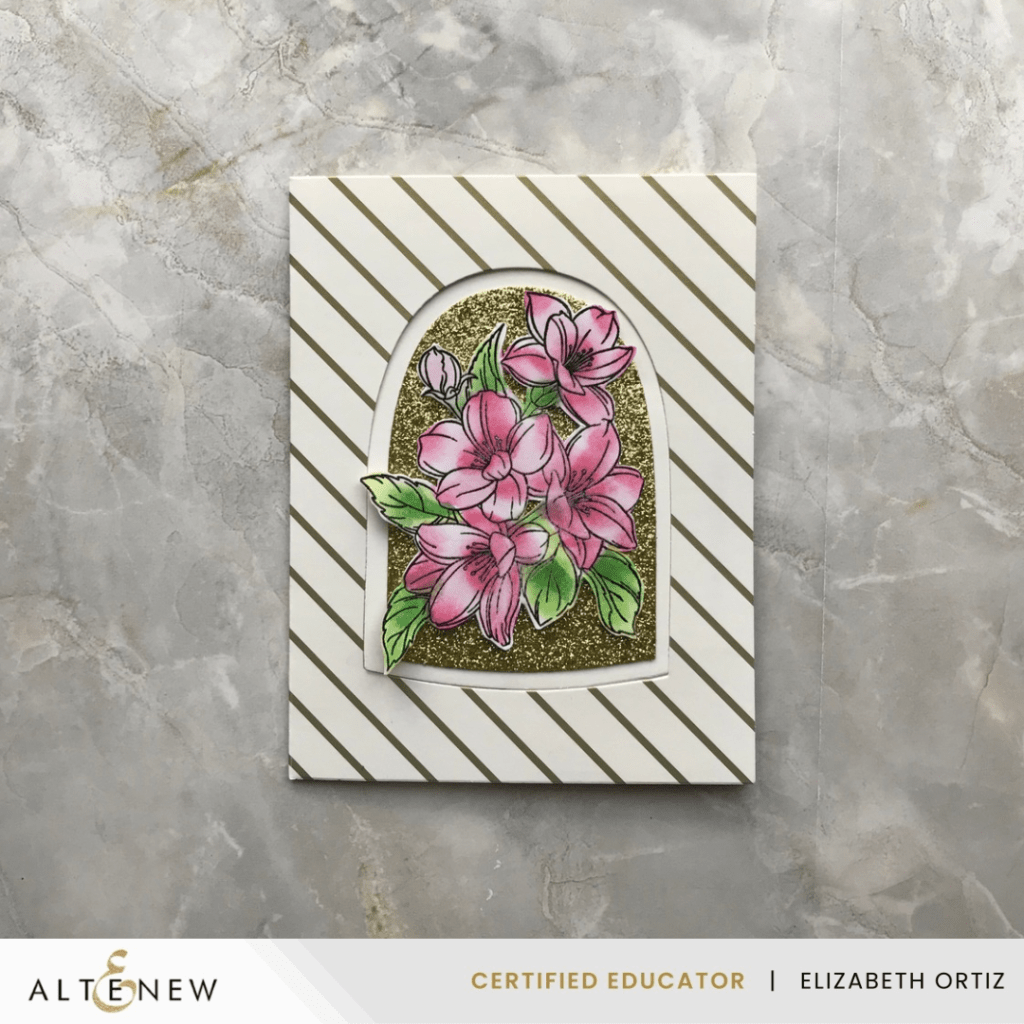
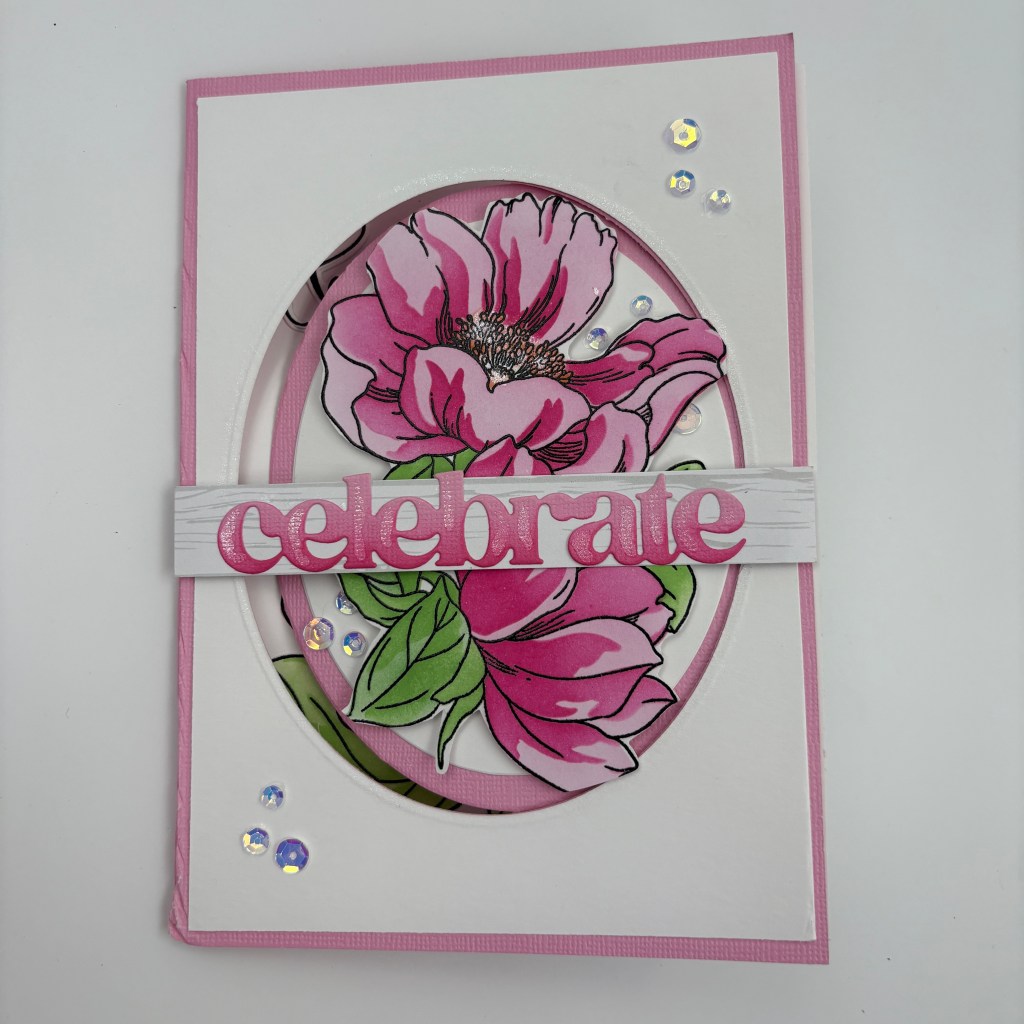
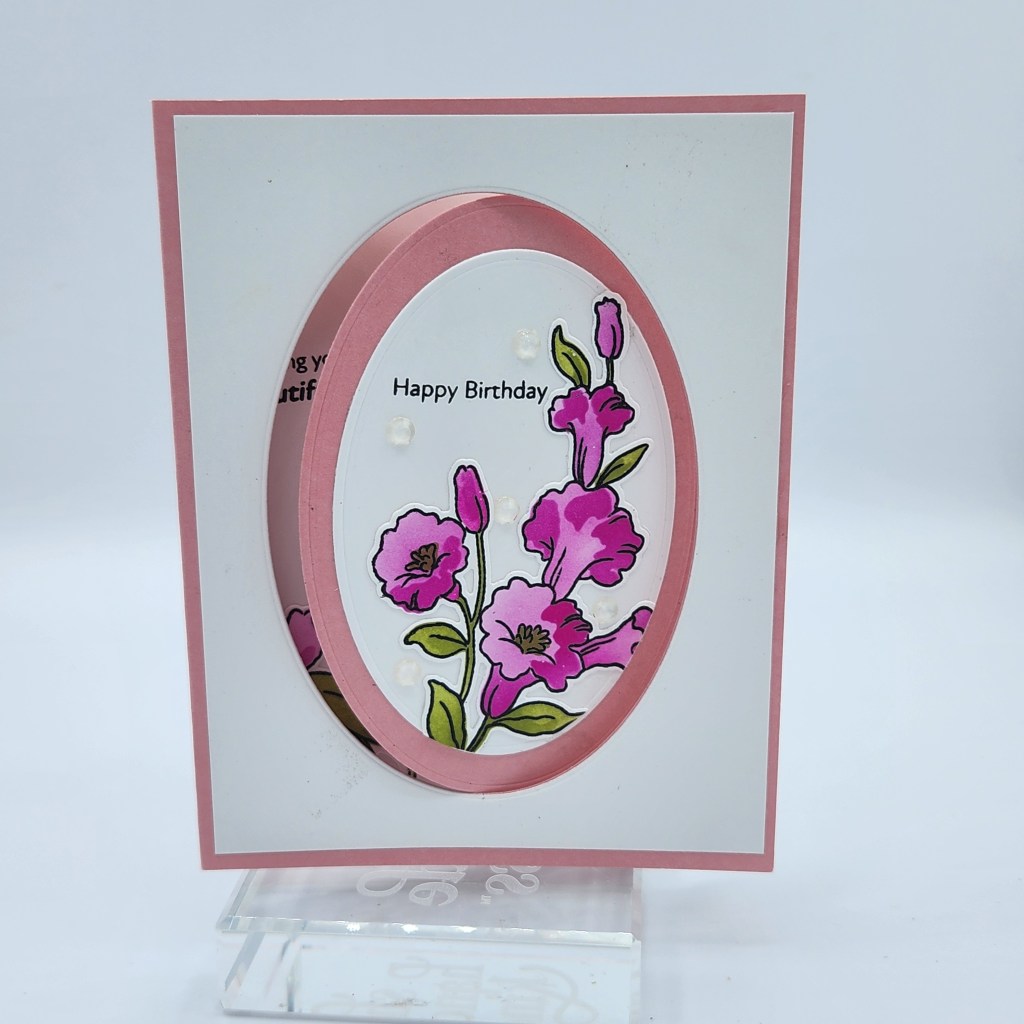
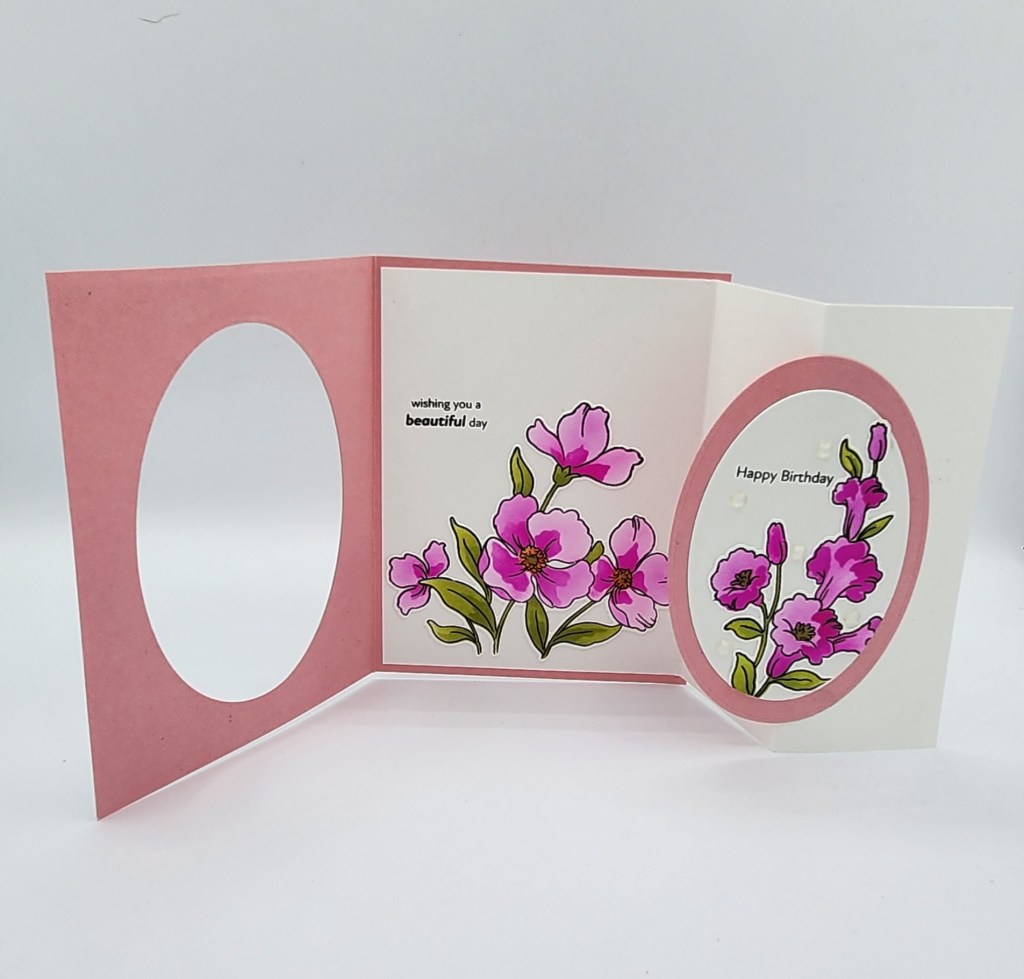
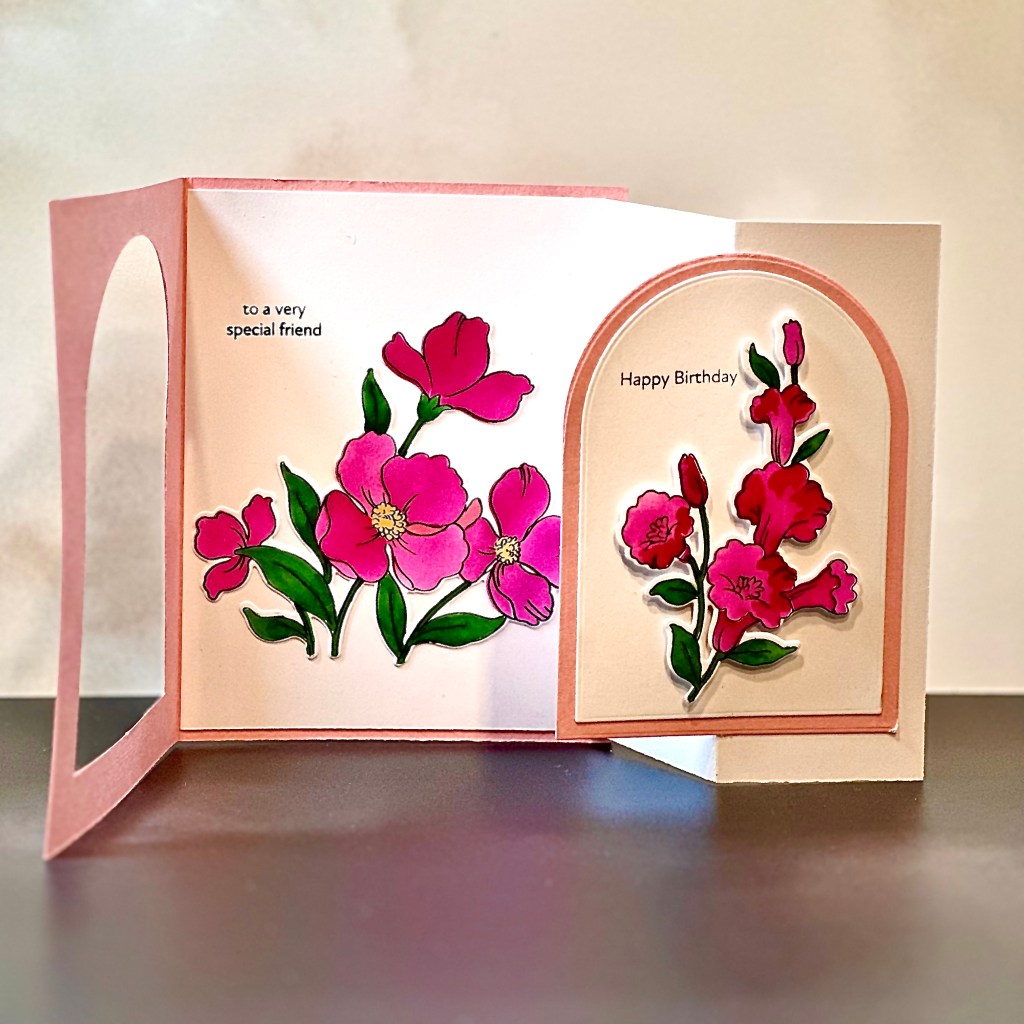
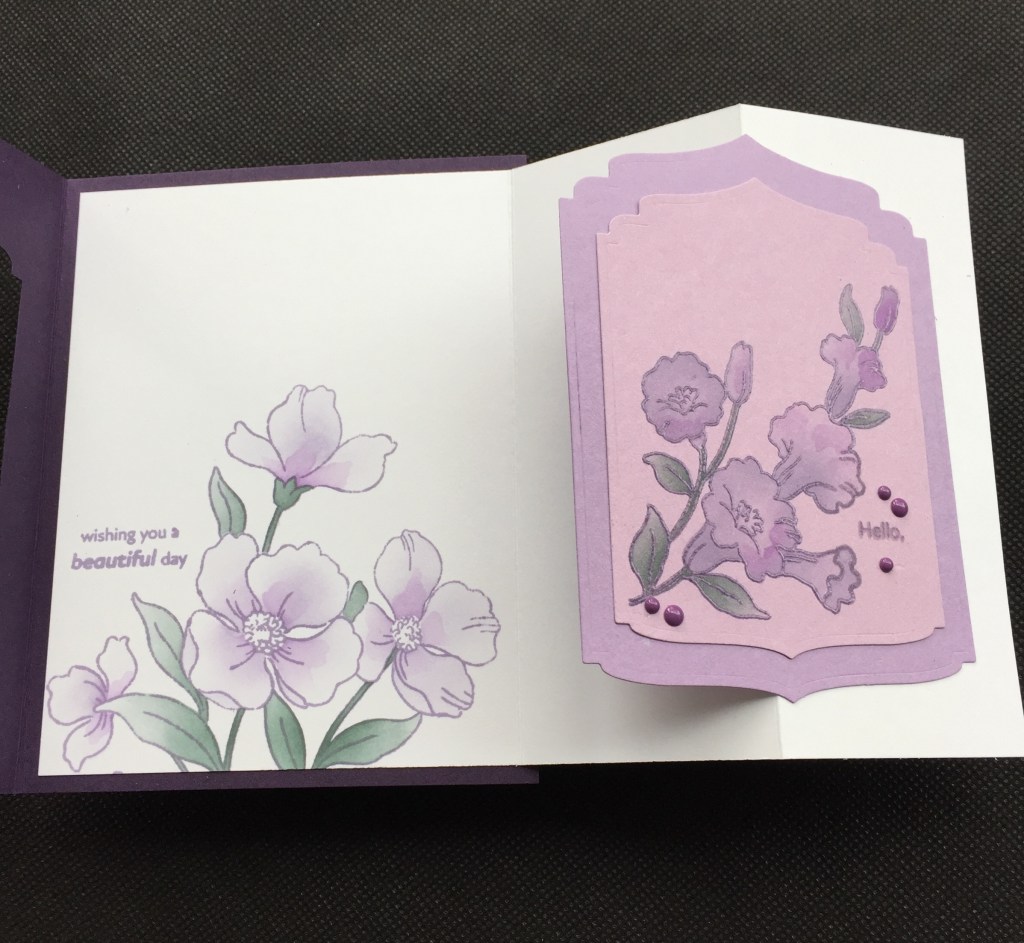
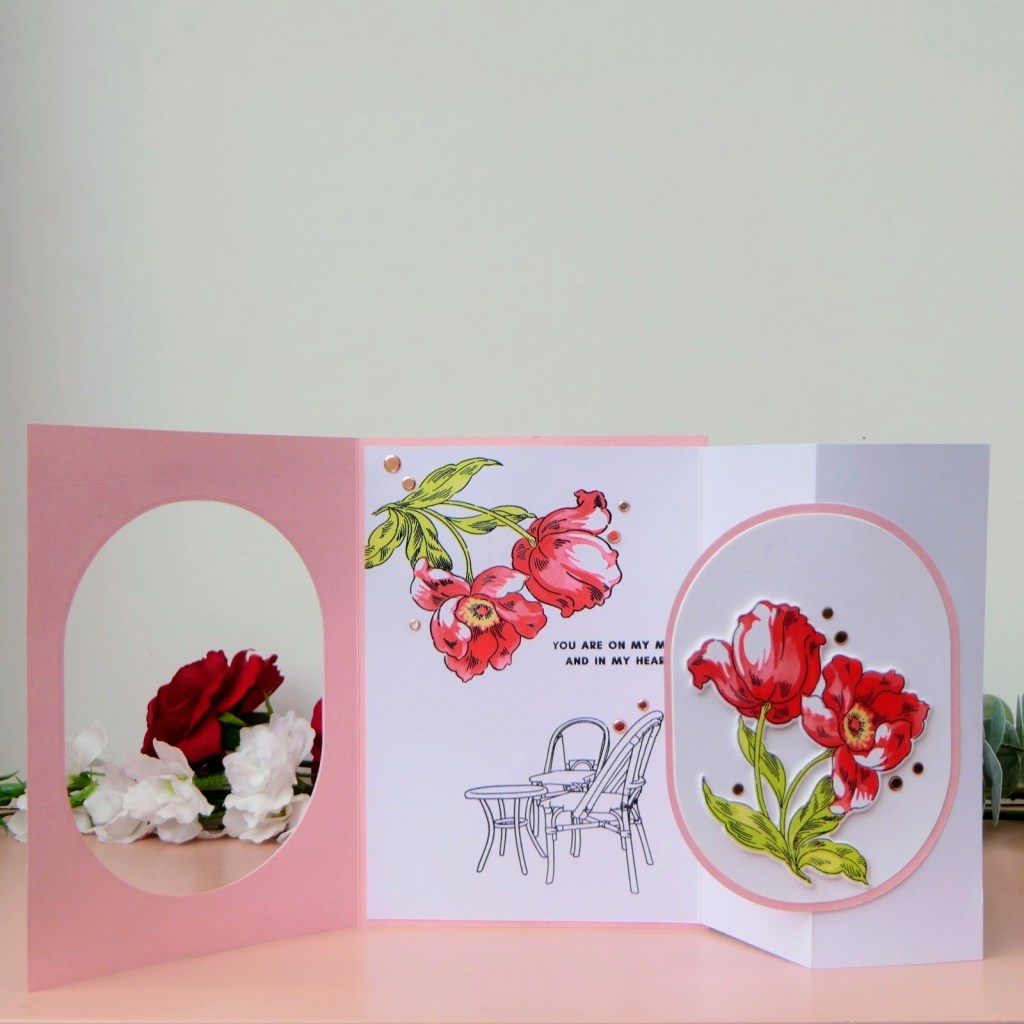
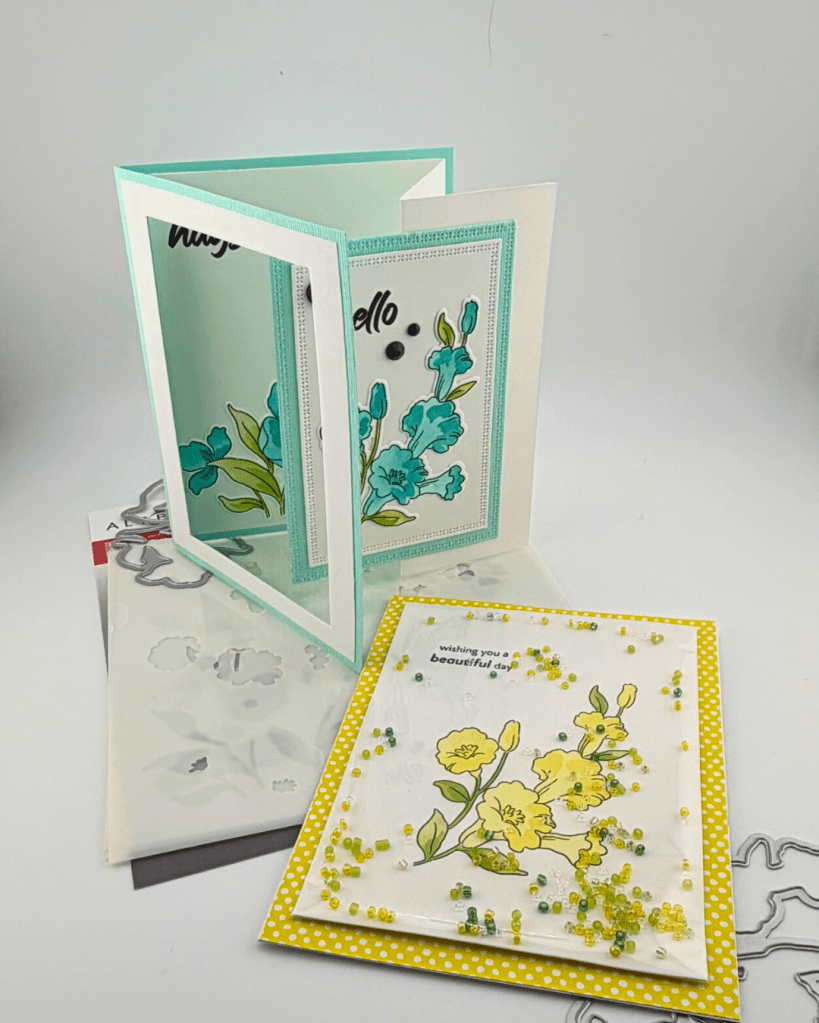
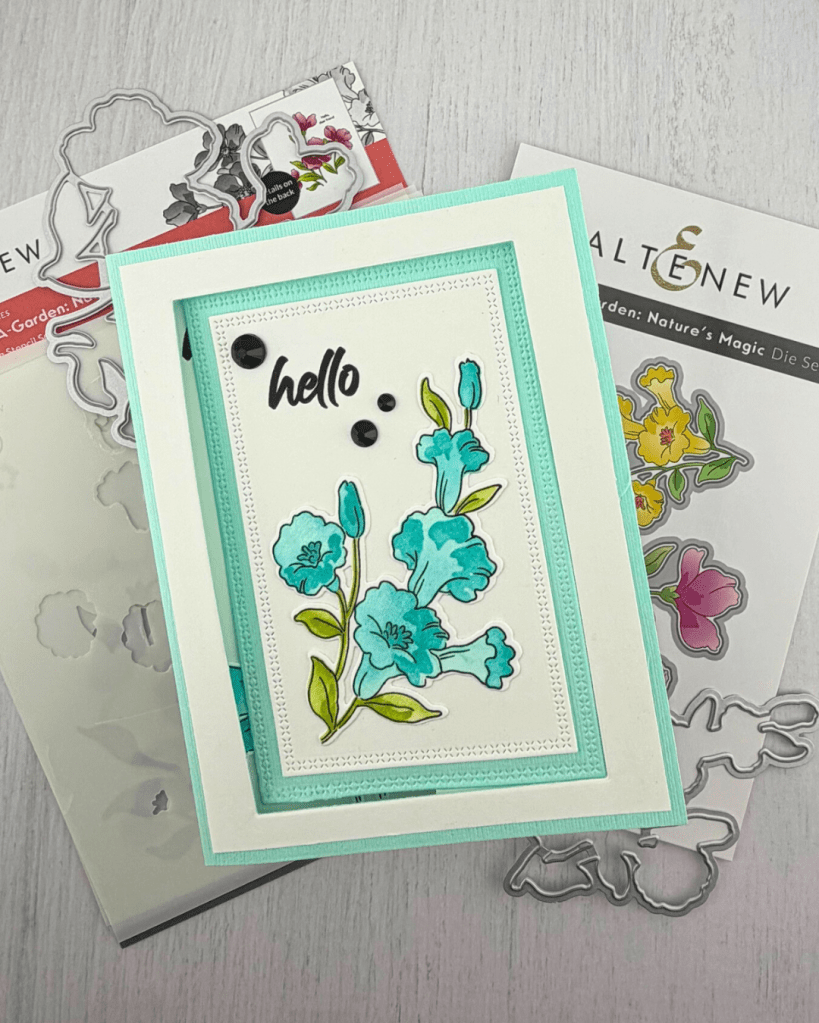
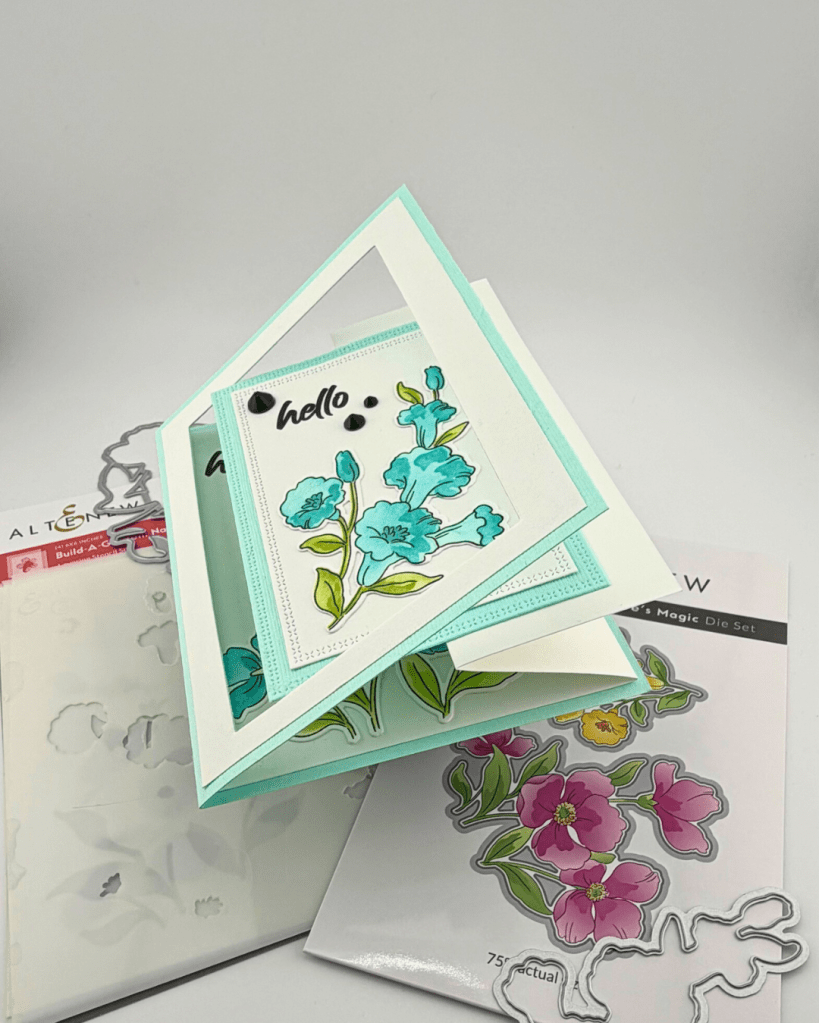
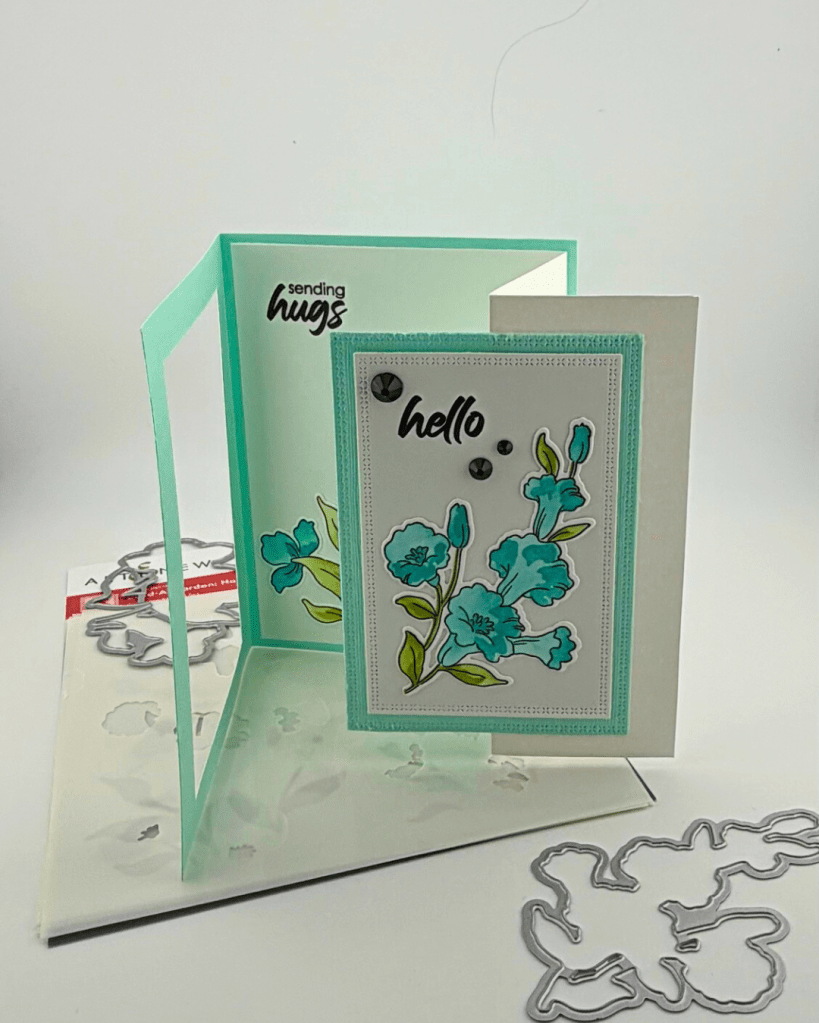
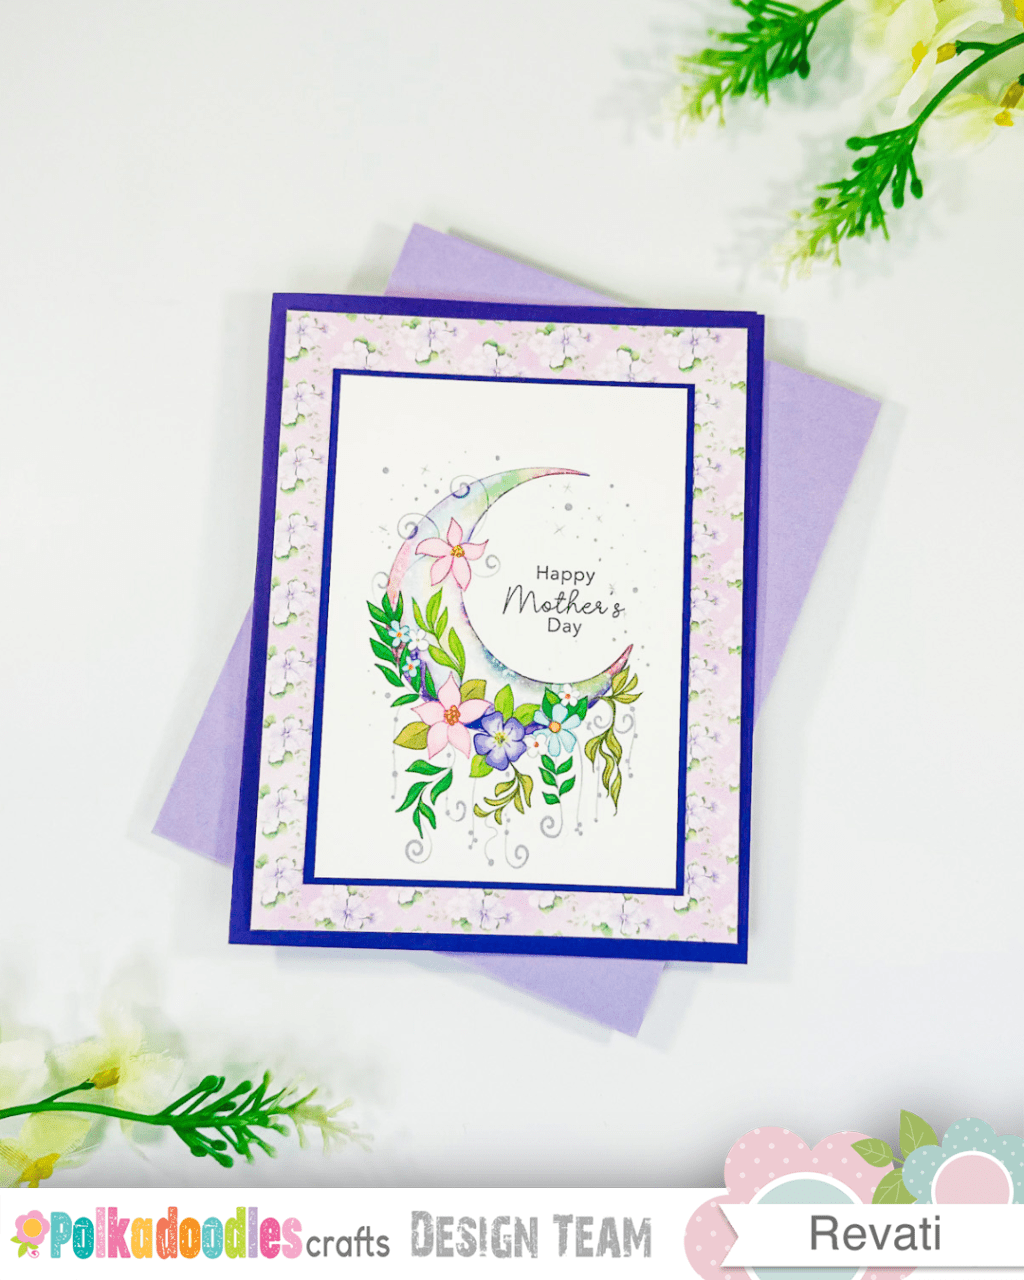
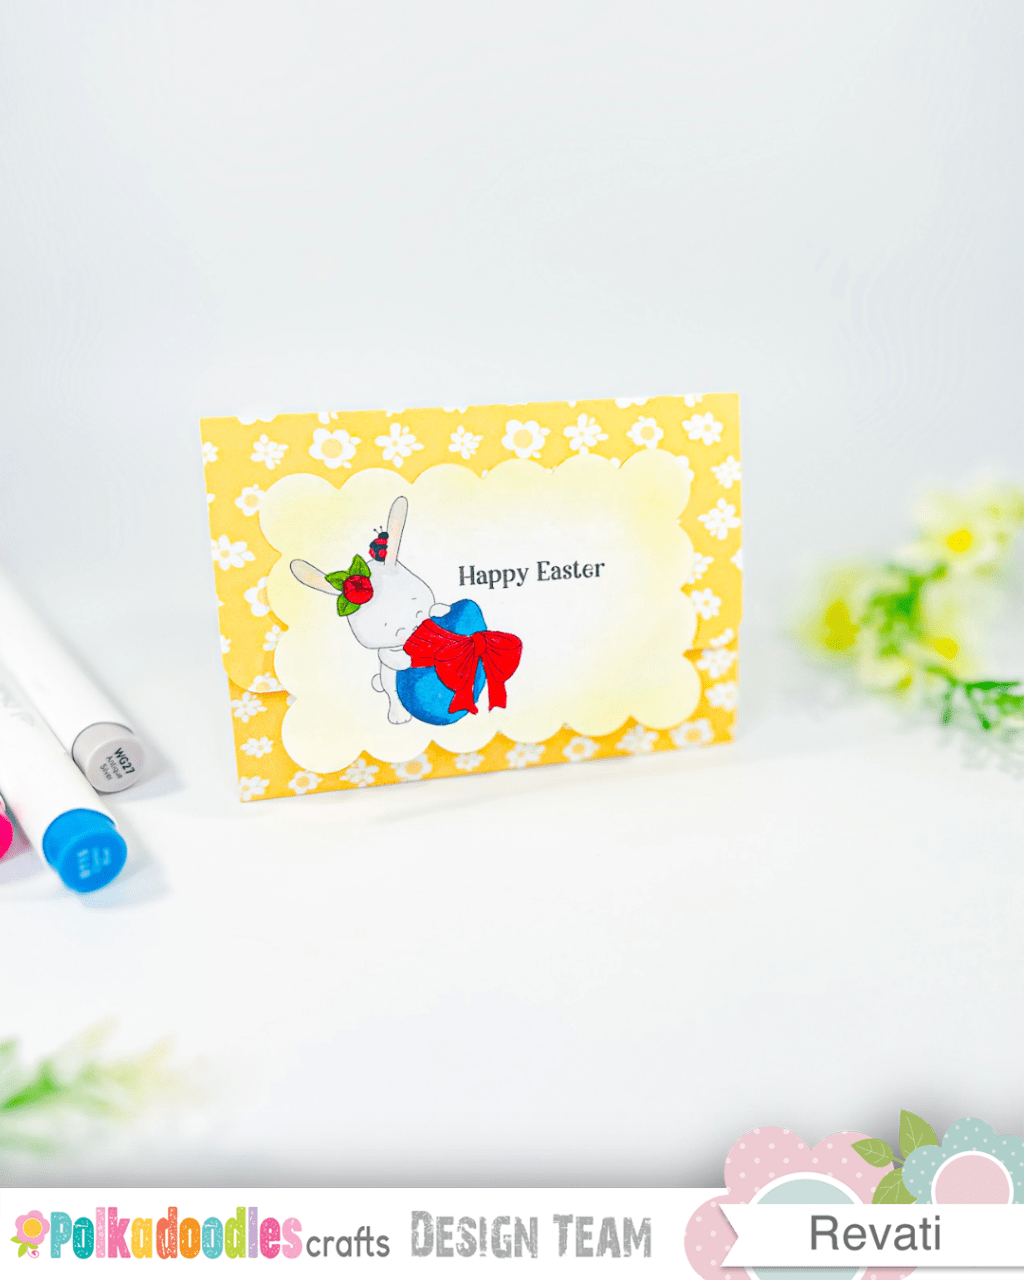
Card 2 – Z-Fold Window Card
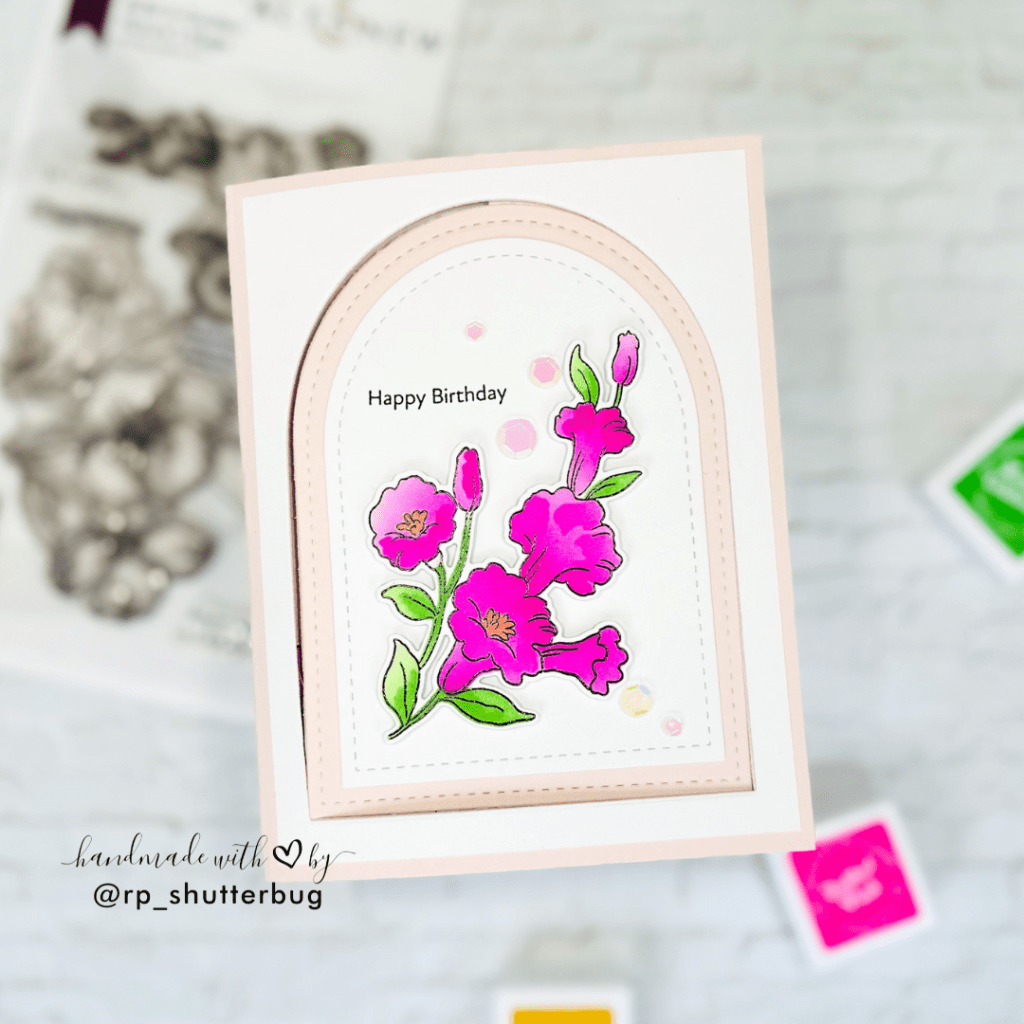
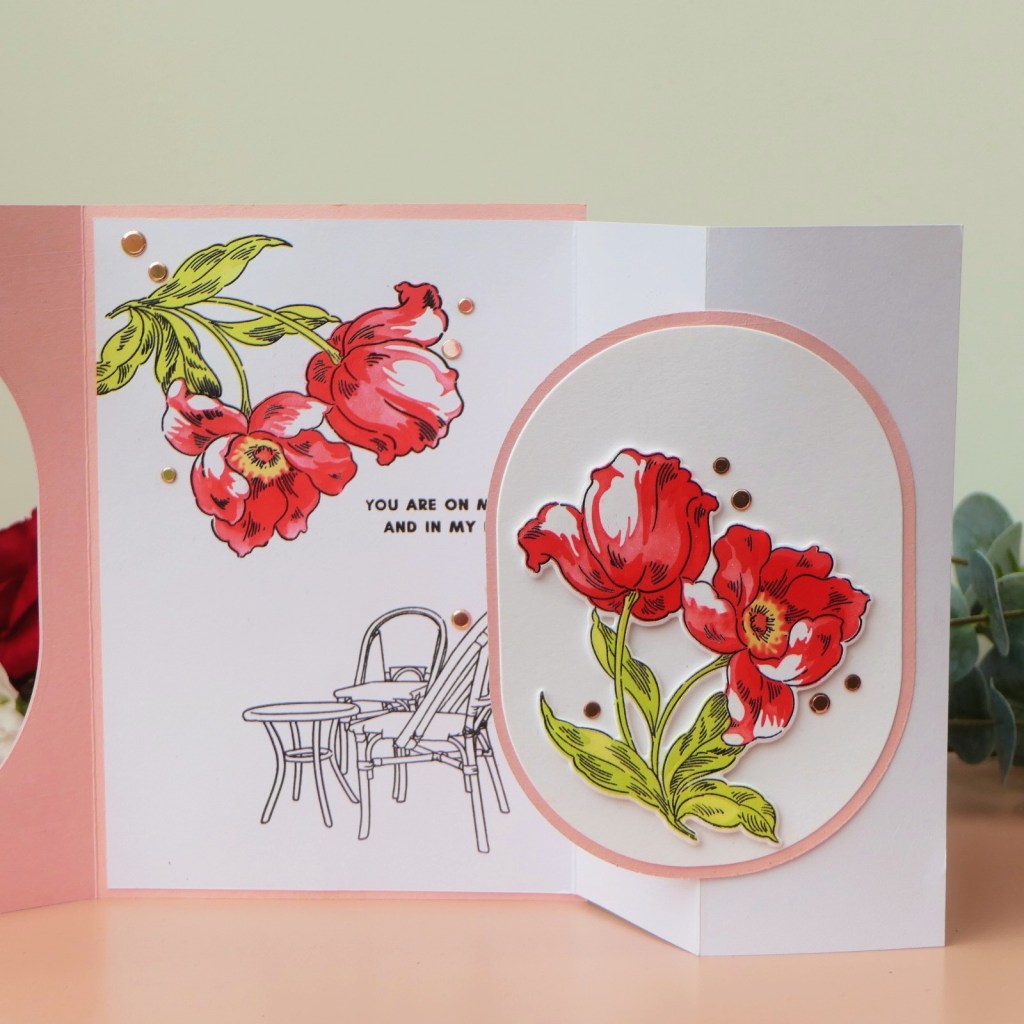
This card was such a fun one to make! We started with a 4″ x 5¼” white cardstock panel—this would become the main card front. Using a dome-shaped die, we cut out a window from this panel. Next, we used the same dome die to cut a matching window on the front of our heavyweight card base.

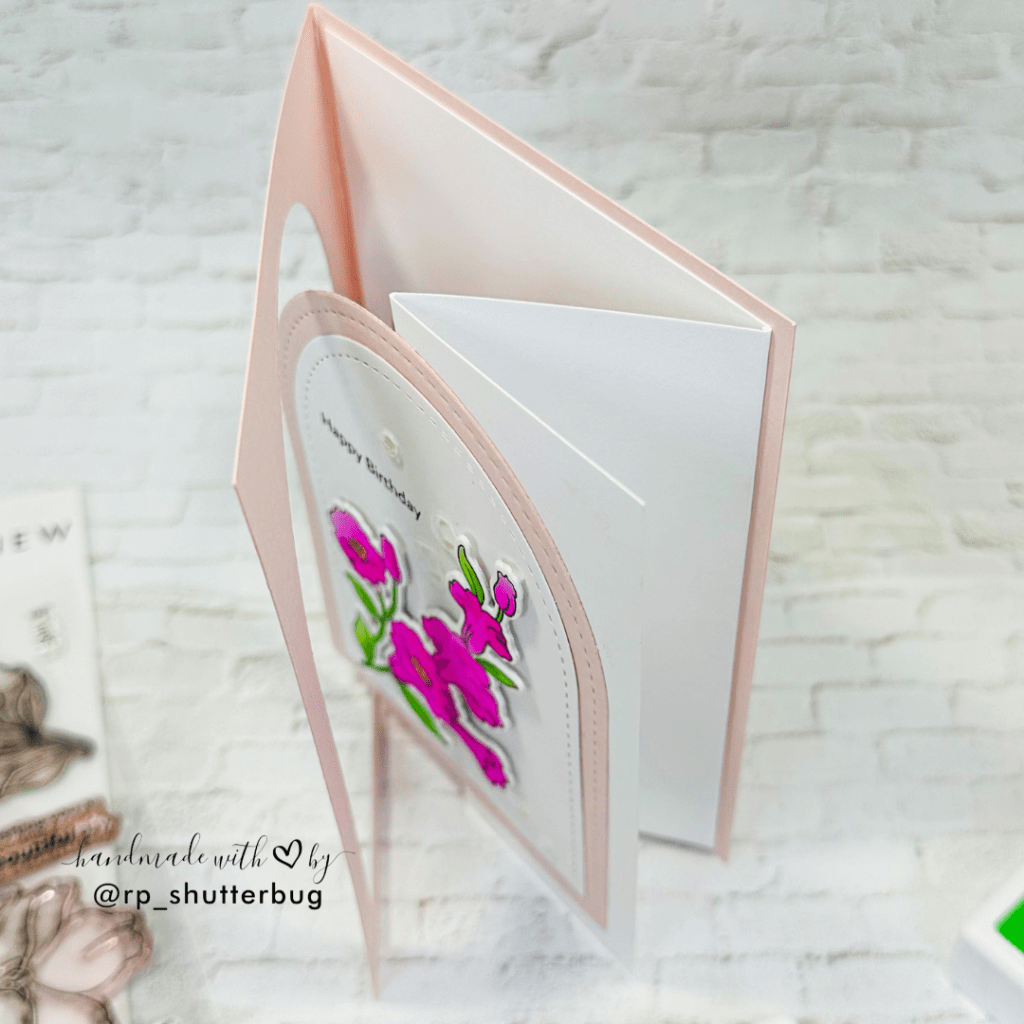
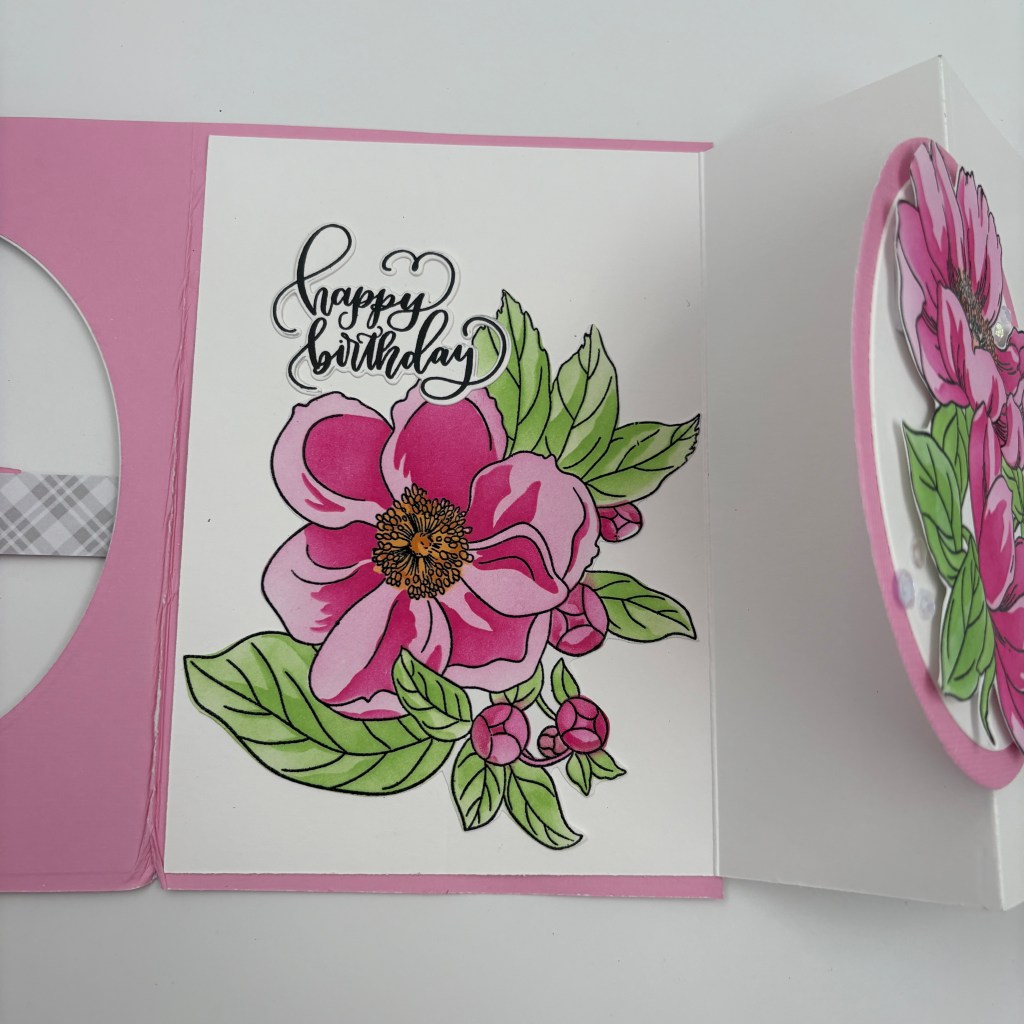
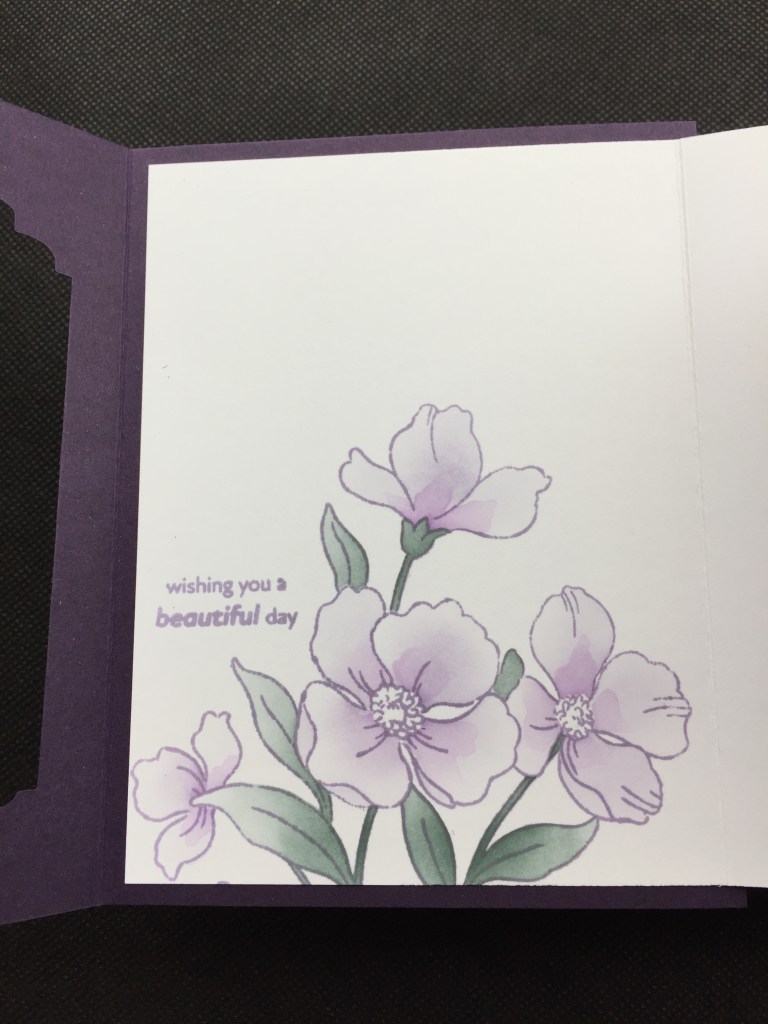
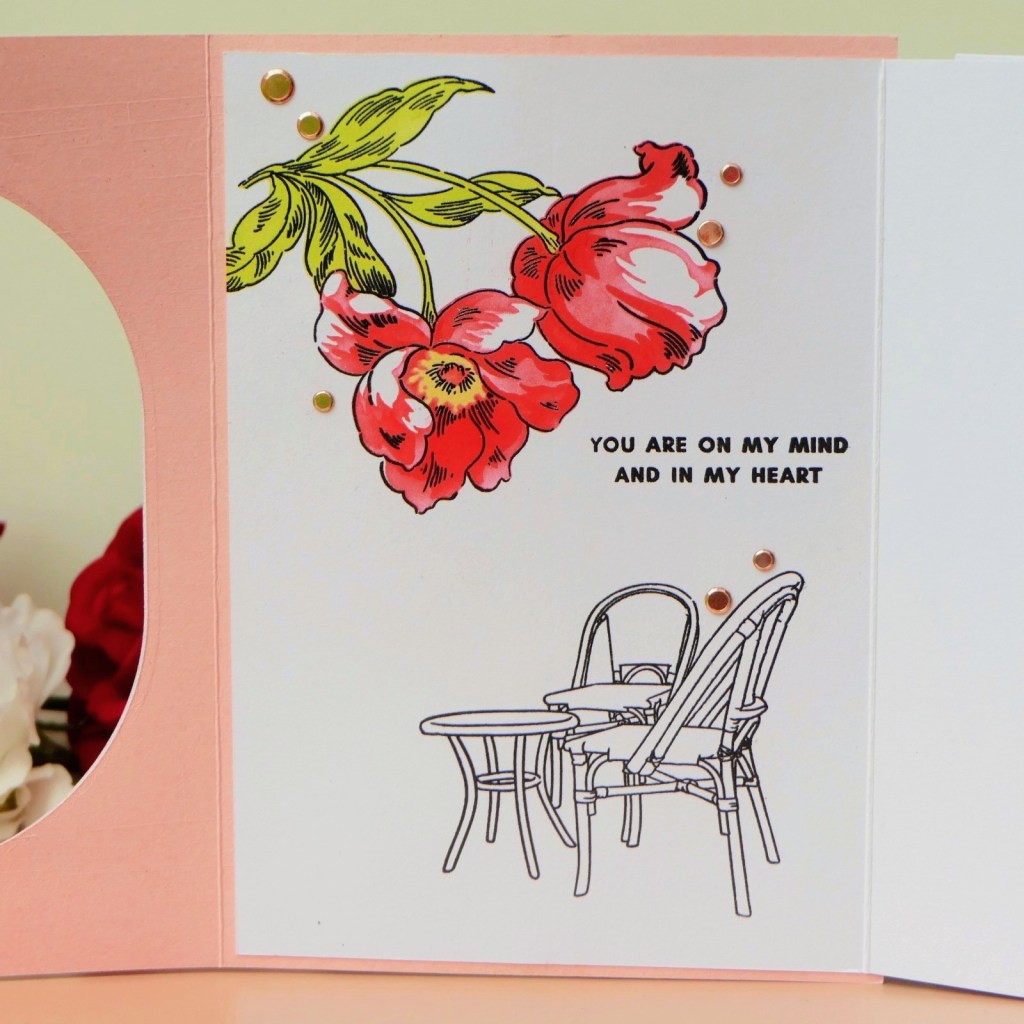
I then took another white card base and trimmed it down slightly so it mimicked the size of the 4″ x 5¼” panel. I scored this trimmed base at the 2-inch mark and flipped it upside down so that the scored flap sat on the right-hand side. Before assembling anything, we stamped a sub-sentiment inside this white base and added one of our large floral pieces (from the prep stage) beneath it.
Once the inside was ready, I adhered both card bases together.
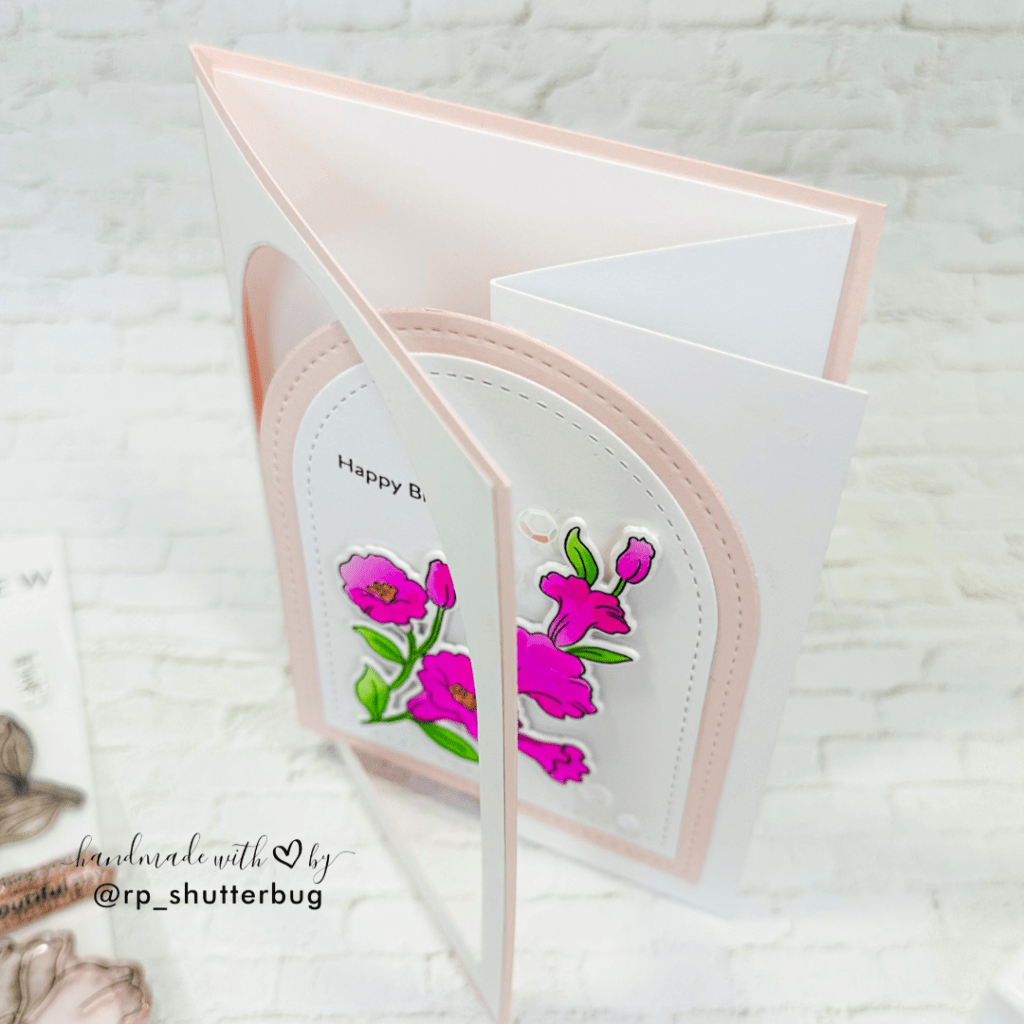
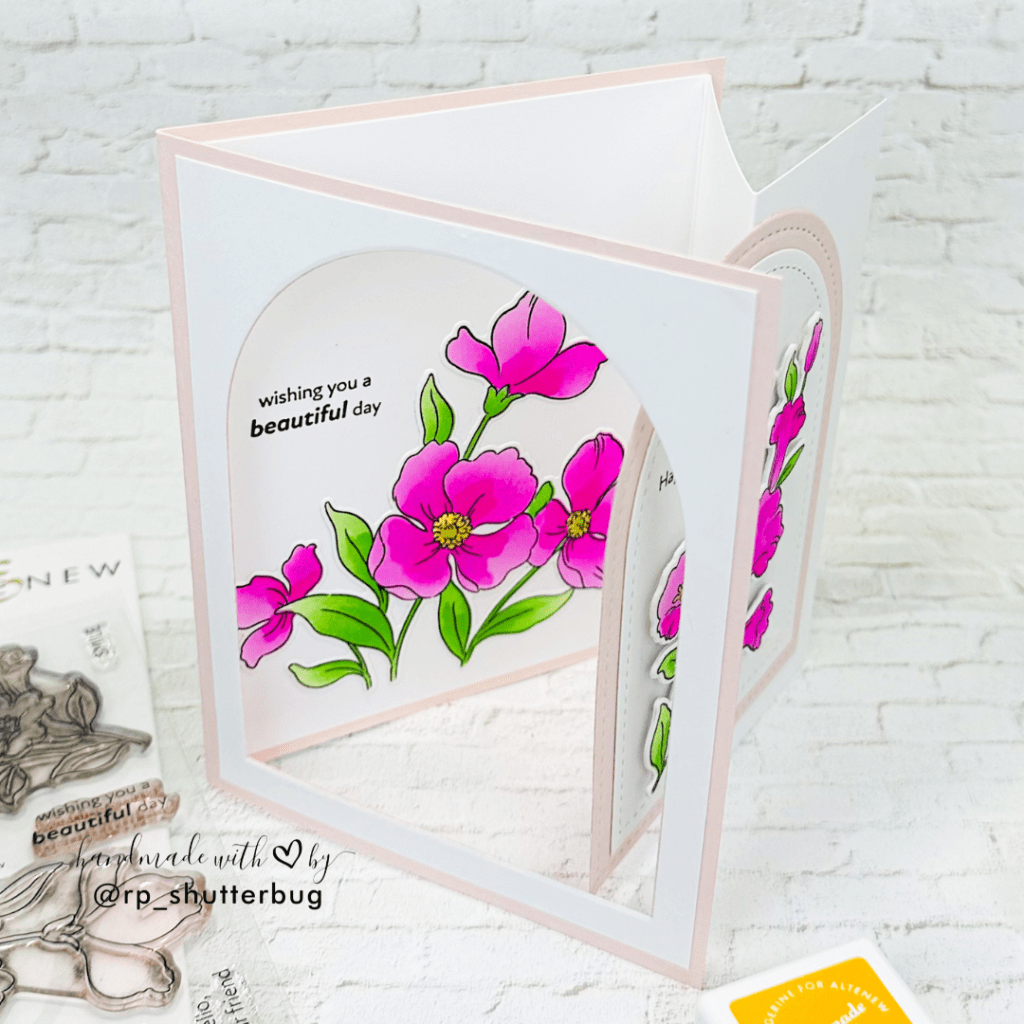
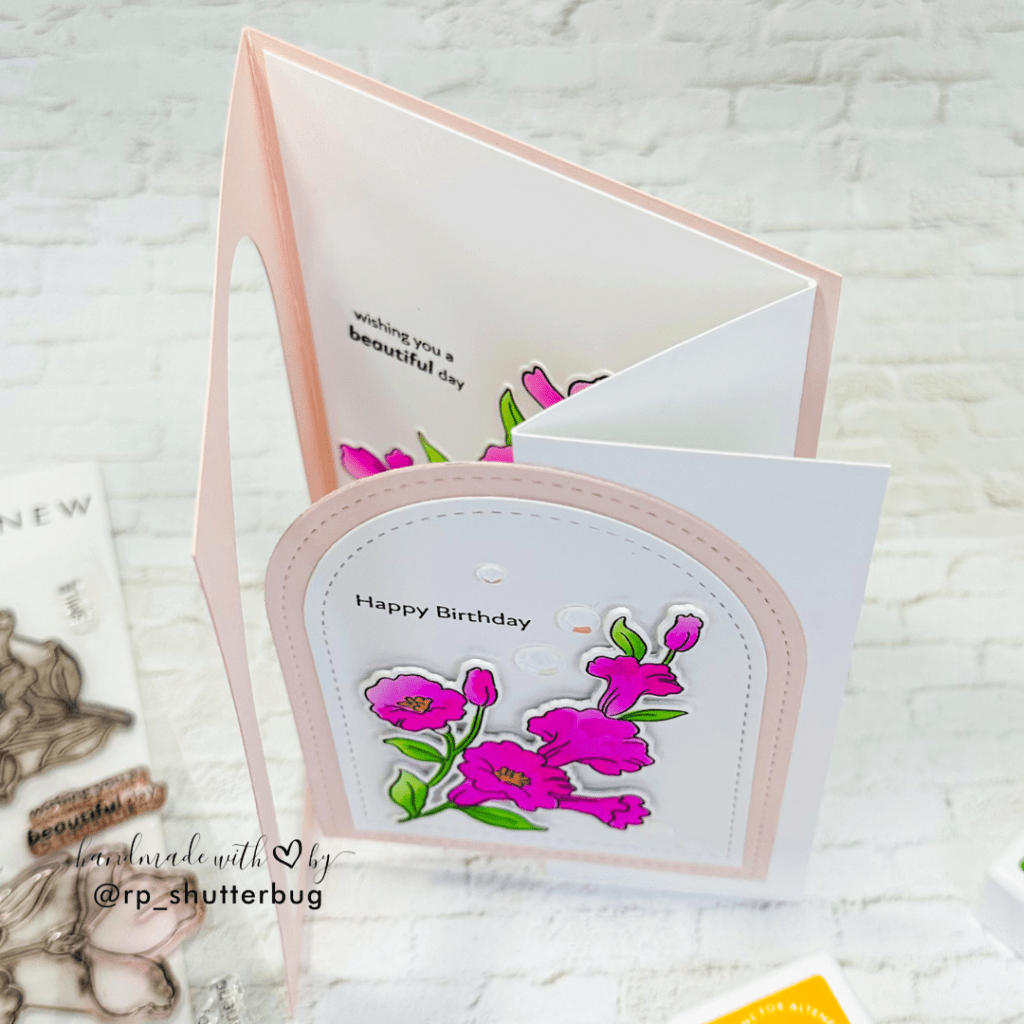
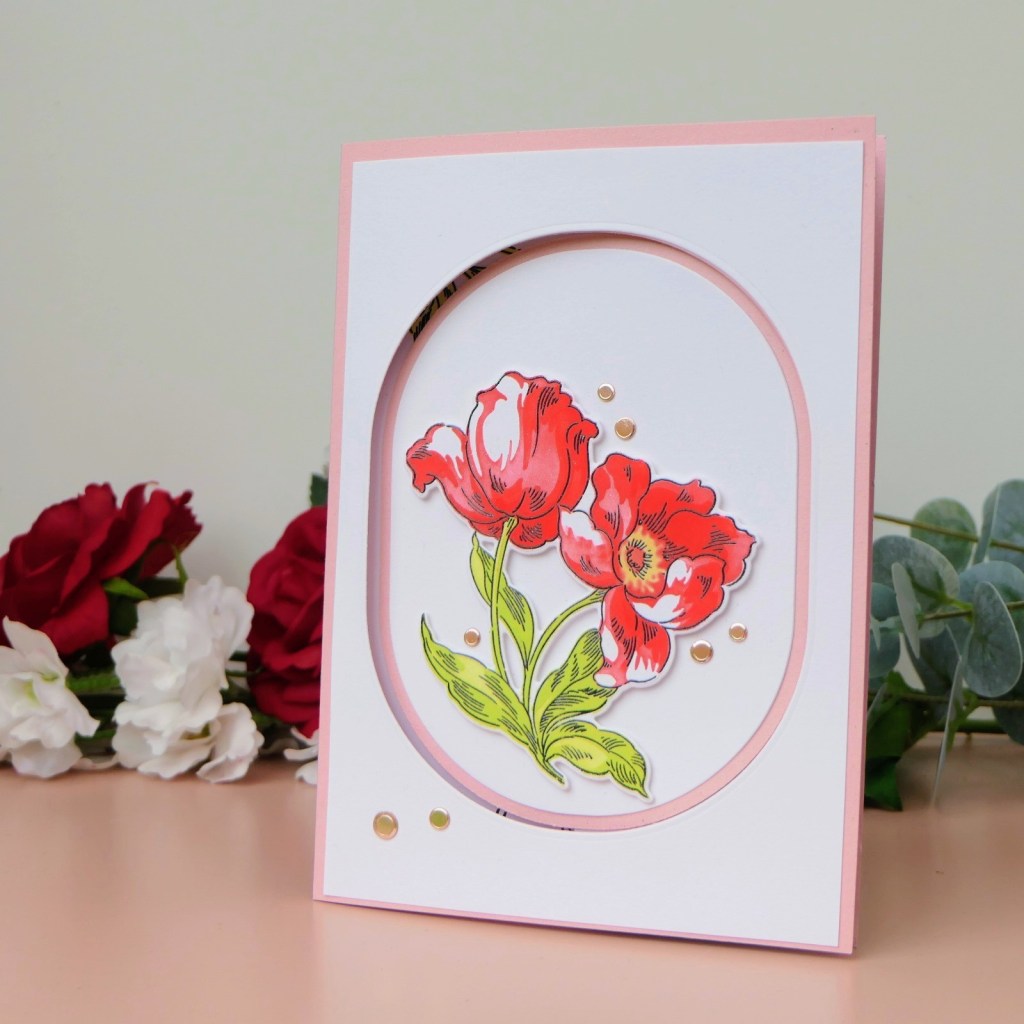
To decorate the card front, I used the negative dome pieces that were cut earlier. I kept the pink dome layer as is, but die-cut the white dome with a smaller dome die to create a layered look. After stamping the main sentiment on the smaller white dome, I layered the pieces together and added my other floral image beside the sentiment.
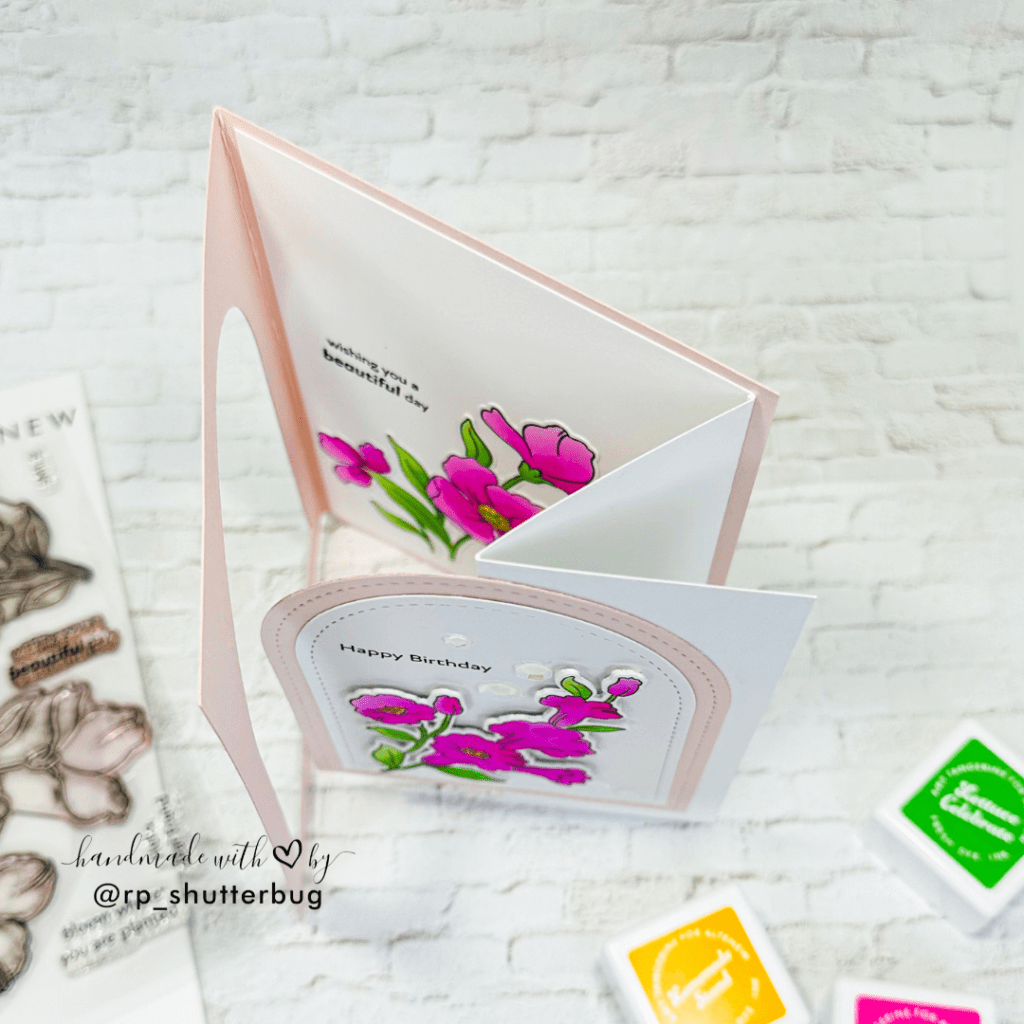
To finish, I closed the card—making sure the flap faced outward and added liquid glue to the exposed flap. Then I carefully aligned and attached the layered dome piece over the flap. Since it matched the window cut out perfectly, it created a seamless and satisfying “surprise reveal” when the card was opened.
This workshop was truly such a fun and memorable experience. Every participant was so encouraging, engaged, and enthusiastic—and the best part was that everyone was able to finish both projects with me within the allotted time! I couldn’t be more proud of them. I’m excited to share their beautiful creations here on the blog as well. They were kind enough to send me photos of their completed projects, and I can’t wait for you to see the amazing work they put together.
————————————————
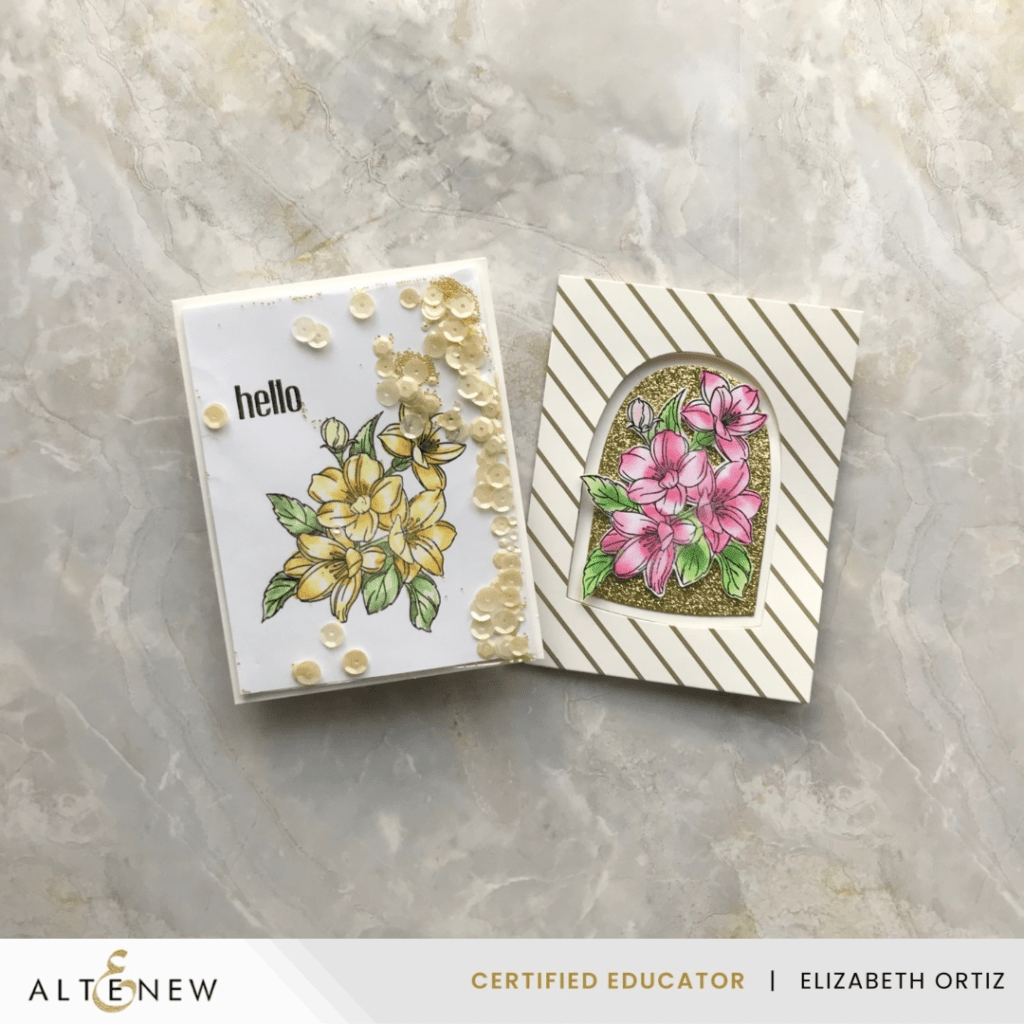
Just take a look at these beautiful cards created by Liz (Elizabeth Ortiz). The florals look absolutely breathtaking, and the added sparkle on both cards is simply magical.

————————————————
With a playful mix of peach and pink tones, Jill Kennard created these absolutely stunning card designs. And don’t miss her clever twist on the Z-fold window card—she used an oval die, and it turned out beautifully!

————————————————
Once again featuring a beautiful oval window and a shaker pocket filled with sparkling sequin mix, here are the gorgeous projects that Kim Darling shared with us.
————————————————
Walter Zemrock recreated the exact design using the same stamp set and color palette, and I was absolutely awe-struck by his projects. Aren’t they stunning?
————————————————
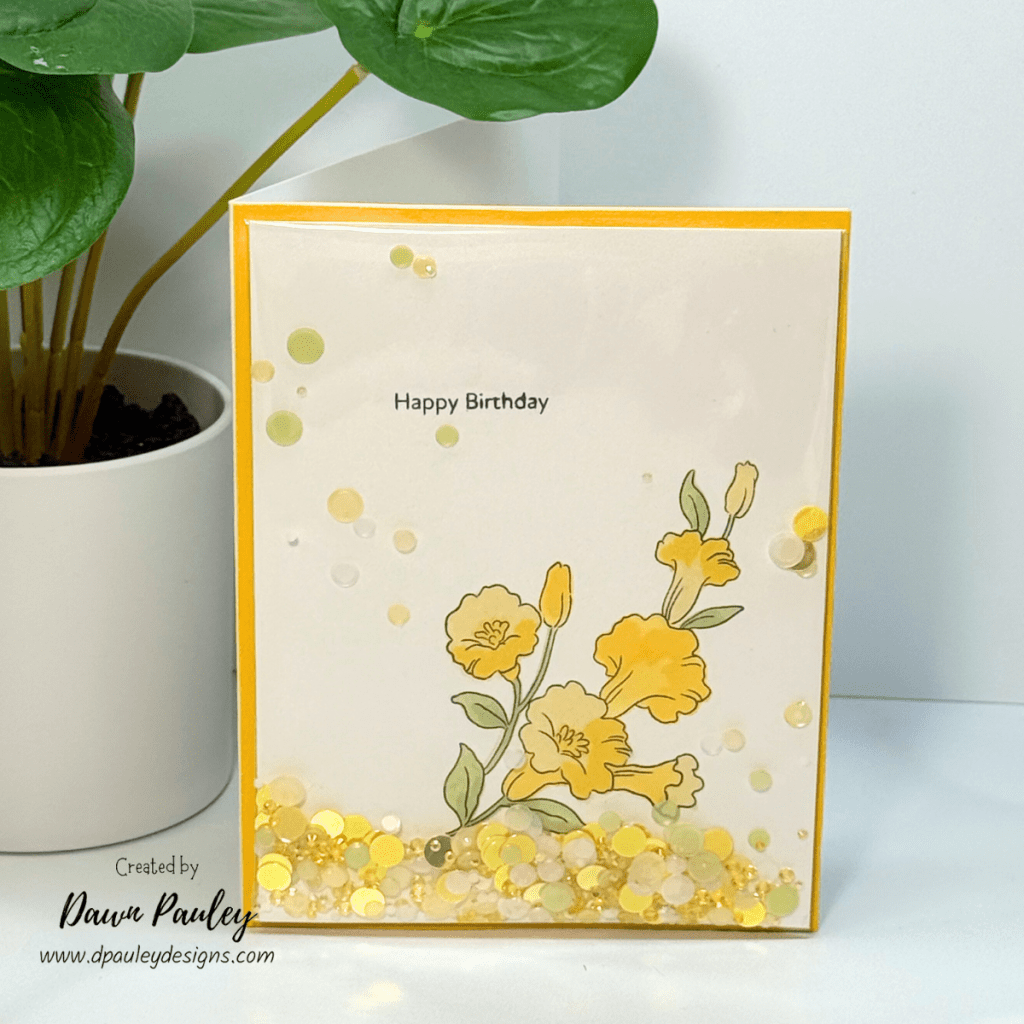
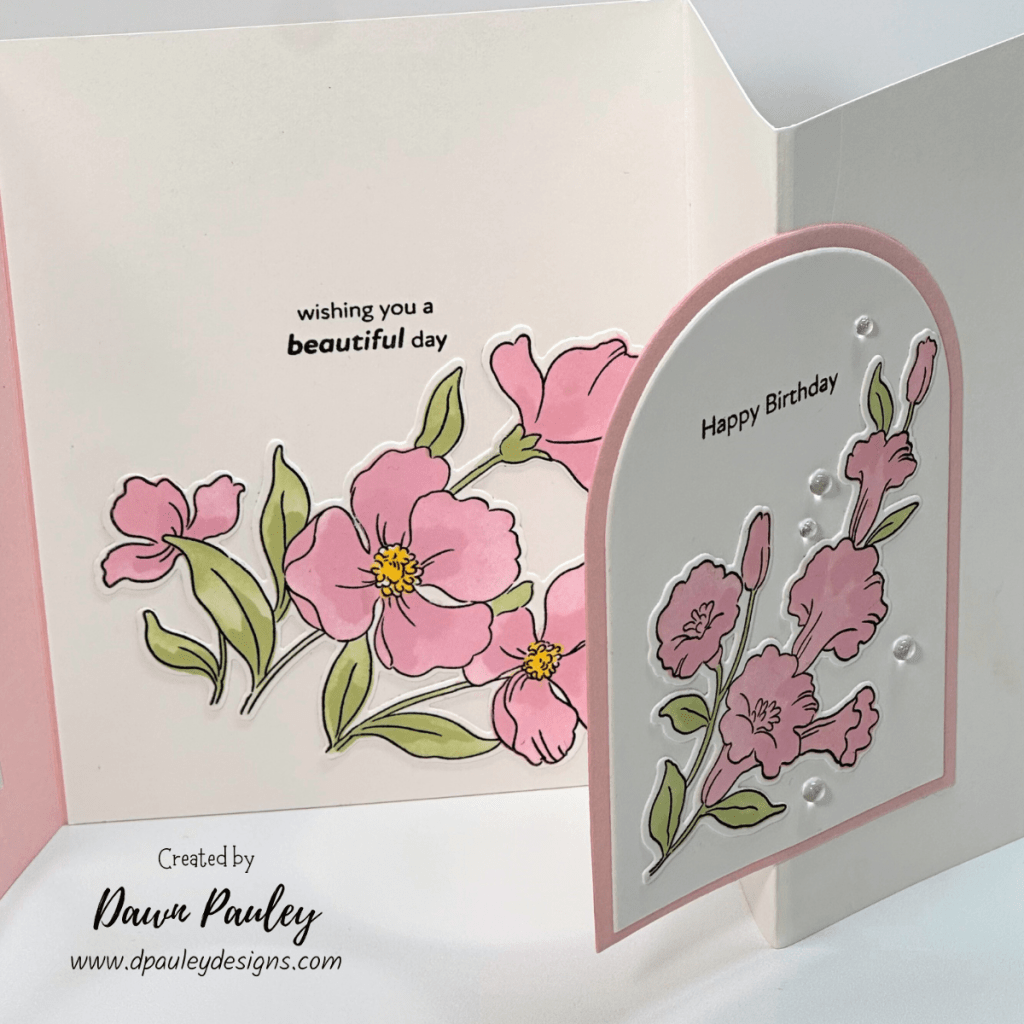
Dawn Pauley also used the same colors and stamp set, and her results are gorgeous. Just look at all the bling in that shaker pocket—and the soft pink on her Z-fold window card is truly magical. It gives the whole design such a lovely pastel vibe.

————————————————
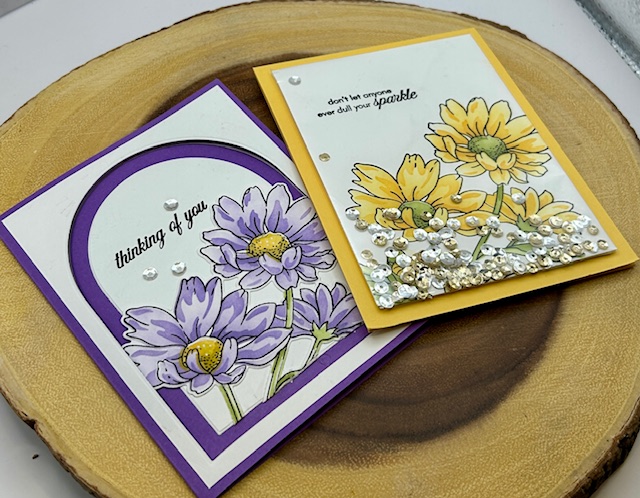
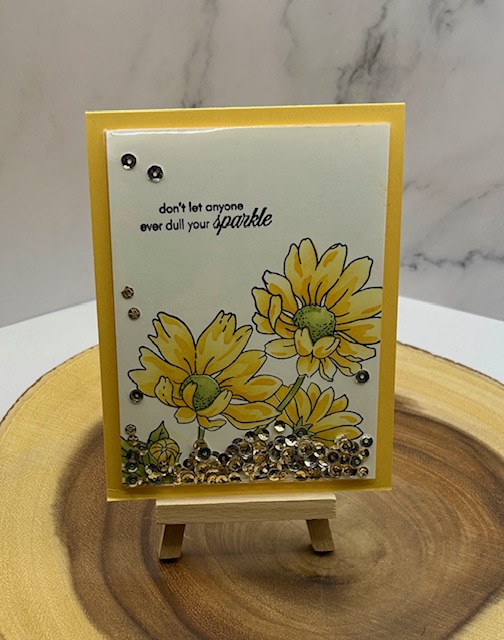
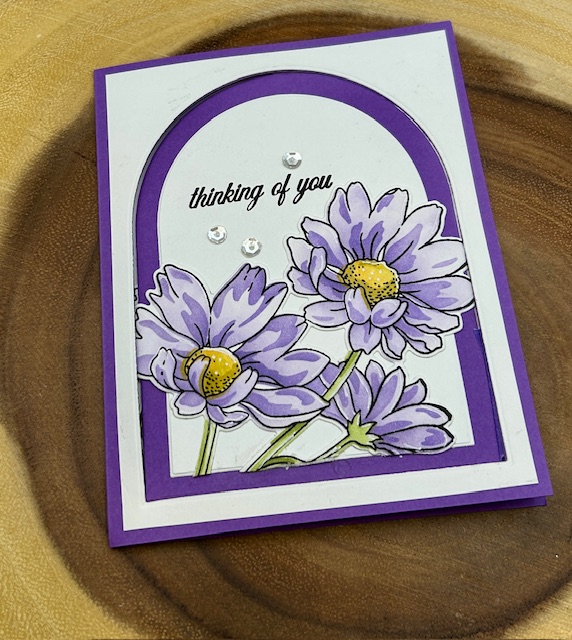
I have to say… the cards created by Kimberley Griswold are an absolute wow! Just look at those bold florals and the striking, rich yellows and purples she used on her projects. I’m completely in love with them!

————————————————
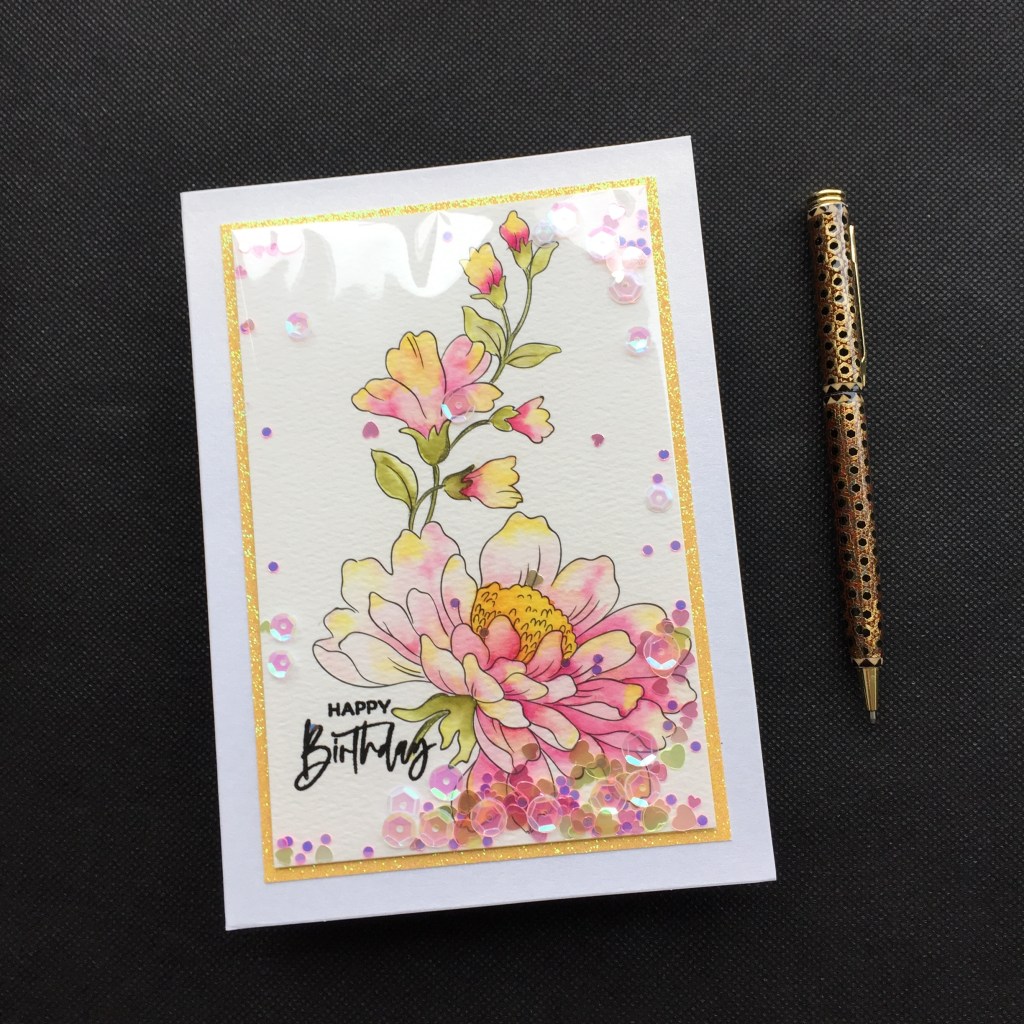
Here are the projects that Caroline Reiger shared. The blend of yellow and pink on the flowers is absolutely beautiful, and the shiny, sparkly confetti mix adds the perfect touch. That yellow glitter border is simply stunning. And wait… take a closer look at the window on her second card— isn’t it just spectacular?
————————————————
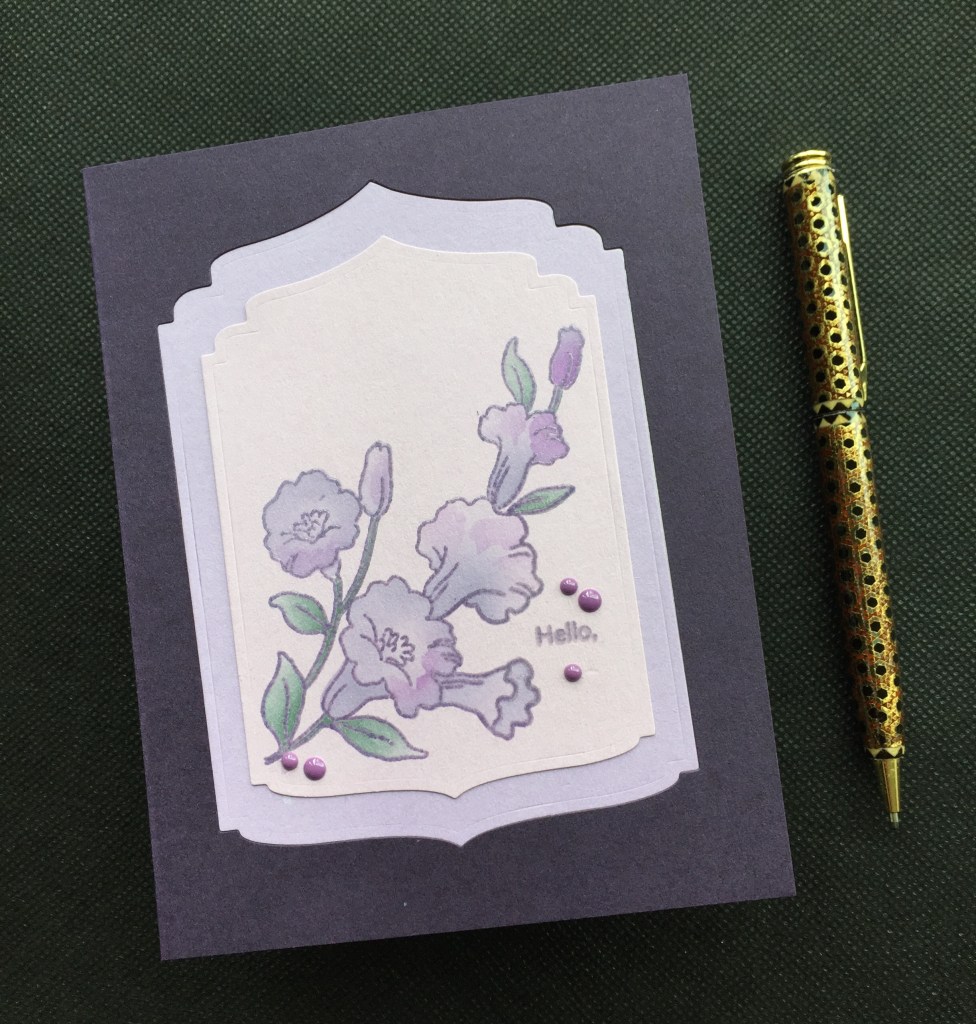
Angelique went all out with her stamped images, and I must say, I’m absolutely amazed by the fun touches she added to her cards. Those large florals are definitely statement pieces, and they make her designs truly stand out.
————————————————
Carrie Sheridan shared her beautiful projects with me, and she used the same floral set as well. The blue on her Z-fold card looks absolutely stunning, and choosing a rectangle window was such a fun twist. And don’t miss all the shiny sparkle in her shaker pocket—absolutely gorgeous work, Carrie!

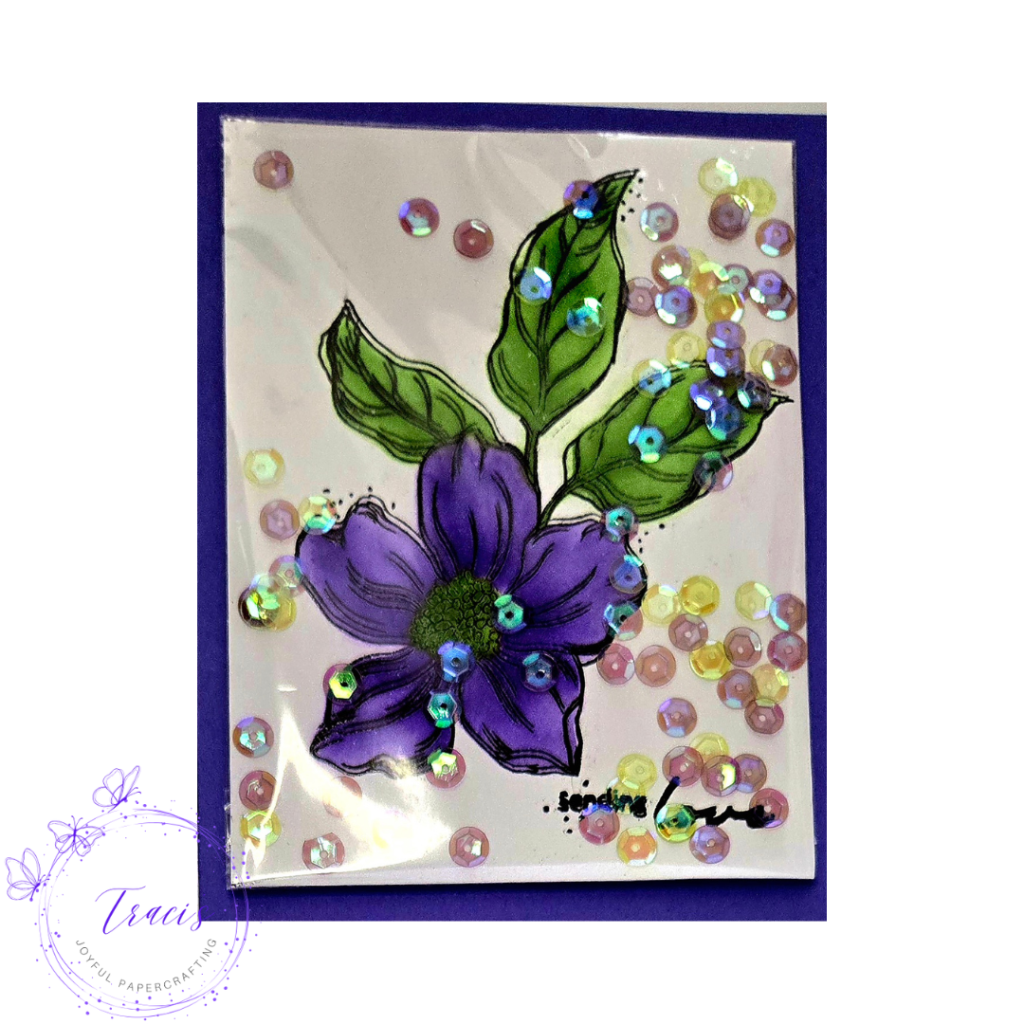
————————————————
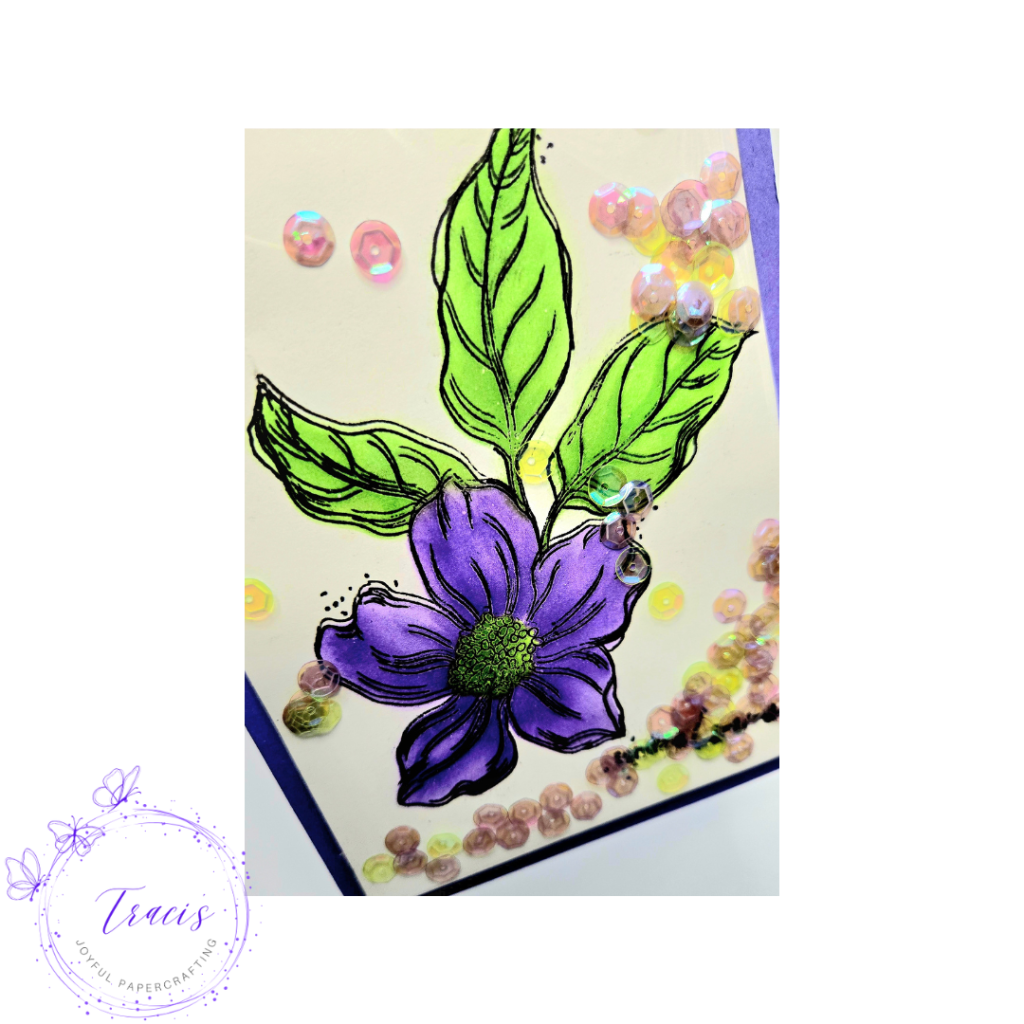
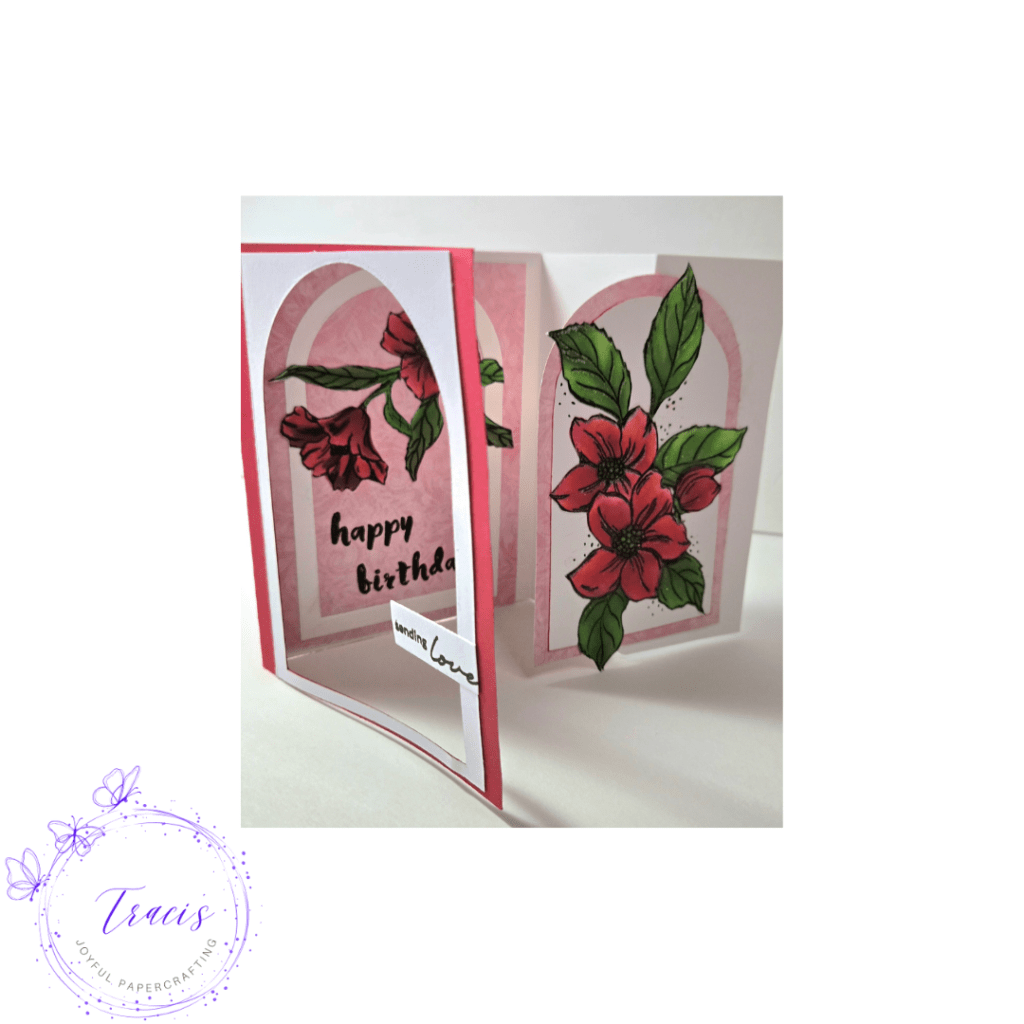
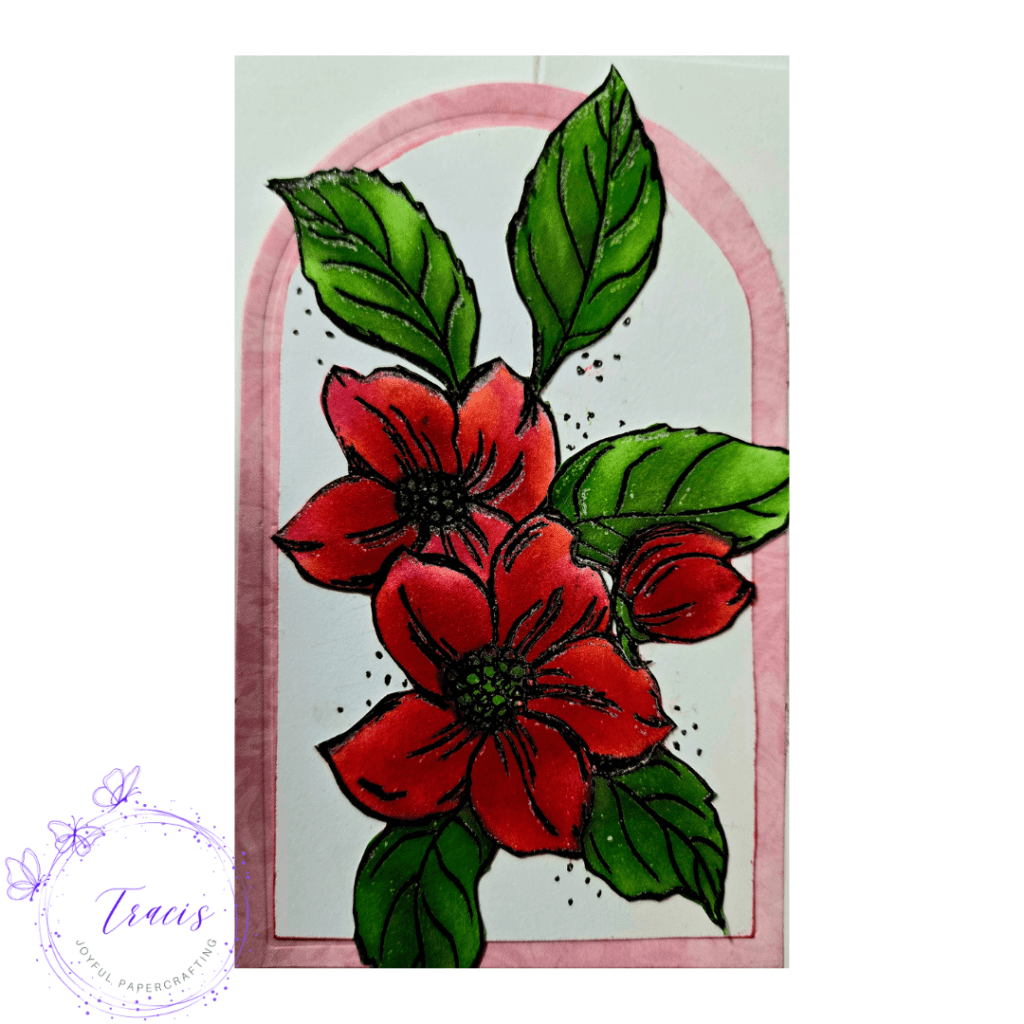
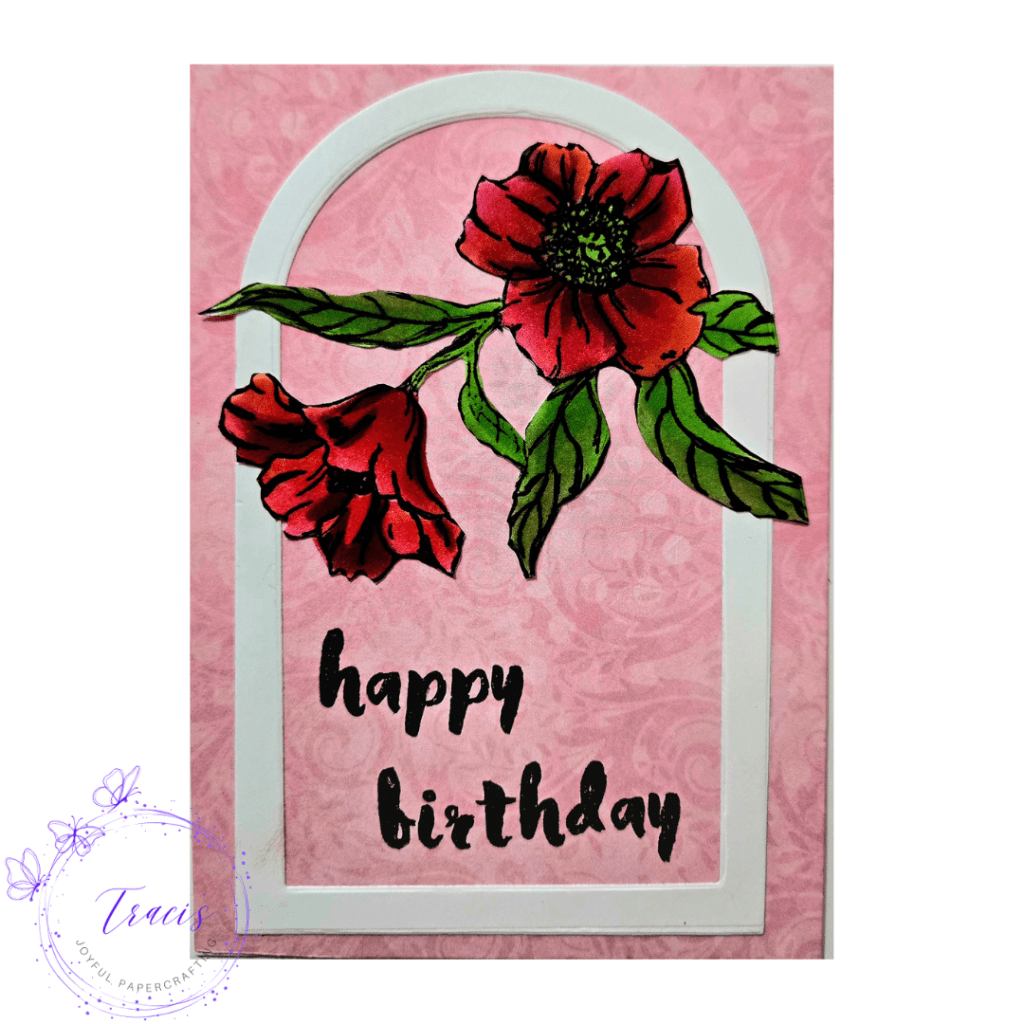
I want to give a special thanks to Traci, who wasn’t able to join the workshop live but still managed to create these gorgeous cards by following the instructions in the PDF I had sent her weeks earlier. Thank you so much, Traci, not only for taking the time to craft these beautiful projects but also for being a constant source of support throughout this entire journey.
Before I wrap up this (super long!) blog post, I have so many people to thank. First, a huge thank you to Erum for supporting me every step of the way with her kind words, patience, and encouragement. I also want to give a special shout-out to Bridget Casey, who let me teach a practice class during her Saturday session right before my workshop. That experience literally boosted my confidence by leaps and bounds—thank you, Bridget, for providing me with a platform and a group to put my teaching skills into action!
Of course, I also have to thank Altenew for creating such a fabulous course and for providing the amazing products that made this journey so much fun. And lastly, a big thank you to all the instructors who share their incredible classes on Altenew Academy—you are all truly inspiring!
Thank you for being here with me today. Do check out fun pictures and videos of the project on my Instagram page (@rp_shutterbug). Also, tag me on Instagram with pictures of your projects.
SUPPLIES:
*NOTE: Affiliate links may be used (at no additional cost to you) – thank you for your support!
 https://linkdeli.com/widget.js?id=f5e8378456858c916708
Thank you again for joining me today. Until next time, stay safe.


Leave a reply to Revati Panickar Cancel reply