Hello crafty friends,
Heat embossing has been my favorite card making technique ever since I started my card making journey in 2018. I got my first Versafine Clear Embossing Ink and Ranger Clear Embossing Powder from Michaels and then there was no looking back.
Over the years I learnt so many fun heat embossing techniques not just using stamps, but also using embossing folders and dies.
Today’s project features one of my very favorite method of using embossing powder and creating a fun emboss – resist background. Before I talk a little about the card, let me tell you what Emboss-Resist Technique is. As the name suggest –
- Stamp your favorite design (focal point or background) using clear embossing ink and add your favorite embossing powder over it. I like to use white or clear embossing powder for this technique.
- Ink blend using you favorite set of inks. I like to use my SSS Pawsitively Saturated Inks for this technique.
- Now that you have ink blended over your heat embossed image, all you have to do is use a clean cloth to wipe off any excess on the embossed lines.
The fun part of this technique is that the embossing will resist any of that ink and you will have a colorful base for your image with a crisp heat embossed focal point or background.
Here’s a closer look at the card I created –

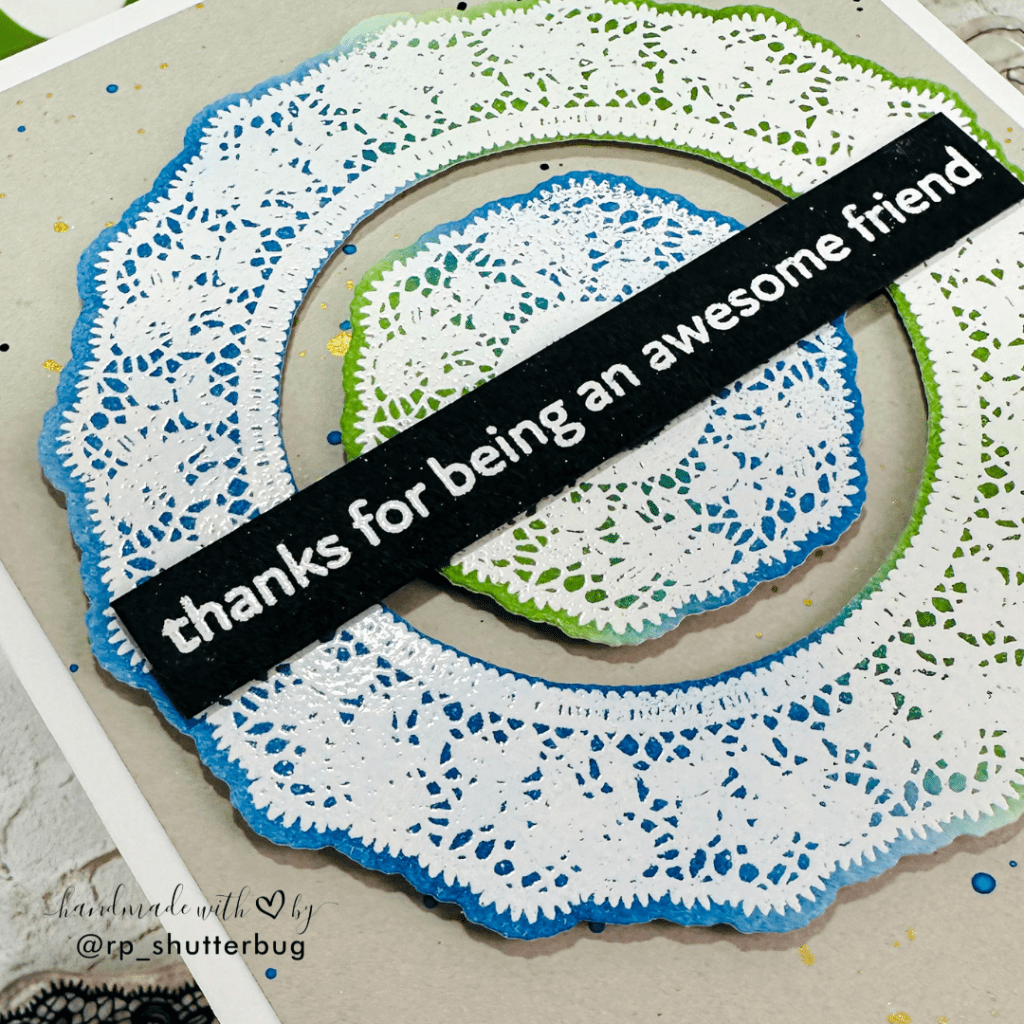
I started by stamping these very intricate frames from the Fancy Frame Stamp by Altenew. I stamped both the images onto a white card stock using the SSS Clear Embossing Ink and added some WOW White Embossing Powder. White powder over white panel may be difficult to look at, but give it some time and color, you will end up with a beautiful image.

Using the SSS Pawsitively Saturated Inks in the shades Royal and Field, I ink blended over this heat embossed image. I love the blend between the beautiful royal blue and deep green.
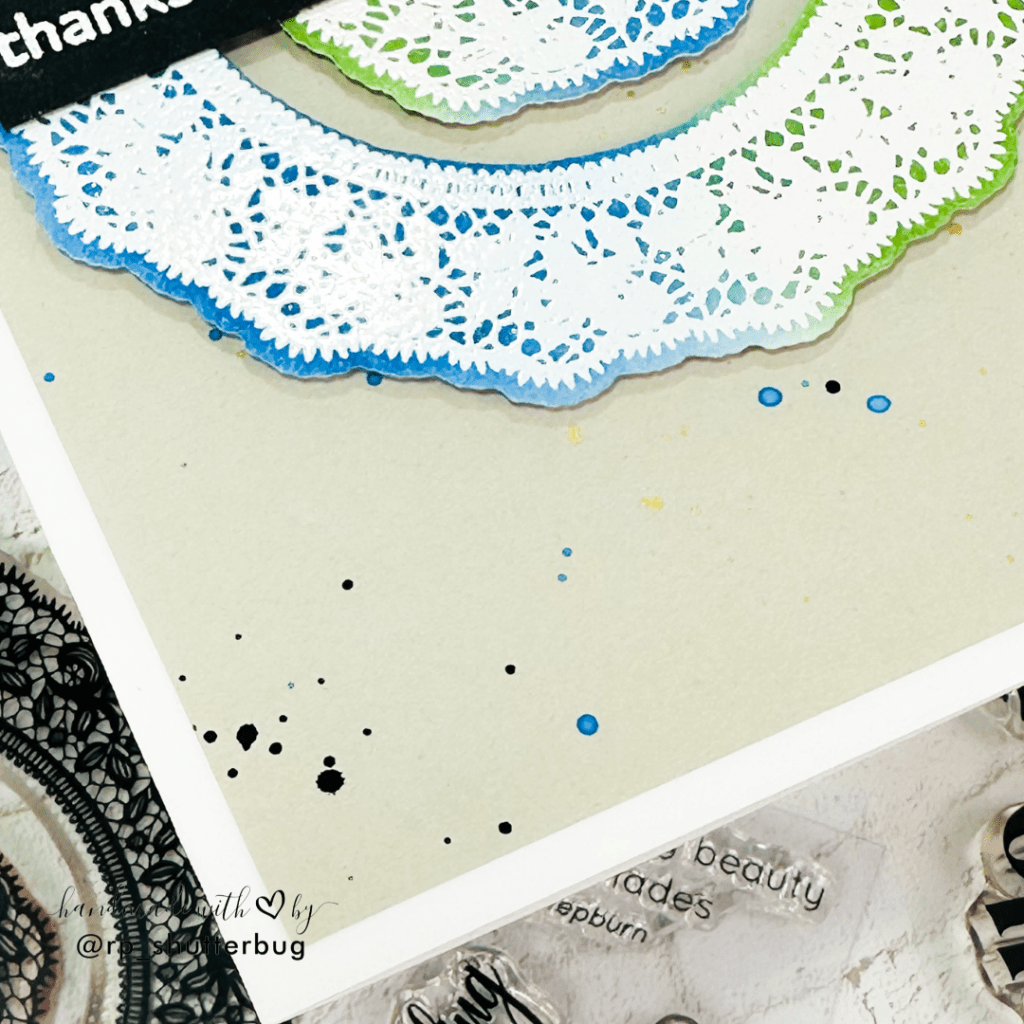
After all the ink blending was done, I used a clean microfiber cloth to wipe off the excess ink that sat over the embossed image. As soon as I wiped off the excess ink, the bright white image popped up against the blue-green background.
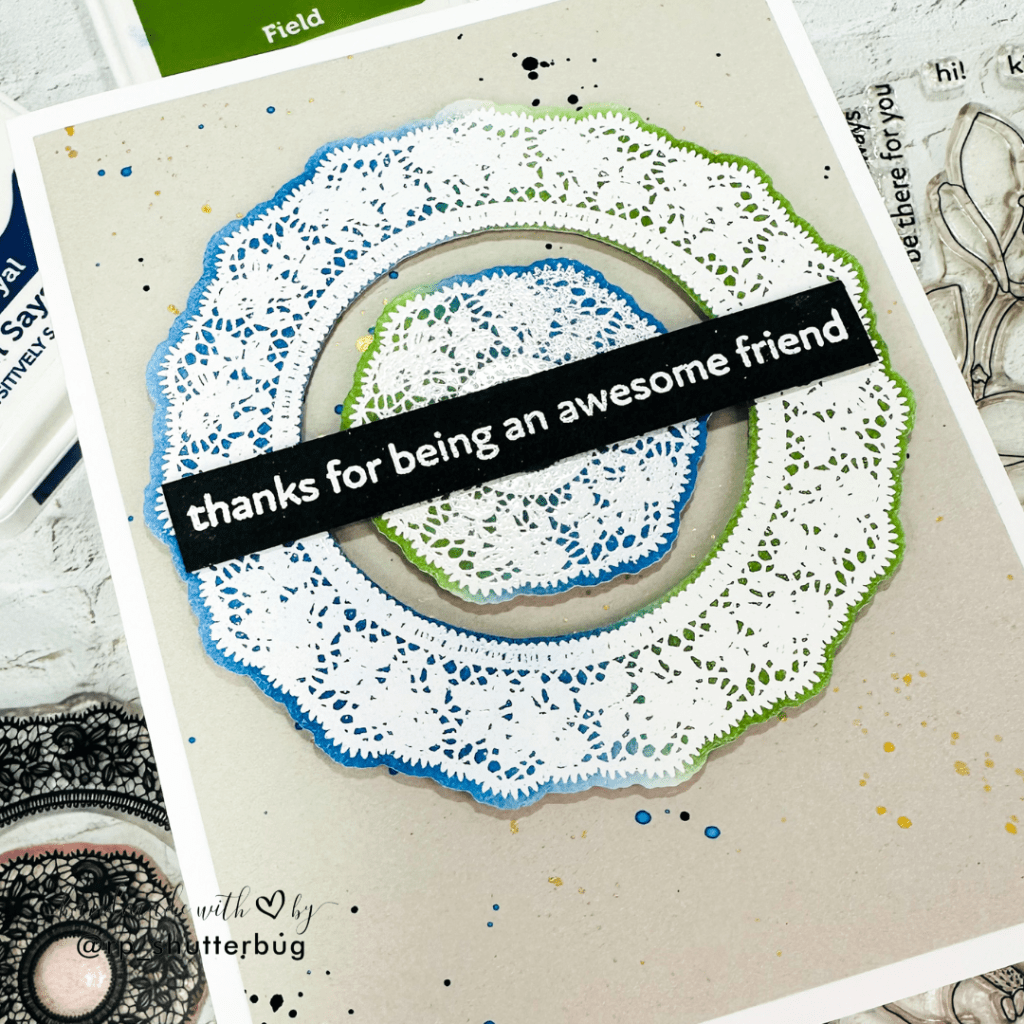
Using the coordinating die, I cut both these pieces. These would the focal point of my card front.
For my background, I used a very light gray cardstock, and added some ink splatters. I used the same exact blue that I used for the ink blending. Instead of adding the same green, I decided to add black, which was a perfect contrast for the white heat embossed image. And well of course, I had to add some gold splatters too.
While the background panel dries, I decided to work on my sentiment. Since we are talking of some impressive heat embossing techniques, I decided to stamp my sentiment too with some embossing powder. I stamped the “Thanks for being an awesome friend” from the Alluring Orchids Stamp Set using the same white embossing powder on a strip of black cardstock.
It’s now time to assemble the card. I added some foam tape on the back of the focal point and adhered it on the center of the splattered background panel. I love the pop this gives. I then adhered the sentiment strip on the center of the focal point.
I love how this card turned out. Heat embossing is indeed my favorite techniques. It’s such a fun and versatile technique to create beautiful card fronts and sentiments.
The Altenew Educator Certification Program is definitely a best opportunity to showcase my work and get in touch with all of the amazing crafters.

Thank you for being here with me today. Do check out fun pictures and videos of the project on my Instagram page (@rp_shutterbug). Also, tag me on Instagram with pictures of your projects.
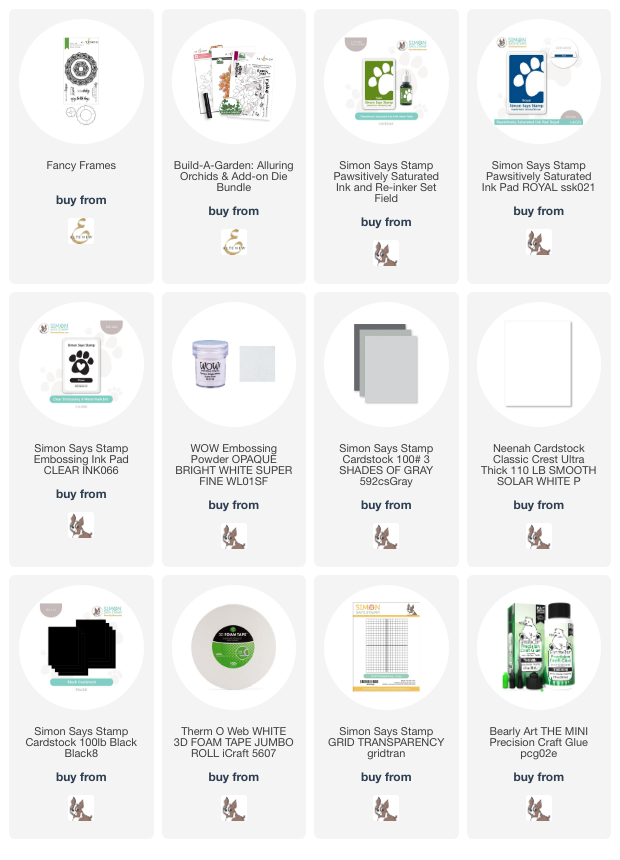
SUPPLIES:
*NOTE: Affiliate links may be used (at no additional cost to you) – thank you for your support!
 https://linkdeli.com/widget.js?id=f5e8378456858c916708
Thank you again for joining me today. Until next time, stay safe!


Leave a reply to Erum Tasneem Cancel reply