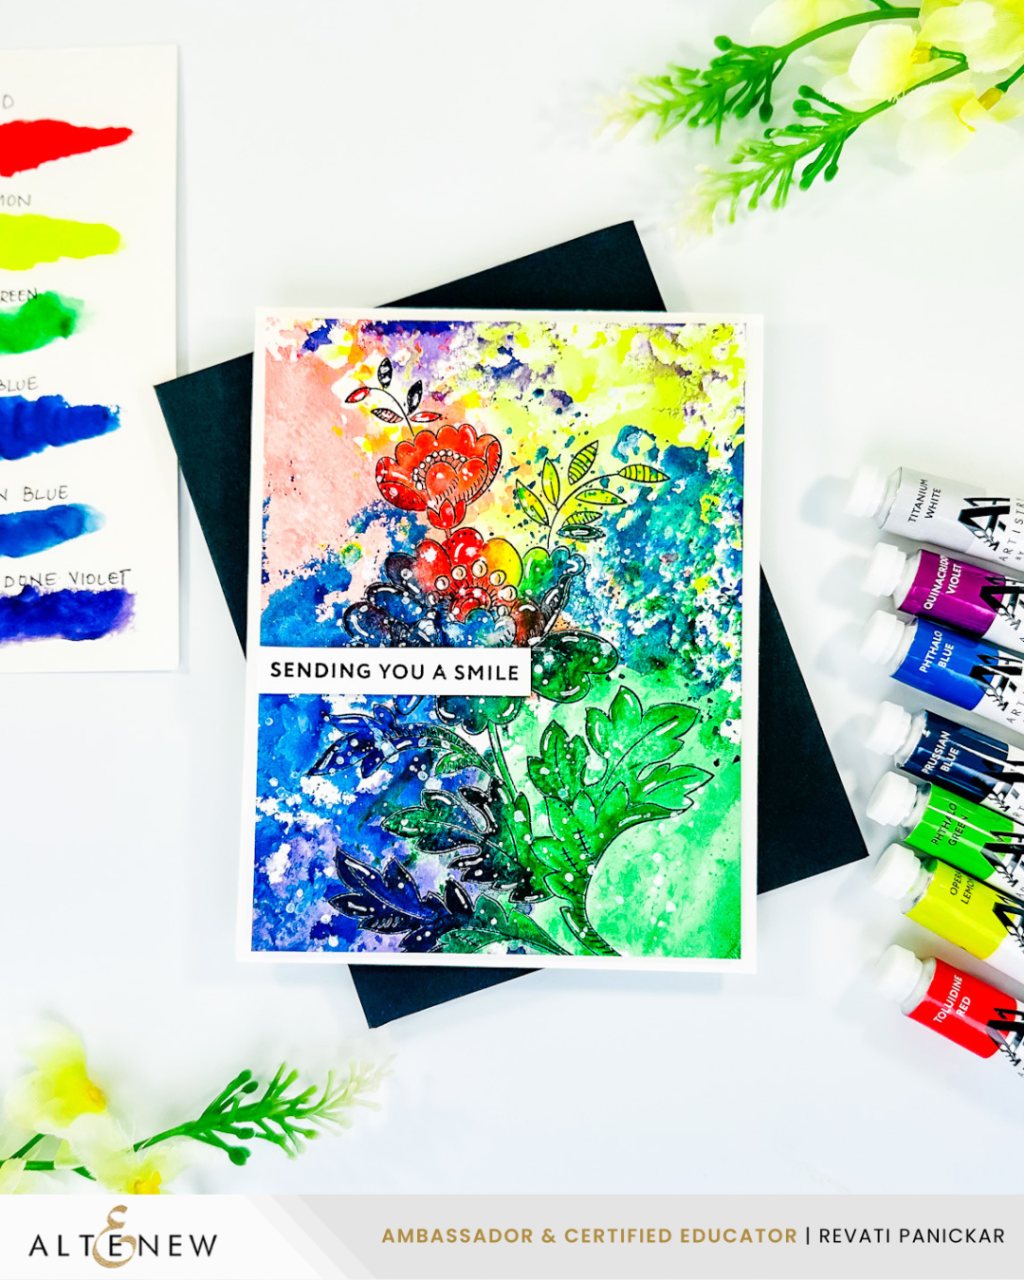
Layering is one of my favorite ways to bring depth and visual interest to my cardmaking projects—and today’s card is a perfect example of that! I’m using the beautiful Garden Gala Craft Your Life Project Kit from Altenew to create a soft, dimensional floral design filled with texture, color, and delicate details.

🎉 Video Hop & Giveaway
This project is part of the Altenew Layer It Up Video Hop, so be sure to check out all the amazing inspiration from fellow creators!

Don’t miss the chance to win—leave a comment sharing your favorite layering technique for an opportunity to win a gift certificate.
This kit truly has everything you need in one place—a large floral stamp set, coordinating layering stencils, dies, and a gorgeous 3D embossing folder. I chose to work with the smaller floral image from the set because of its open design. This allowed me to highlight both the layered florals and the textured background without either element overpowering the other.
I began by stamping both the floral image and the sentiment using Obsidian Pigment Ink and heat embossing them with clear embossing powder. This step is one I rarely skip—it adds those crisp, raised edges and a beautiful shine that instantly elevates the look of the card. After stamping, I used the coordinating dies to cut out both elements before moving on to coloring.
For coloring, I brought in the layering stencils and built up soft shades of pink on the flowers. Even on the base layer, I like to add dimension by blending a lighter shade all over and then deepening the color toward the center. For the detailed layer, I switched to a smaller blending brush to get more control in those tighter areas. The foliage was created using soft greens, keeping the tips light and gradually adding depth toward the base of the leaves for a more natural look.
To complement the florals, I created a textured background using the Garden Gala 3D embossing folder. Even though subtle textures don’t always show up on camera, they add so much personality and elegance in real life. I also stamped a small sub-sentiment directly onto the embossed panel, pairing it with the die-cut word to create the phrase “sending hugs.”
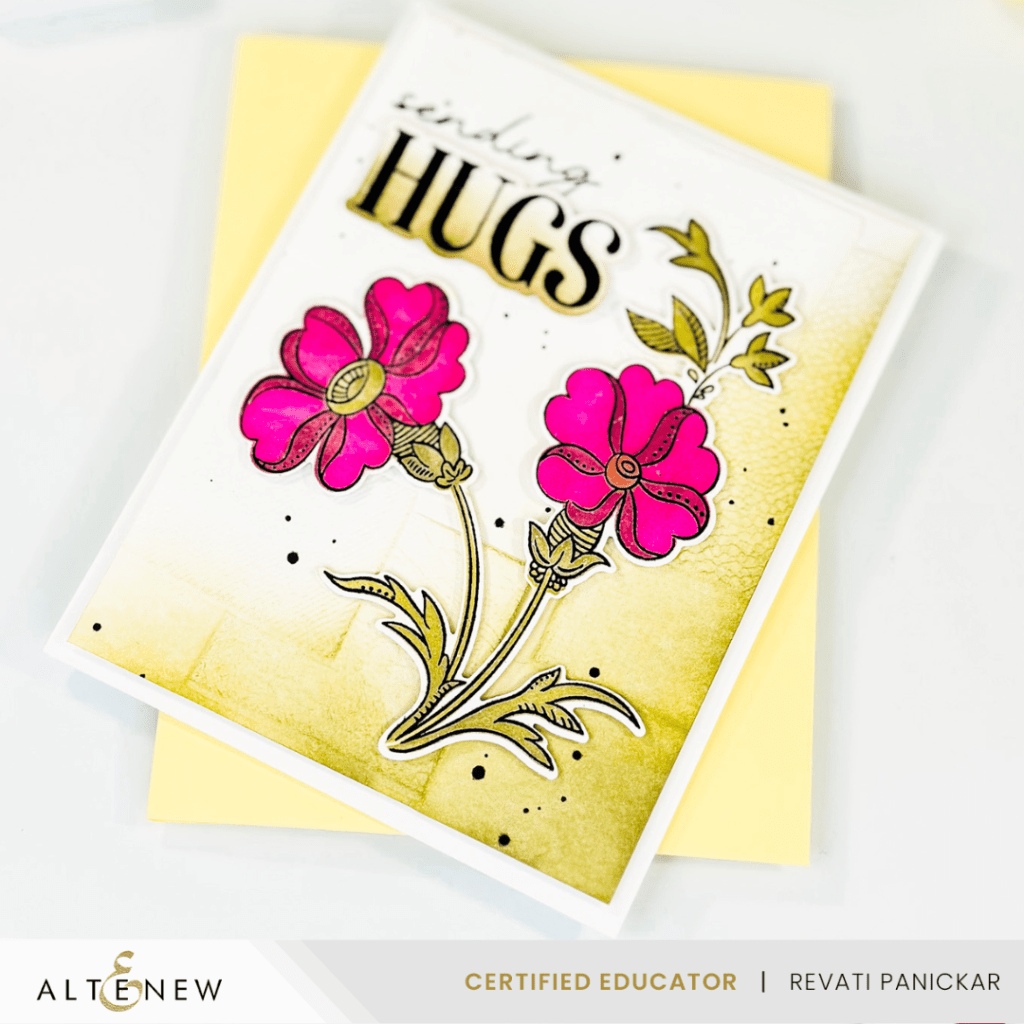
To tie everything together, I softly blended green ink along the bottom of the panel, fading it toward the center. This helps ground the design while also highlighting the beautiful texture in the background. Before assembling, I added a few black splatters for an extra touch of interest, making sure to cover the sentiment to keep it clean.
For the final assembly, I popped up both the floral image and the sentiment with foam tape to add dimension, and then mounted the panel onto a card base using low-profile foam. Since we already have dimension from the embossing and layered elements, this subtle lift was just enough. To finish the card, I added a touch of shimmer to the flowers using a glitter brush pen—because no card feels complete without a little sparkle!
I absolutely love how this card turned out. It’s a beautiful reminder of how layering—through color, texture, and dimension—can truly elevate your designs.
Don’t miss the chance to win—leave a comment sharing your favorite layering technique for an opportunity to win a gift certificate.
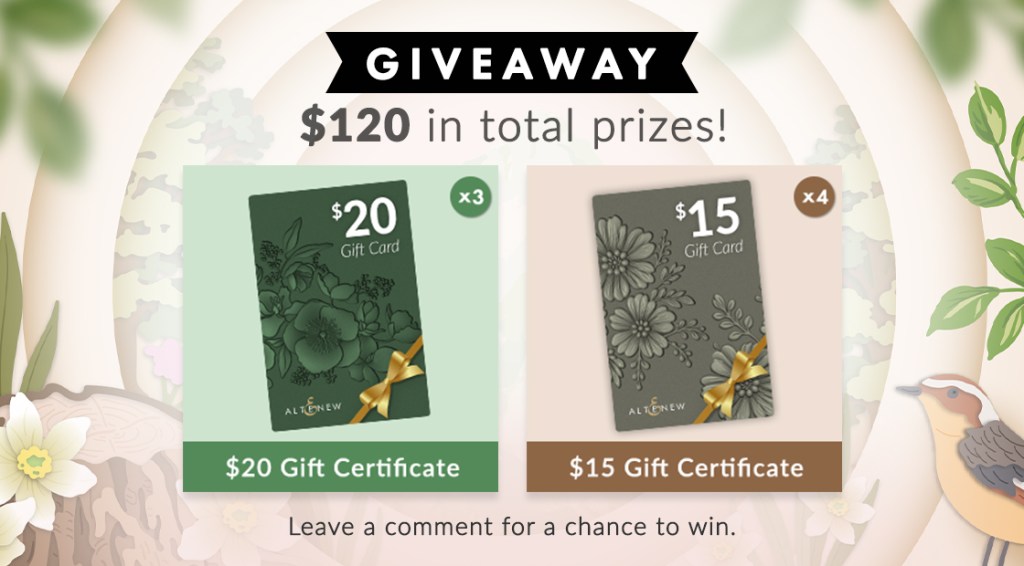
⎯ • GIVEAWAY DETAILS • ⎯
$120 in total prizes! Altenew is giving away a $20 gift certificate to 3 lucky winners and a $15 gift certificate to 4 winners! Please leave a comment on the Altenew video and/or each designer’s YouTube video on the hop list by 04/26/2026 for a chance to win. Altenew will draw 7 random winners from the comments left on each hop stop and announce them in the Altenew video post on 04/27/2026.
Watch YouTube video tutorial –
Do check out fun pictures of the project on my Instagram page (@rp_shutterbug). Do tag me on Instagram with pictures of your projects.
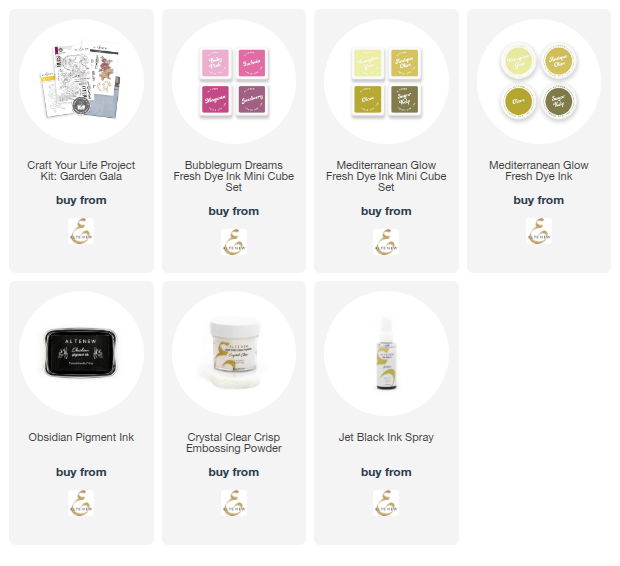
SUPPLIES:
*NOTE: Affiliate links may be used (at no additional cost to you) – thank you for your support!
 https://linkdeli.com/widget.js?id=f5e8378456858c916708
Thank you so much for joining me today. Until next time, stay safe!


Leave a comment