Hello crafty friends,
I started my coloring and card making journey using pencils colors, until I was introduced to the world of Alcohol Markers. There was no looking back! Alcohol markers are my go to choice of colors when it comes to coloring little images, be it critters, florals or just adding color to the background.
When I came across the Magical Marker Techniques class, I knew I would have so much fun here. I picked up one of my very favorite element on a card front from this class – and that’s adding splatters.
I love adding splatters on my card front. I feel even the slightest splatter gives so much texture to the card. And well, you can never go wrong with the amount of splatter.
Usually I use watercolors for the splatters, but that’s the beauty in these AECP classes. You always learn something new, something you have never tried before. Instead of using watercolor splatters, I used my Alcohol Markers to create some beautiful pink and purple splatter on my card front.
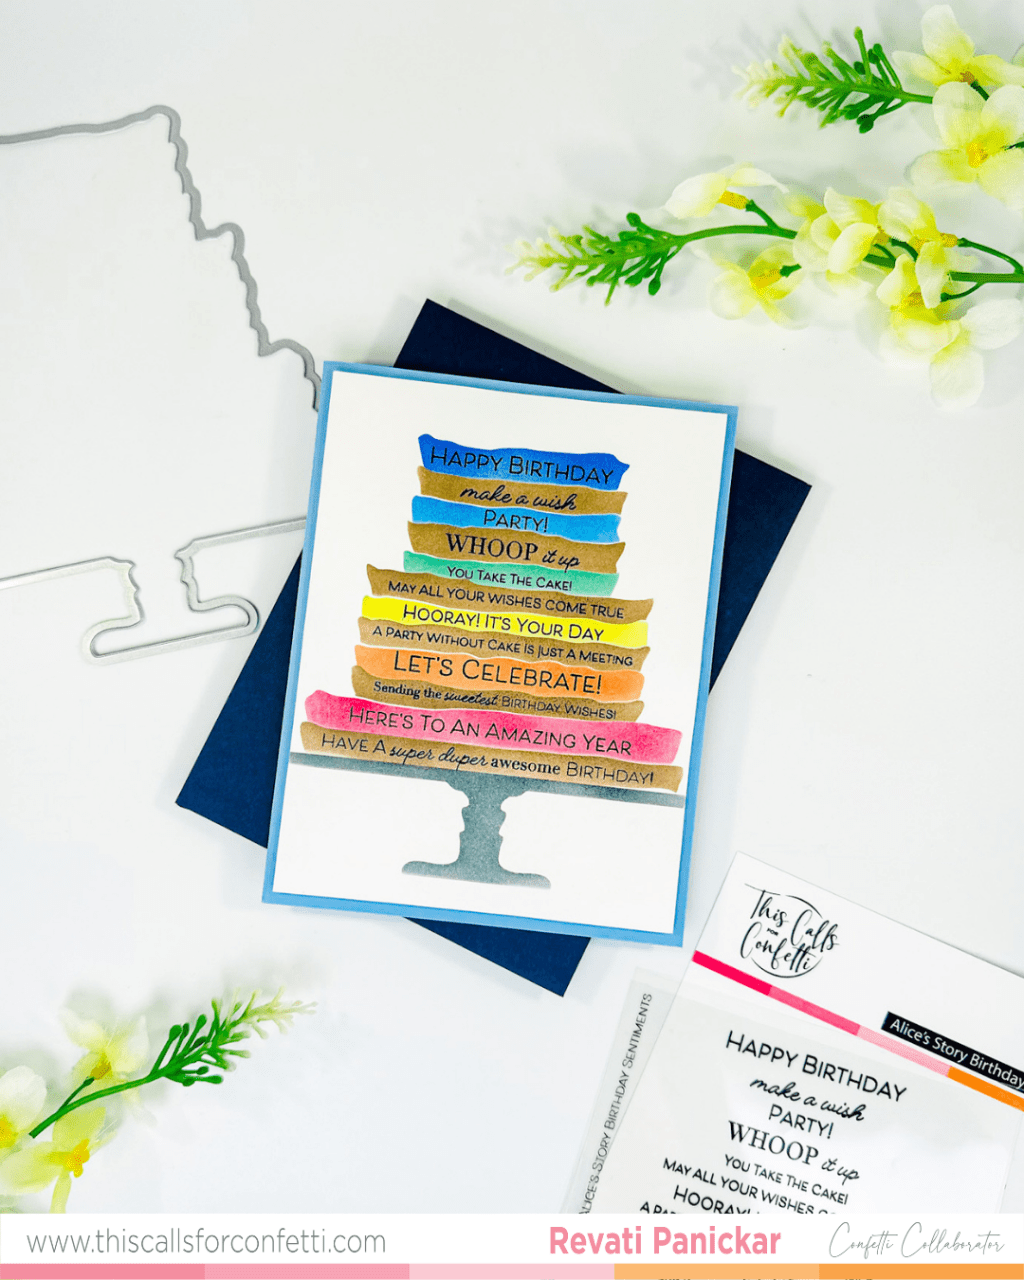
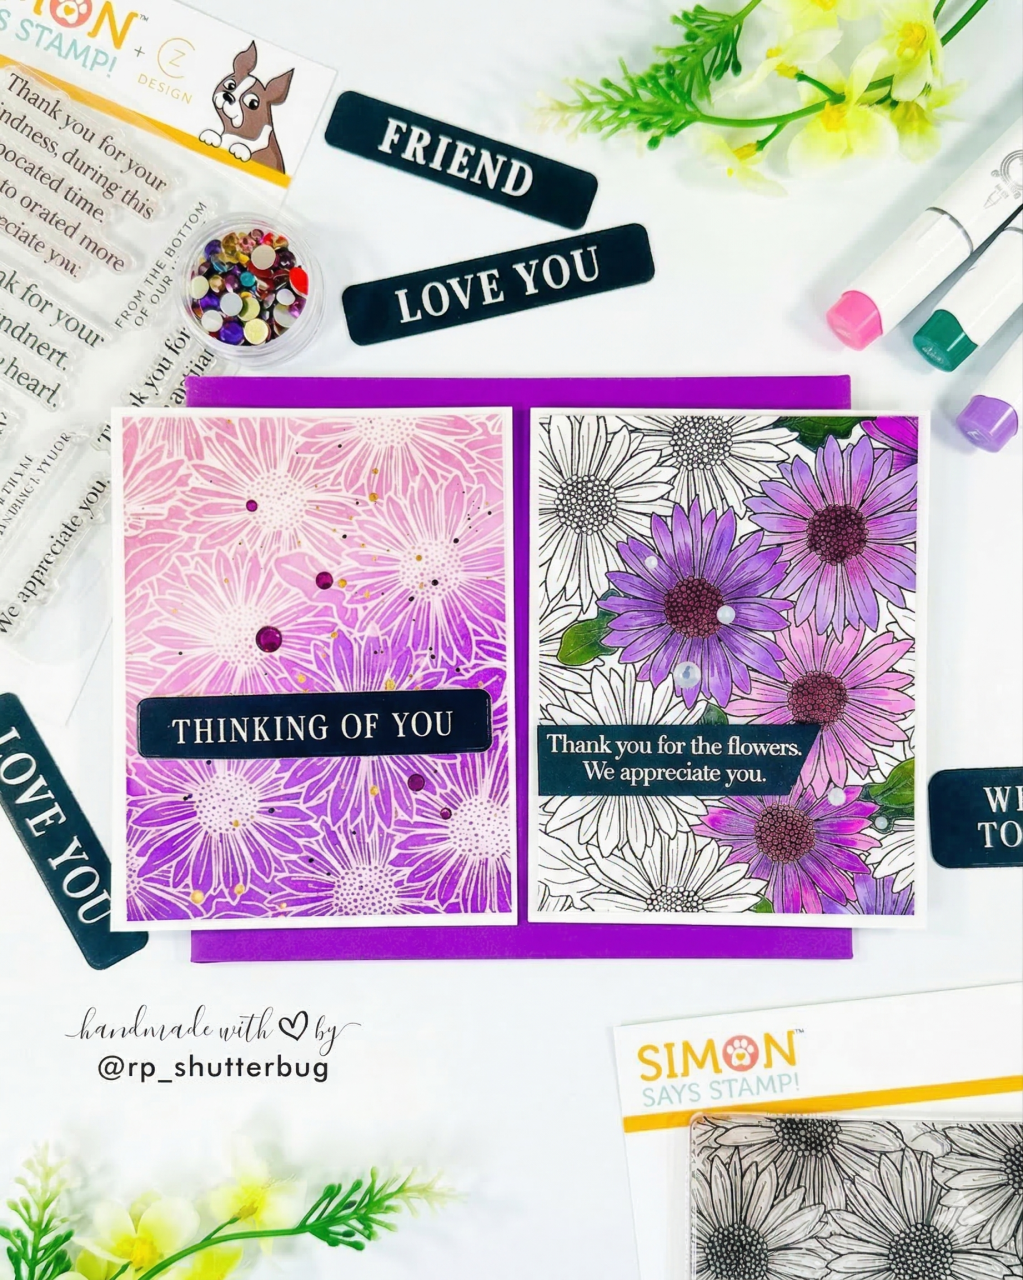
Let’s first take a closer look at the card I created for this project –
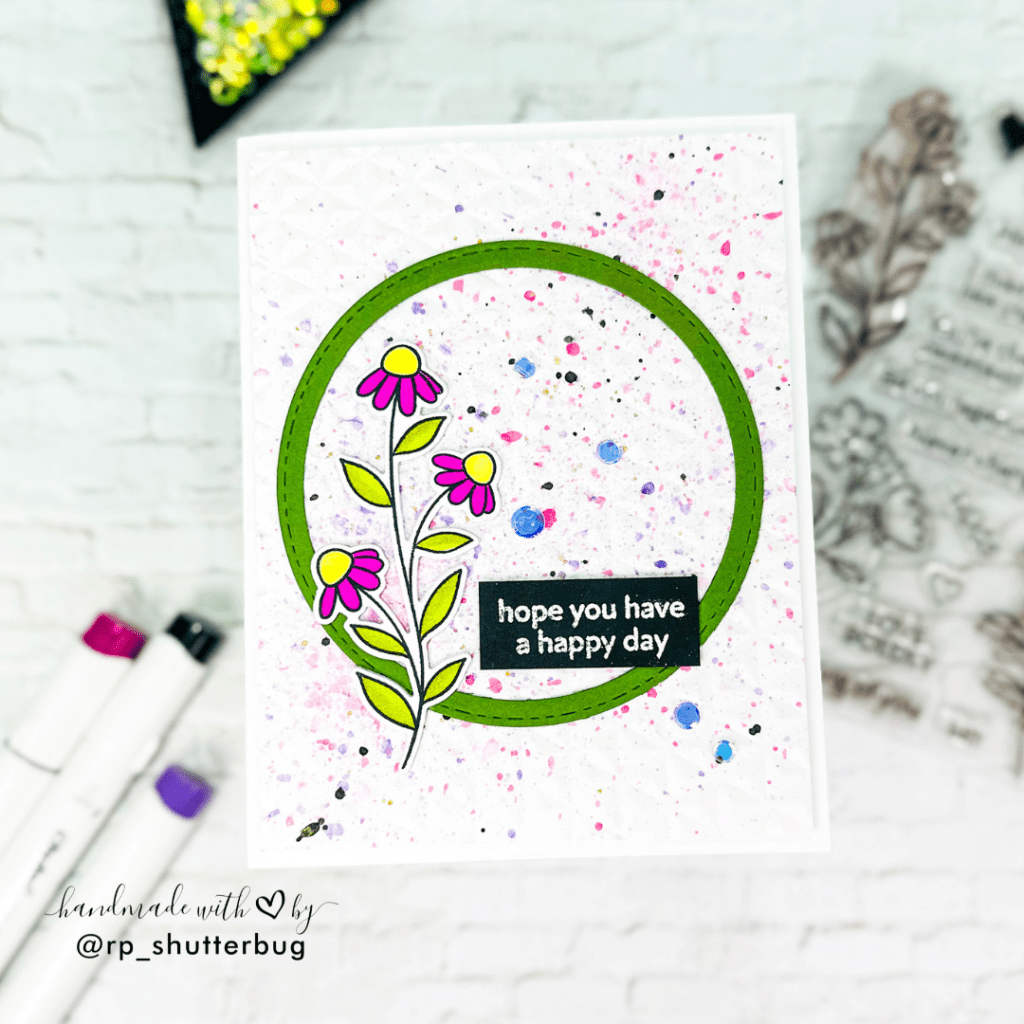
My main objective here was to showcase the background with some beautiful splatters. So I decided to keep the focal point image as small as I could. I used the Dainty Flowers Stamp and Coordinating Die for my focal point. I colored this stamped image using my fine tip Spectrum Noir Tri Blend Markers. To give some depth to our focal point, I added a circle, to as a base for the focal point and the sentiment strip, at the same time enhancing the splatters.

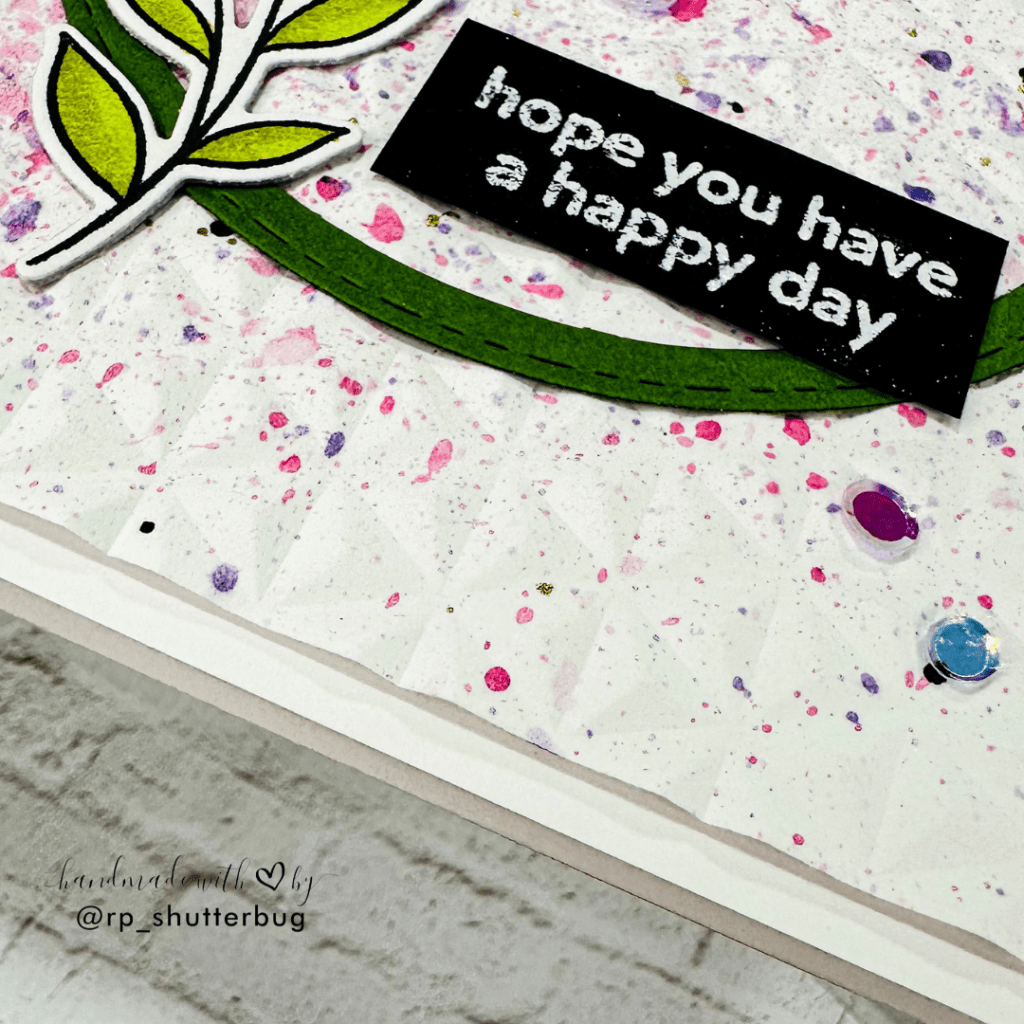
Before I adhered all of these die cut pieces and the sentiment strip onto the card front, I decided to work on my background. Instead of adding splatters directly onto a white background, I decided to add some texture to my background. I used the Diamond Stars 3D Embossing Folder to add dimension on my background panel.
Now comes the fun part – The Splatters. For this I used my Ohuhu Alcohol markers. I used Pink and Purple markers and scribbled onto a piece of acetate. I then sprayed some rubber alcohol onto this scribbled area. The rubbing alcohol created a colorful puddle more like what you would see with watercolors.
This alcohol ink puddle is not our palette for splattering onto the card front.
I first splattered the pink ink and then did the same exact thing of scribbling, spraying rubbing alcohol and then splattering onto the embossed panel using the purple ink.

To add slight contrast to these splatters, I added a hint of black alcohol ink and gold metallic watercolor splatters too.
I love how beautiful this background looks. I finished the card with a white heat embossed sentiment from the Alluring Orchids Stamp Set and added some of the Prism Sequi mix from This Calls For Confetti.
The Altenew Educator Certification Program is definitely a best opportunity to showcase my work and get in touch with all of the amazing crafters.
Thank you for being here with me today. Do check out fun pictures and videos of the project on my Instagram page (@rp_shutterbug). Also, tag me on Instagram with pictures of your projects.
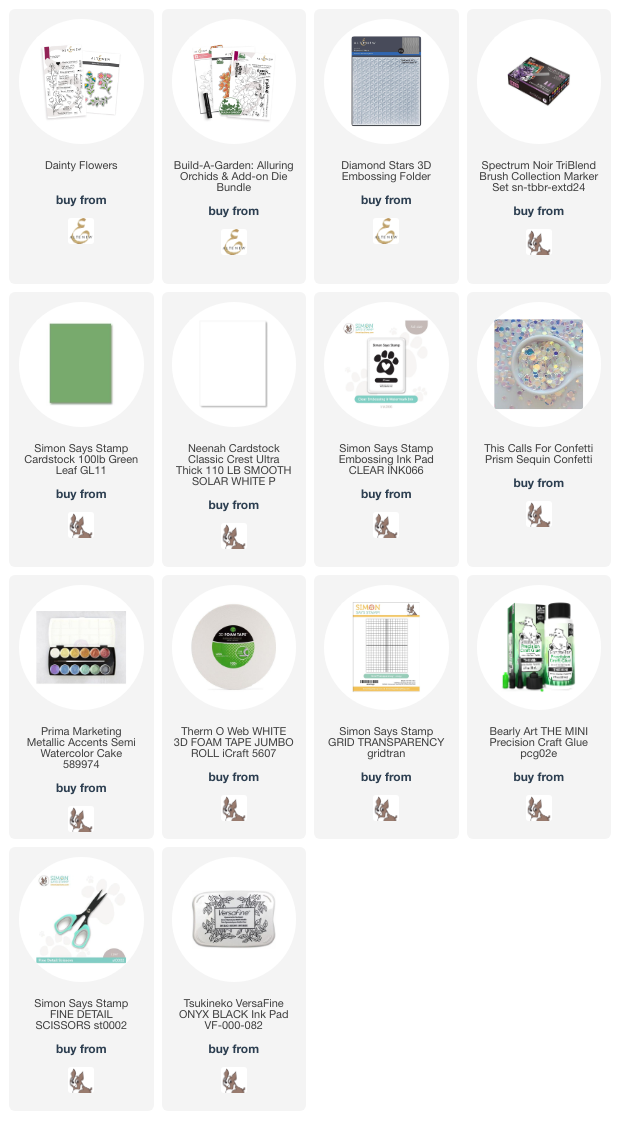
SUPPLIES:
*NOTE: Affiliate links may be used (at no additional cost to you) – thank you for your support!
 https://linkdeli.com/widget.js?id=f5e8378456858c916708
Thank you again for joining me today. Until next time, stay safe!


Leave a reply to Erum Tasneem Cancel reply