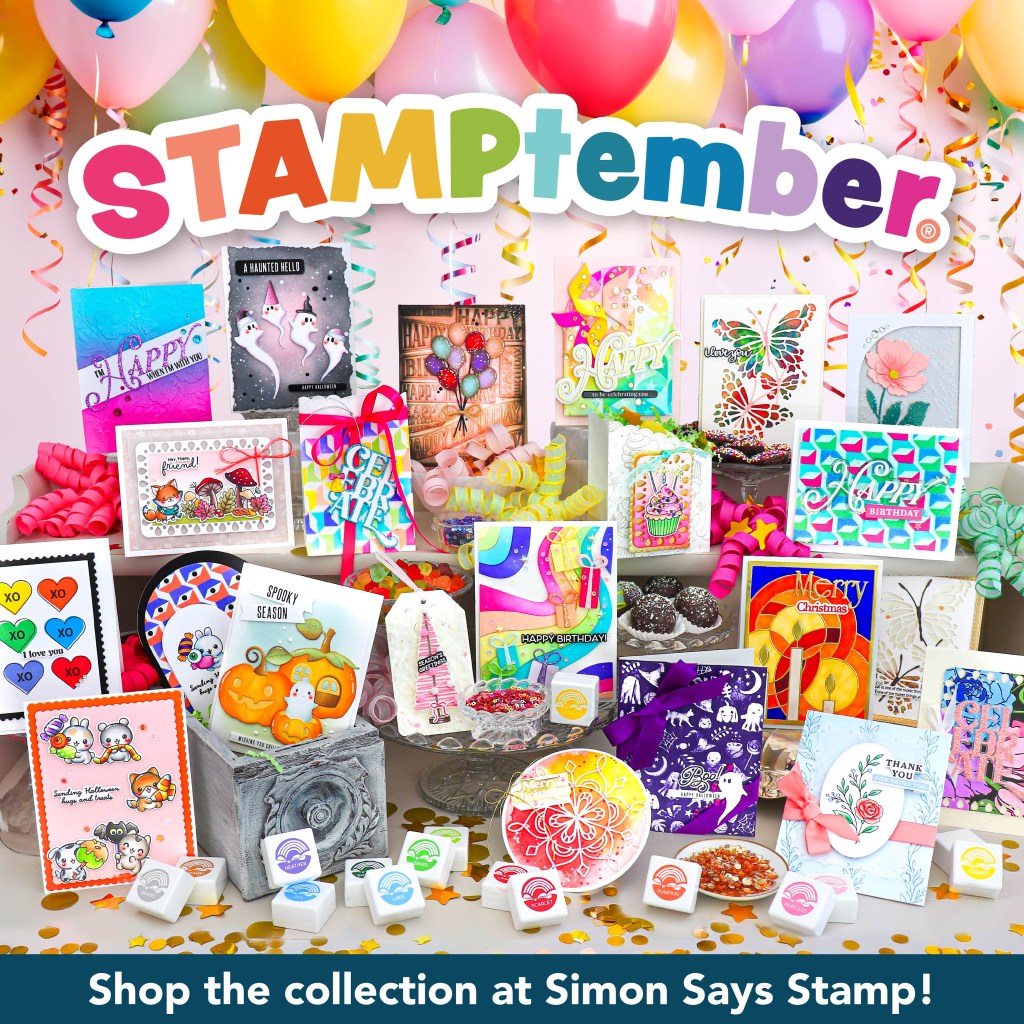
It’s officially STAMPtember, and I’m so excited to kick off this month-long celebration of stamping, cardmaking, and paper crafting hosted by Simon Says Stamp! STAMPtember is always packed with new products, exciting collaborations, giveaways, surprises, and tons of creative inspiration.
(—————-Scroll for surprise coupon code—————-)
For today’s project, I’m using the adorable Strike Up the Fun 4×6 stamp set, filled with cupcakes, candles, matches, and fun celebration sentiments. I challenged myself to create five completely different cards using just this one stamp set, while keeping a similar color palette throughout.
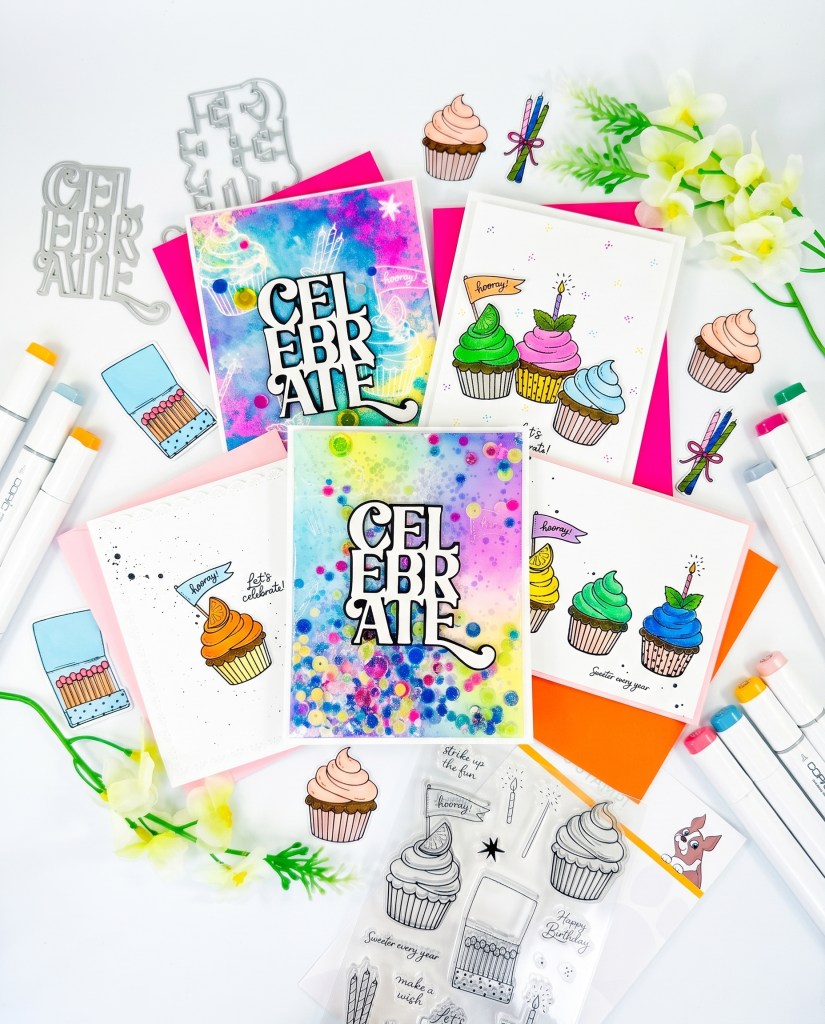
Card 1 – Partial Emboss Resist + Shaker
For my first card, I tried a partial emboss resist technique. I stamped the images just once using white pigment ink instead of stamping multiple times for a crisp embossed image. This left behind an imperfect amount of embossing powder, creating a soft, partial embossed effect.
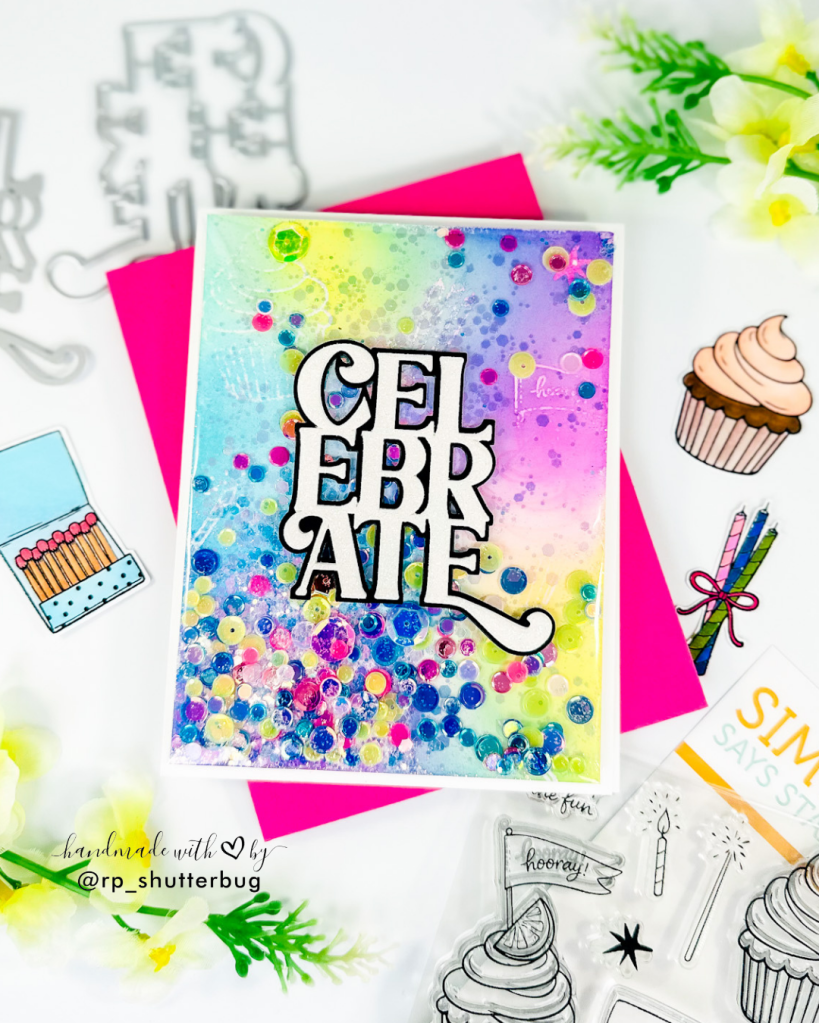
I blended Positively Saturated inks in Sweets, Orchid, Cadet, Surf, and Lemonade over the panel. I love how the colors blended together and created new colors where they overlapped.
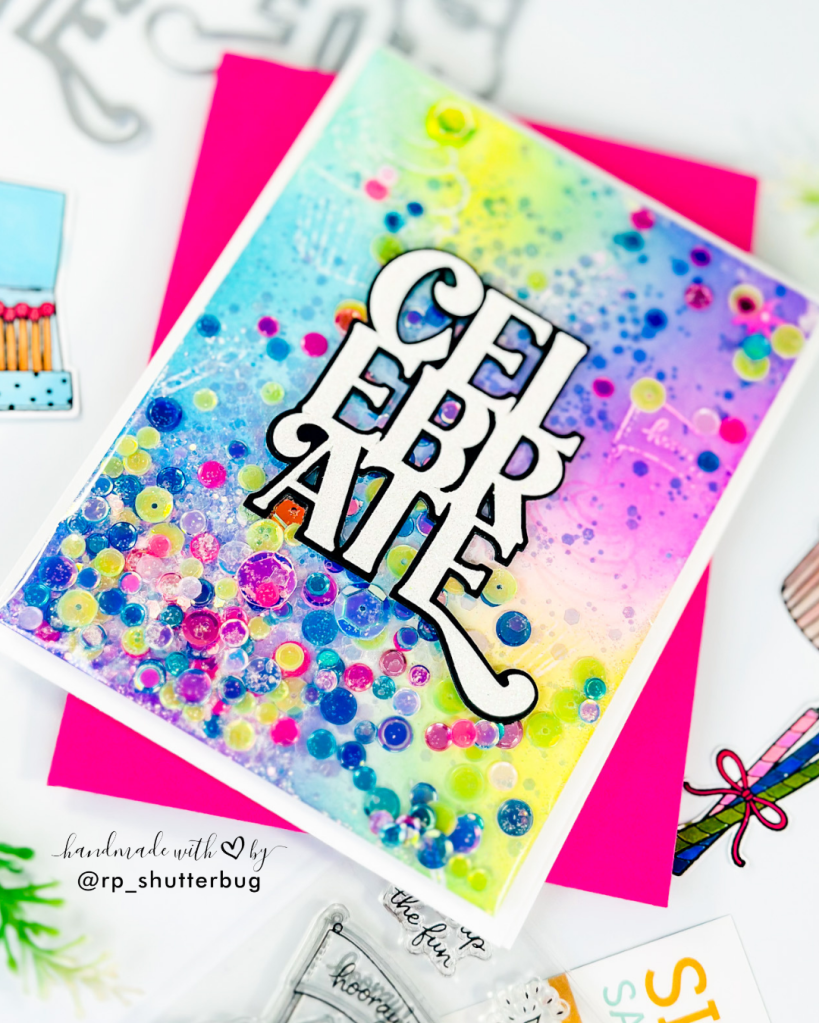
I paired the colorful background with a Celebrate die-cut sentiment and turned the card into an edge-to-edge shaker using saved stamp packaging, party sequins, and a sparkly mix. I love these shakers because they add lots of fun without making the card too bulky.
Card 2 – Ink Smooshing
For card number two, I used the same stamped images and colors, but this time I stamped onto watercolor cardstock and used one of my favorite techniques—ink smooshing.
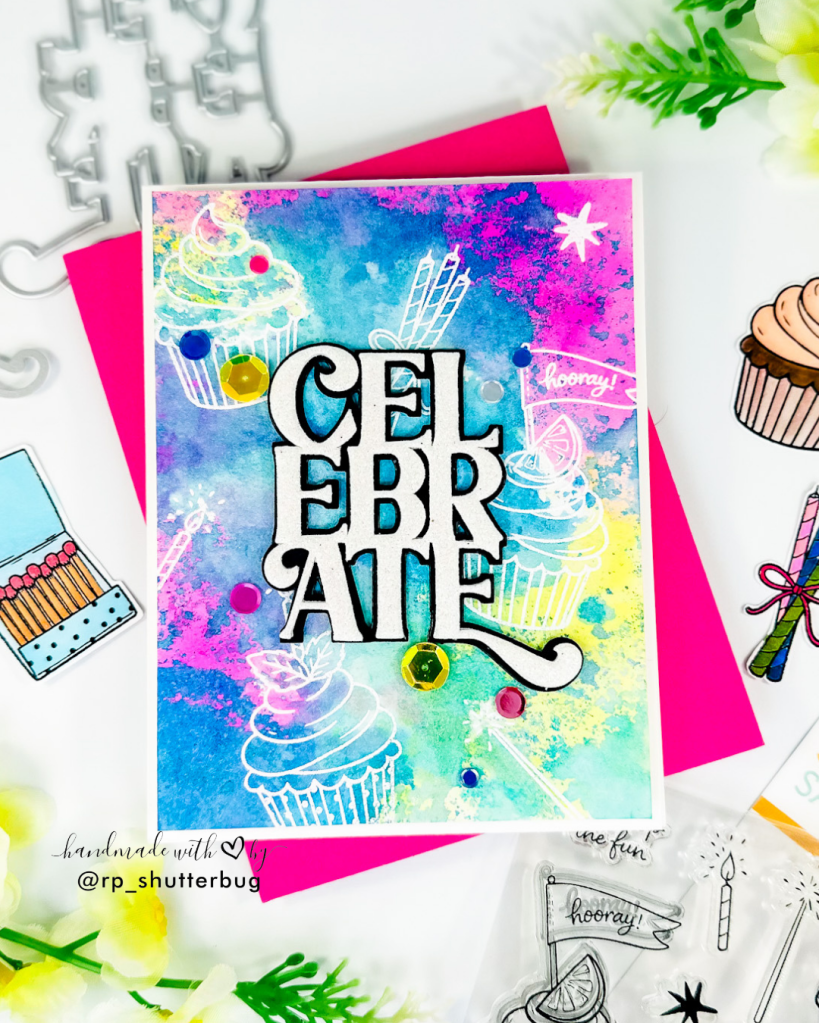
I simply dabbed the same inks onto a piece of plastic packaging, sprayed them with water, and transferred the color onto my embossed panel. The embossed images resisted the ink, leaving me with a beautiful, loose watercolor effect.
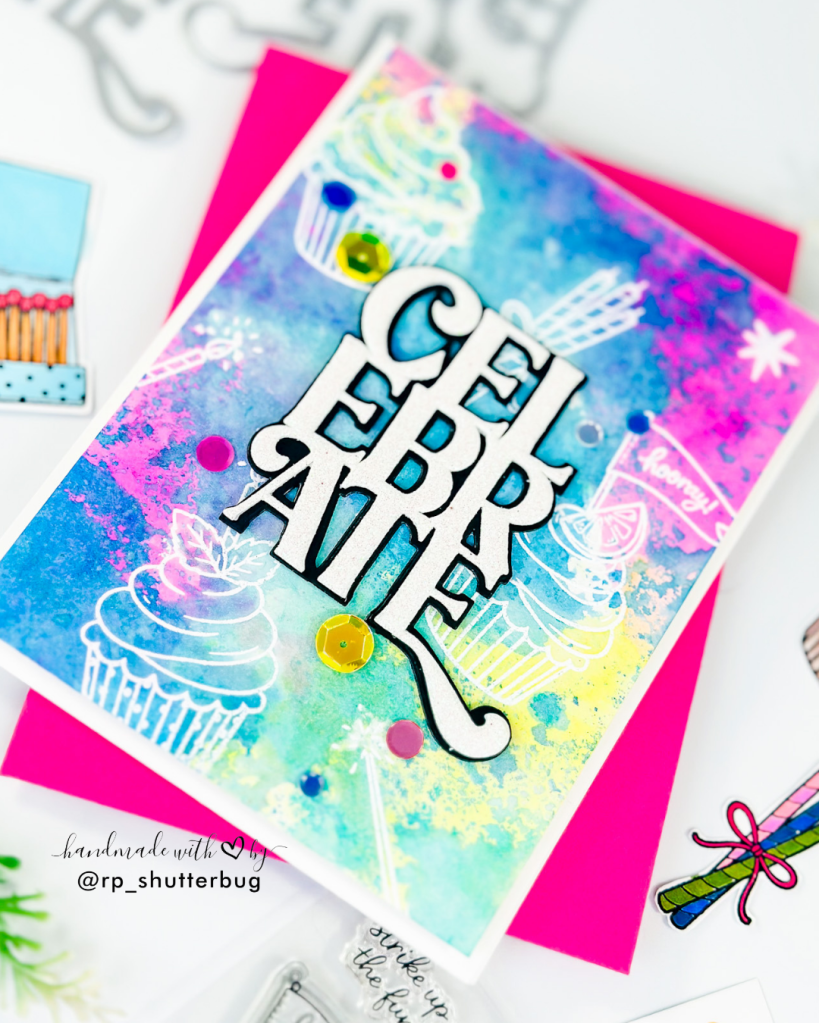
I used the same Celebrate sentiment, popped it up with tiny foam squares, and added a few sequins for some sparkle. It’s fun to see how different this card looks from the first one even though the supplies and colors are almost identical.
Card 3 – Clean & Simple Cupcake Card
For my third card, I wanted to let the cupcakes take center stage. I stamped them using black pigment ink, added clear embossing powder, and then fussy cut and colored them with alcohol markers.
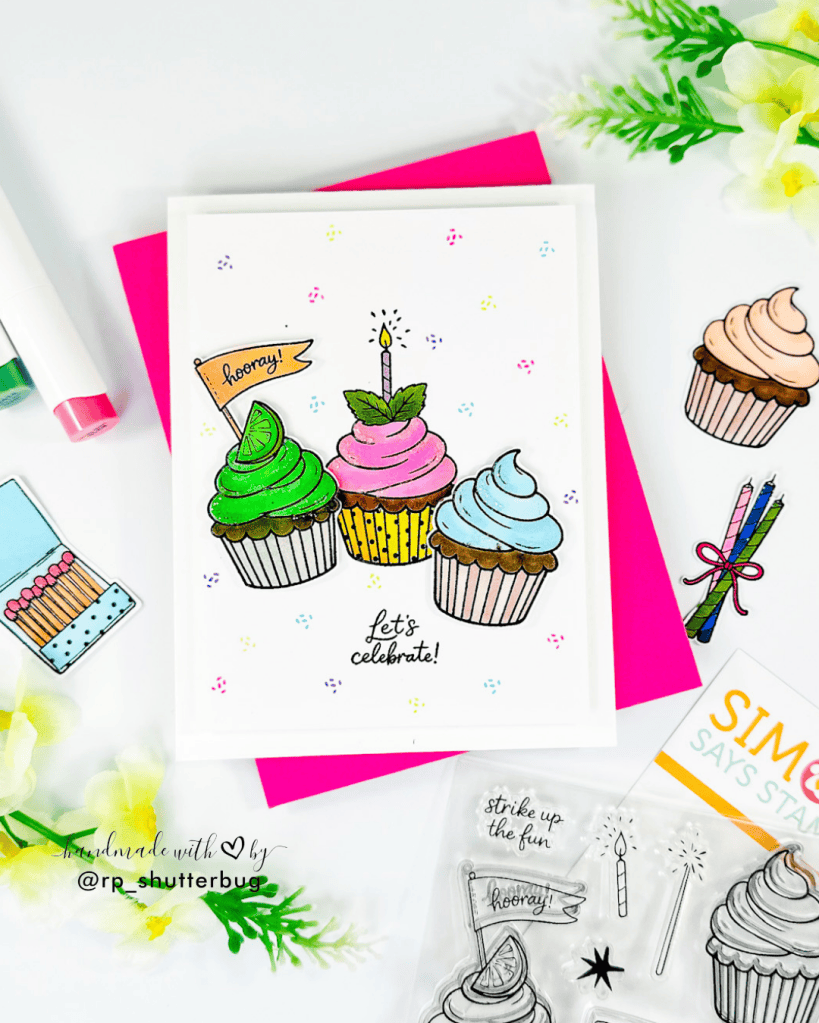
I stamped one cupcake directly onto the card panel and popped up two additional cupcakes on either side using thin foam squares. I added the “Let’s Celebrate” sentiment and some colorful dots and sprinkles around the panel using the same colors from the previous cards.
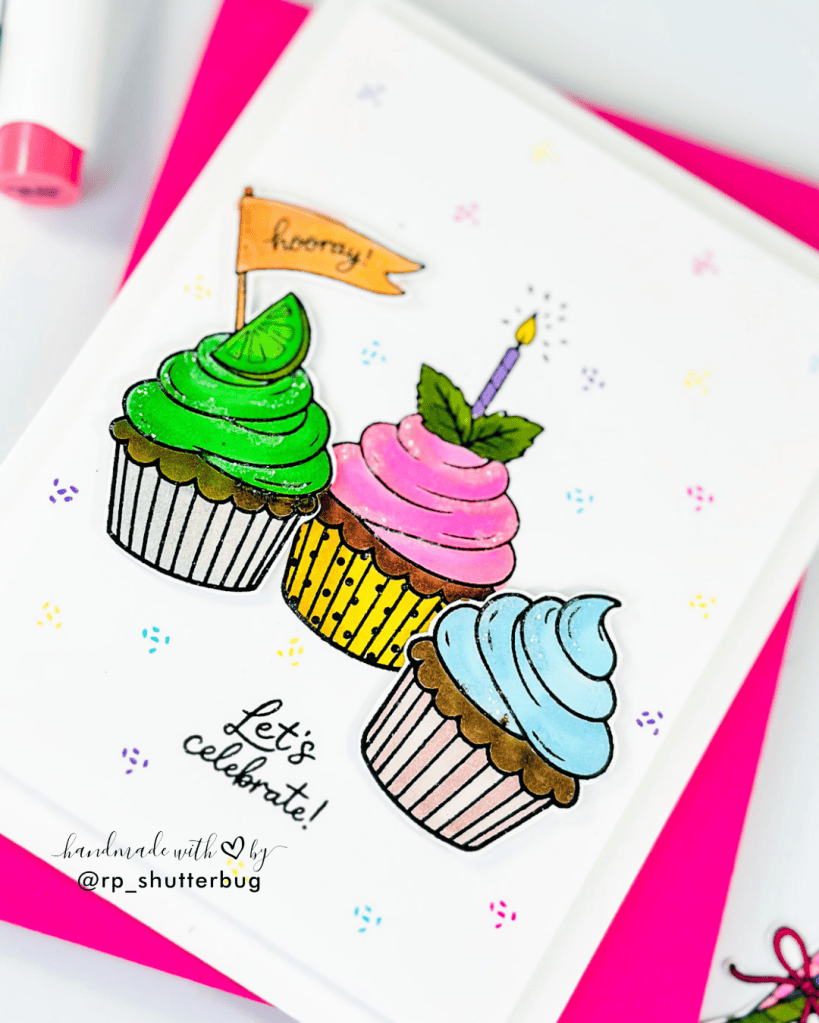
To finish, I added a little glue along the frosting and sprinkled on Rock Candy glitter for a subtle sparkle. This card is simple, colorful, and full of charm!
Card 4 – Texture + Splattering
For card number four, I used one of the cupcakes we had already colored—the one with the Hooray banner. Instead of a plain background, I used the Sparkler Scallop Frames 2 die to add some beautiful texture and a scalloped edge.
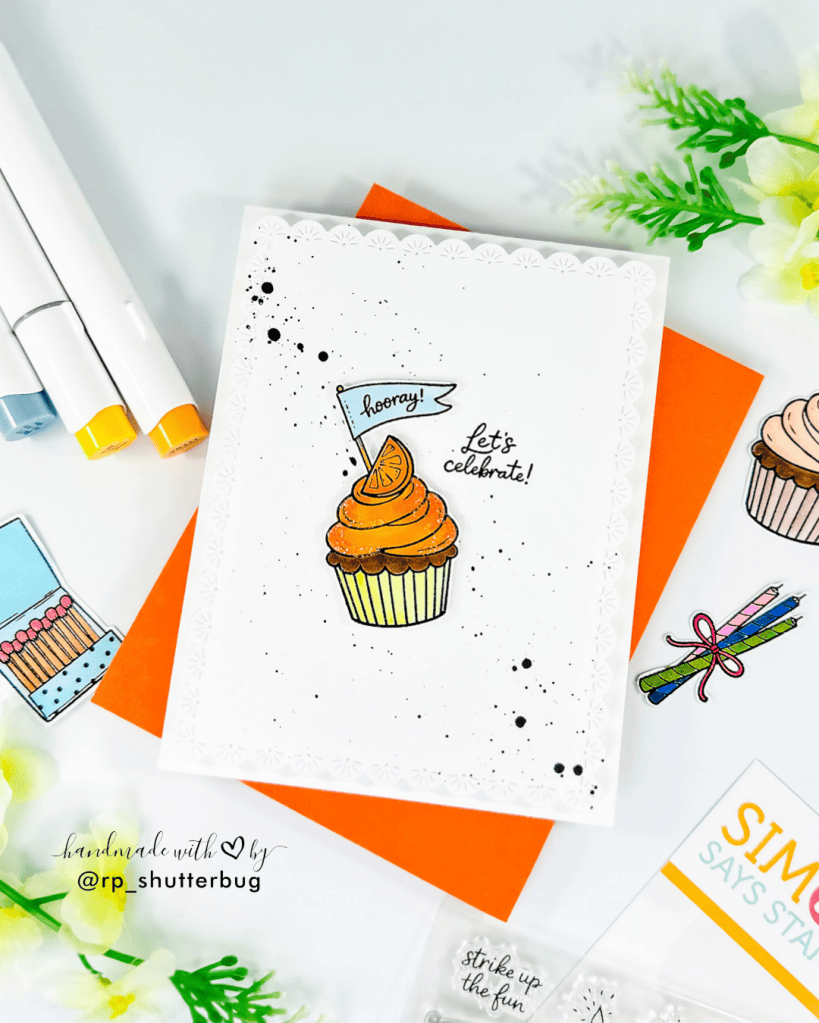
I stamped a small “Let’s Celebrate” sentiment next to the cupcake and then added black splatters to the background. Since I didn’t have a coordinating die for the sentiment, I simply placed the stamp itself over the sentiment to protect it while splattering.
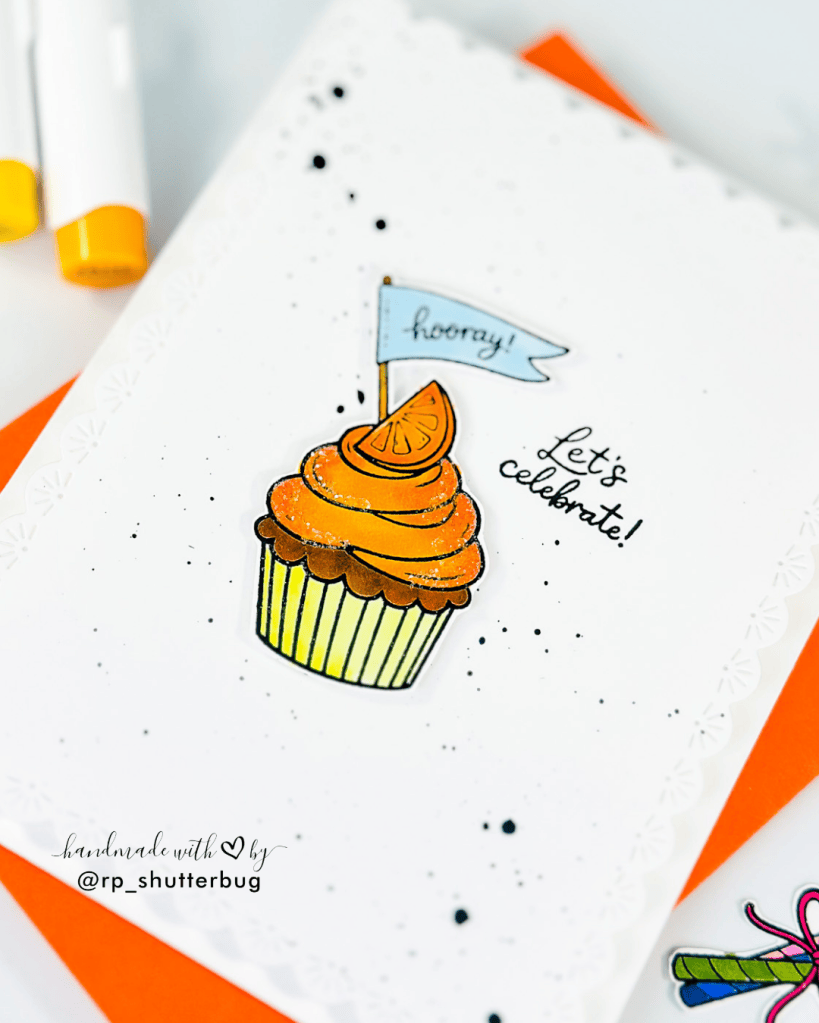
I popped up the cupcake with foam tape and added Rock Candy glitter to the frosting. I think this card would also be super fun with an action wobbler!
Card 5 – Simple Birthday Card
The fifth and final card is the simplest of the bunch. I stamped three cupcakes in a row along with the sentiment “Sweeter Every Year.” This could easily be turned into a single-layer card by stamping directly onto the card base.
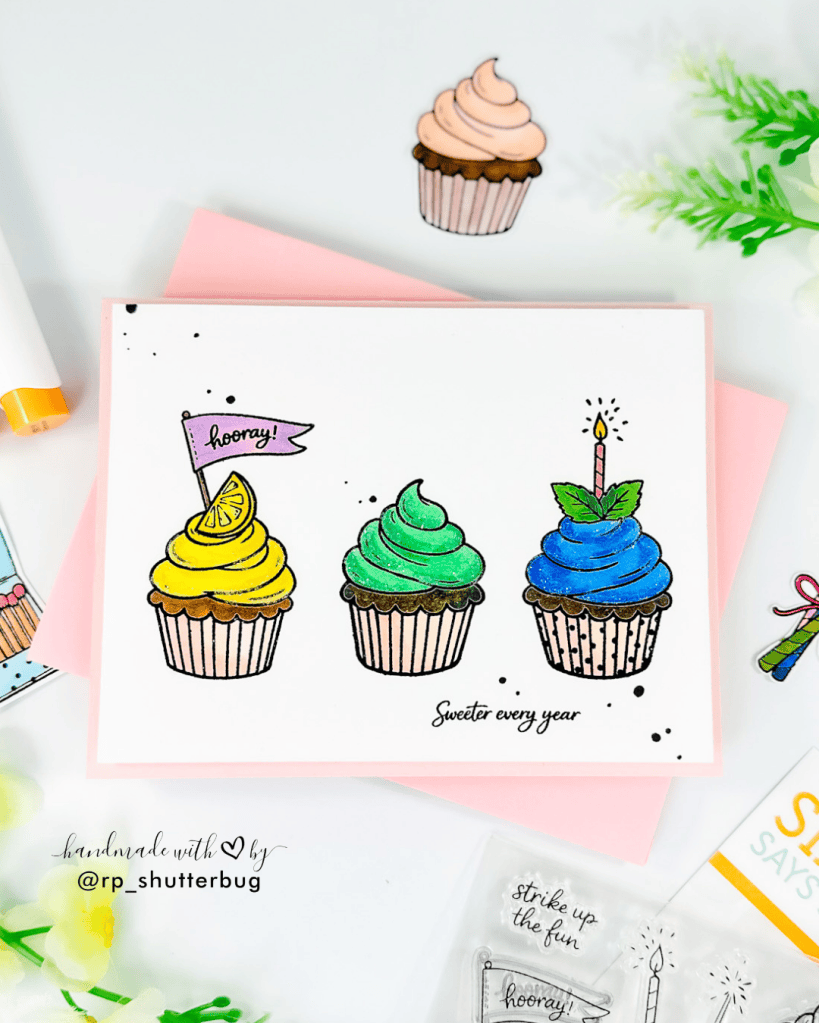
This time, I used cheerful yellow, green, and blue for the frosting to coordinate with the color palette from the other cards. I mounted the panel onto a pink card base for a little pop of color.
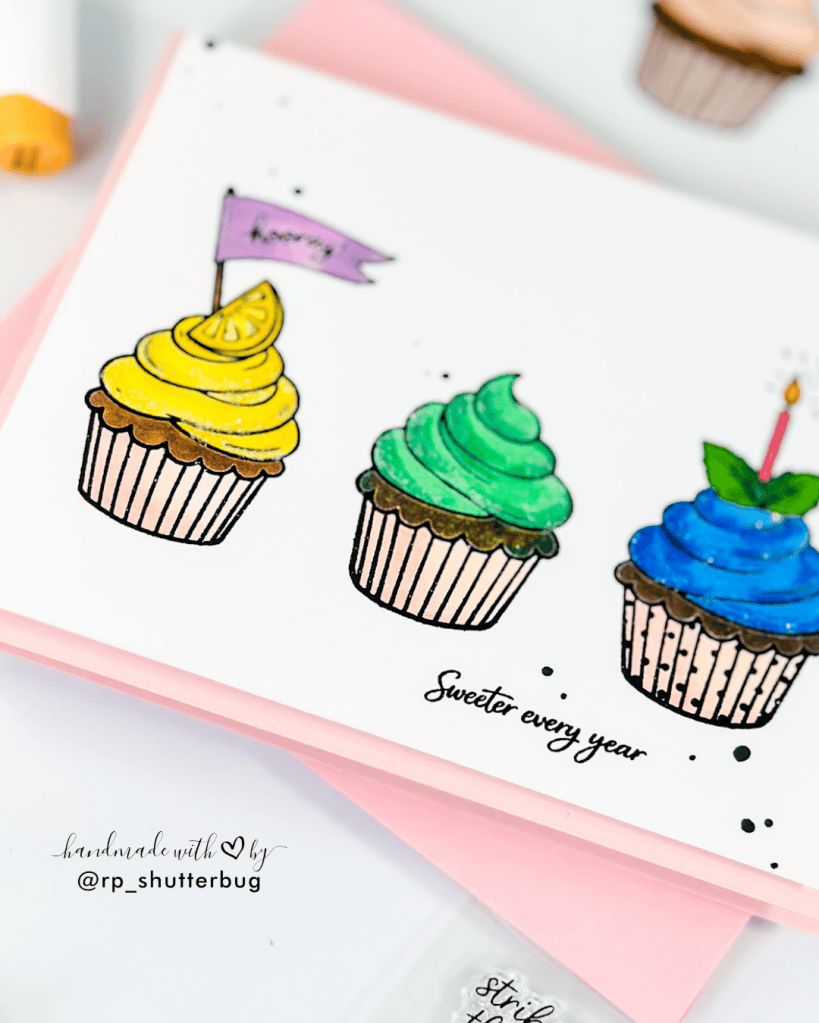
For an easy alternative to splattering, I used a black marker to add tiny scattered dots around the cupcakes. This gives you the look of splatters while giving you much more control over where they land.
And that brings us to the end of our five-card STAMPtember celebration! 🎉
I love how one small stamp set gave us five completely different cards—from an edge-to-edge shaker and ink smooshing to clean and simple designs, texture, dimension, sparkle, and fun coloring.
I hope these projects inspire you to look at your own stamp sets differently and find new ways to stretch them. And don’t forget to check out all the exciting STAMPtember releases, collaborations, giveaways, and surprises happening throughout the month!
The Simon Says Stamp YouTube channel will have a lot of interesting video content for you! Many industry makers will be posting on their own blogs and social media accounts. Simon Says Stamp’s social media channels will be bubbling with excitement. Follow our Facebook, Instagram, YouTube, and Pinterest accounts. Look for the hashtag #STAMPtember2026 and #SSSStamptember and #STAMPtember to discover it all, and be sure to use the hashtags when posting projects you make with STAMPtember® products!
For more details about this big event, check the SSS Blog page – https://www.simonsaysstampblog.com/
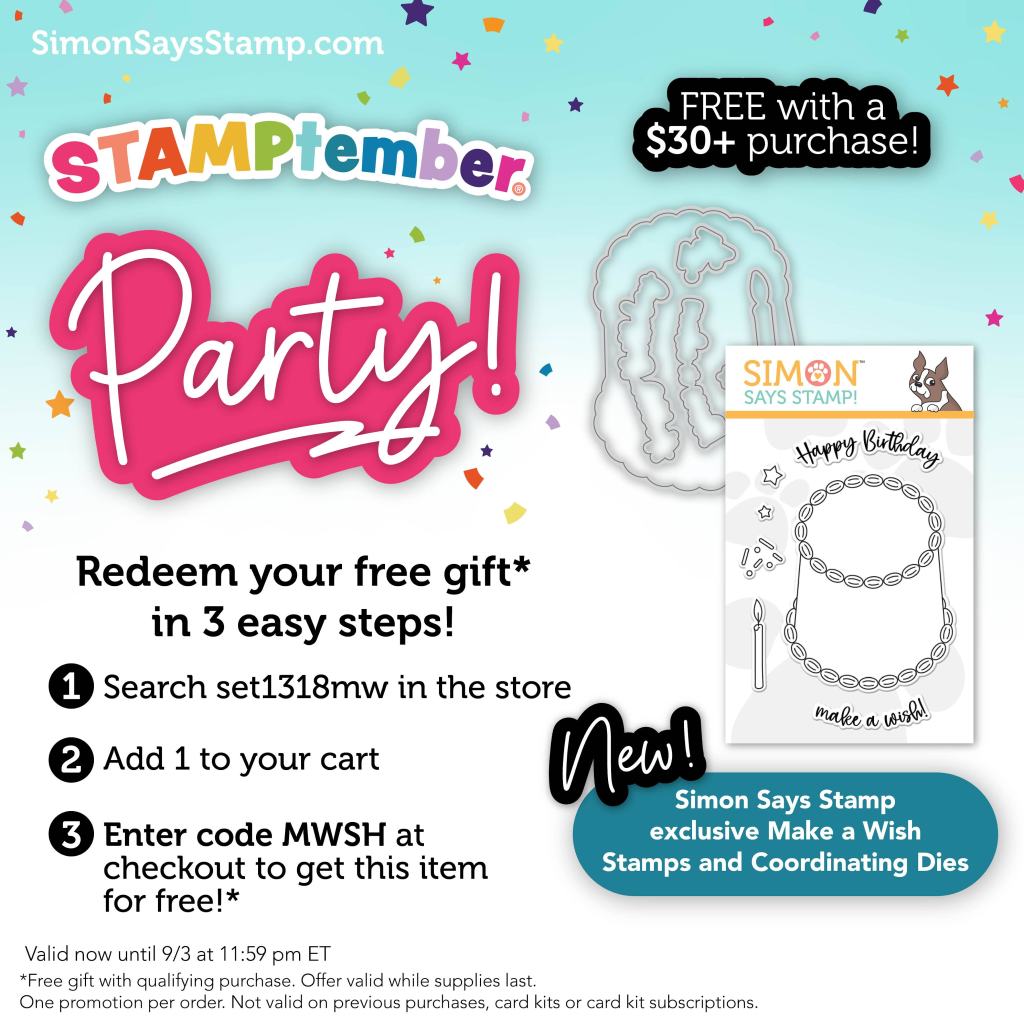
Here’s a little surprise for all you beautiful people. I have coupon code for you guys. Get this SSS Exclusive Make A Wish Stamp and Die Set FREE WITH $30 PURCHASE. All you have to do is search for set1318mw in the store, add 1 to your card and enter the code MWSH at checkout to this item for free. This offer is valid until 9/3 at 11:59 pm ET.
If you would like to see a video tutorial of how I created this card, check out the link below –
Do check out fun pictures of the project on my Instagram page (@rp_shutterbug). Do tag me on Instagram with pictures of your projects.
SUPPLIES:
*NOTE: Affiliate links may be used (at no additional cost to you) – thank you for your support!
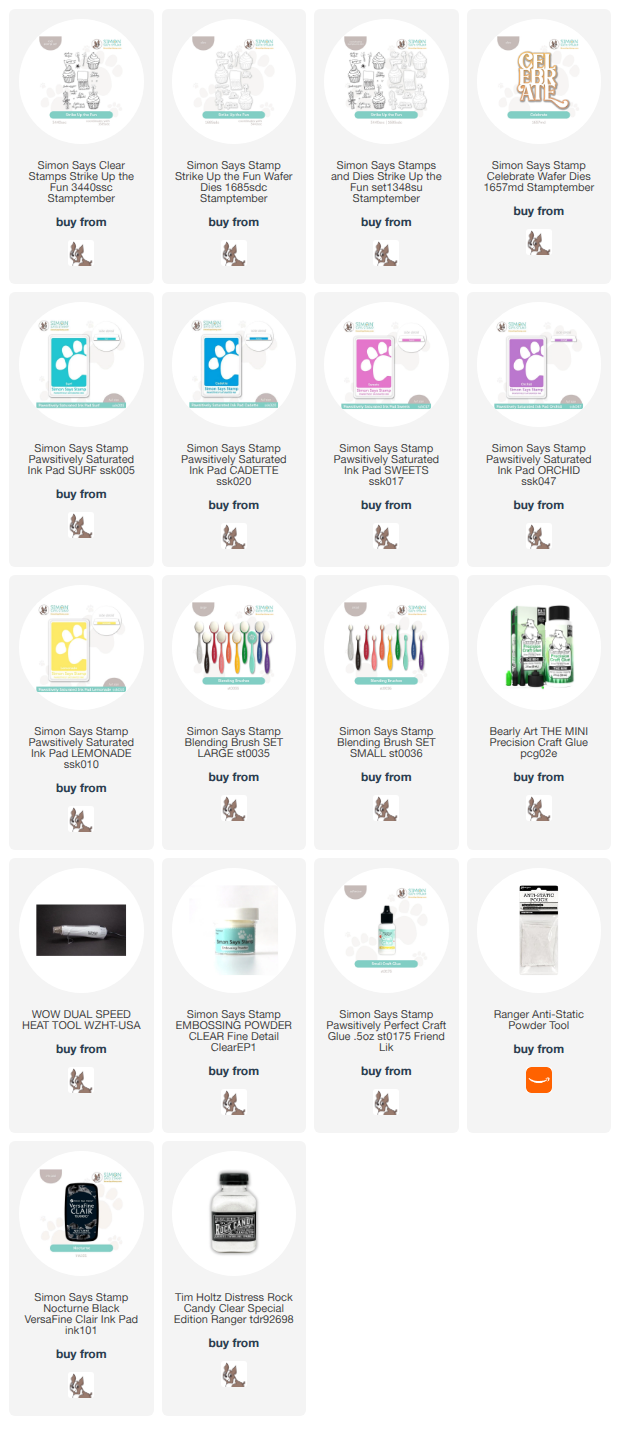 https://linkdeli.com/widget.js?id=f5e8378456858c916708
Thank you so much for joining me today. Until next time, stay safe!
Happy STAMPtember®



Leave a Reply